 Pin it
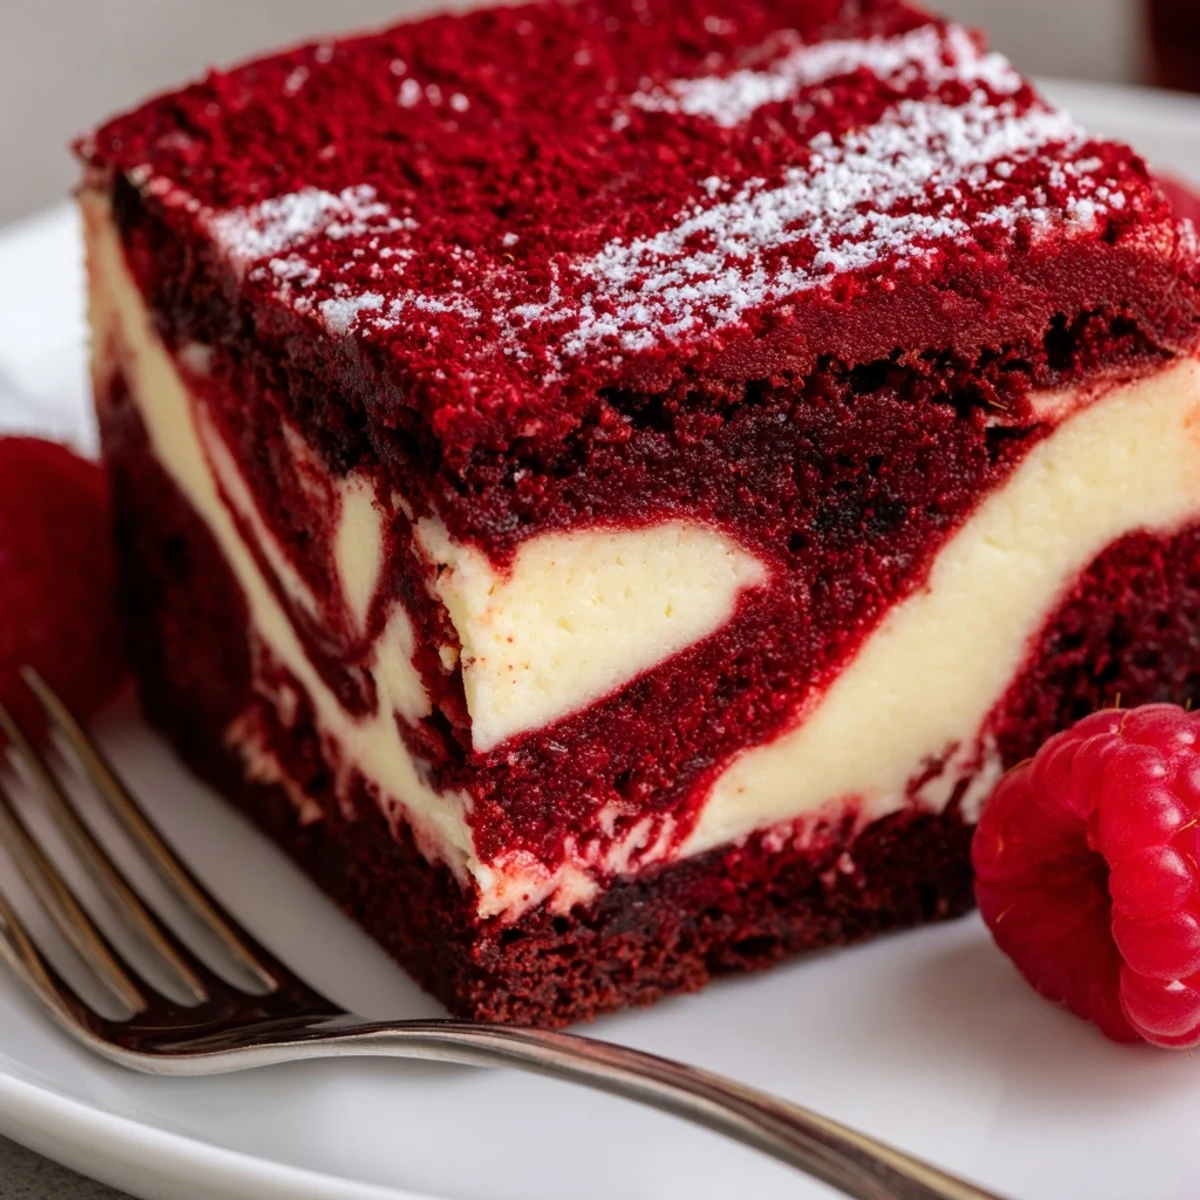
 Fudgy red velvet batter is spread into a lined 8x8 pan, a smooth, tangy cream cheese mixture is poured on top, then reserved batter is dotted and gently swirled for a marbled finish. Bake until the center is mostly set, cool completely, then chill to firm the cheesecake layer before slicing. Use room-temperature cream cheese and avoid overmixing for a silky texture.
The first time I pulled these red velvet brownies with a cheesecake layer out of the oven, the vivid marbled top practically sparkled in the afternoon light. There's a particular satisfaction in the hush that falls over the kitchen as they cool, the scent of cocoa and sweet cream filling every corner. I recall noticing a faint red streak left on the spatula—the sort of joyful, tiny mess that hints at something extraordinary. Trust me, waiting for them to chill is as much an act of restraint as any technical step.
Once, I made these for a friend's impromptu birthday gathering, and the way everyone hovered near the fridge, eyeing the chill time, still makes me laugh. The brownies became the unofficial centerpiece—not because they were fancy, but because the marbled top sparked so much curiosity and excitement before the first slice.
Ingredients
- Unsalted butter: Melting the butter first ensures a denser, fudgier brownie and helps the cocoa flavor stand out.
- Granulated sugar: I always use white sugar here for that shiny top and the right hint of sweetness; beat it until you can't see any grains left for best texture.
- Large eggs: Room temperature eggs blend in more easily, preventing streaky batter and helping everything come together smoothly.
- Vanilla extract: I've learned to never skip real vanilla—it rounds out both the brownie and cheesecake flavor.
- Red food coloring: Gel gives the boldest color, but even liquid works if you adjust the amount; always add gradually to avoid overdoing it.
- All-purpose flour: Measure carefully—too much can make the brownies cakey instead of perfectly fudgy.
- Unsweetened cocoa powder: Go for a natural rather than Dutch-processed cocoa for a hint of acidity that plays nicely with the tang of the cream cheese.
- Salt: Just a pinch wakes up all the flavors without making things noticeably salty.
- Cream cheese: Softened cream cheese mixes smoothly without lumps; leave it out at room temp while you prep the brownie batter.
Instructions
- Get the Oven Ready:
- Heat your oven to 175°C (350°F) and line a square 20x20 cm pan with parchment, letting some hang over the sides like little handles for later.
- Mix Up Red Velvet Brownie Batter:
- In a bowl, whisk together melted butter and sugar until glossy, then add eggs, vanilla, and red coloring; the color deepens as you beat them.
- Sift Dry Ingredients:
- Gently sift in the flour, cocoa, and salt, and fold with a spatula; stop the moment you see just a trace of flour left for chewy brownies.
- Layer Base:
- Scoop about three quarters of your red velvet batter into the lined pan, spreading it to the edges but not pressing too firmly.
- Cheesecake Layer Magic:
- In another bowl, cream the softened cream cheese and sugar until pillowy, then mix in the egg and vanilla for a dreamy, smooth batter.
- Assemble for Swirls:
- Pour the pale cheesecake mixture right over the red velvet base, then spoon over the last of the red batter and swirl gently with a knife for dramatic ripples.
- Into the Oven:
- Bake for 33–37 minutes, until the top looks set and a toothpick poked in the center comes out with only a few moist crumbs.
- Cool Completely & Chill:
- Let the pan cool before refrigerating for at least an hour—this makes the brownies slice neatly and taste even richer.
 Pin it
 The real magic happened when my little niece insisted on helping with the marbling—her tiny hands swirling crimson into cream with total focus. That day, the brownies somehow tasted sweeter, maybe because we spent so much time admiring our abstract handiwork before devouring every piece.
Swirl Strategies You’ll Want to Steal
Getting the marbled top just right took me a few tries—turns out, less is more. Entrust the swirling to a chopstick or timber skewer and stop as soon as you like the look, because further blending will muddy those dramatic lines.
Serving Moments That Shine
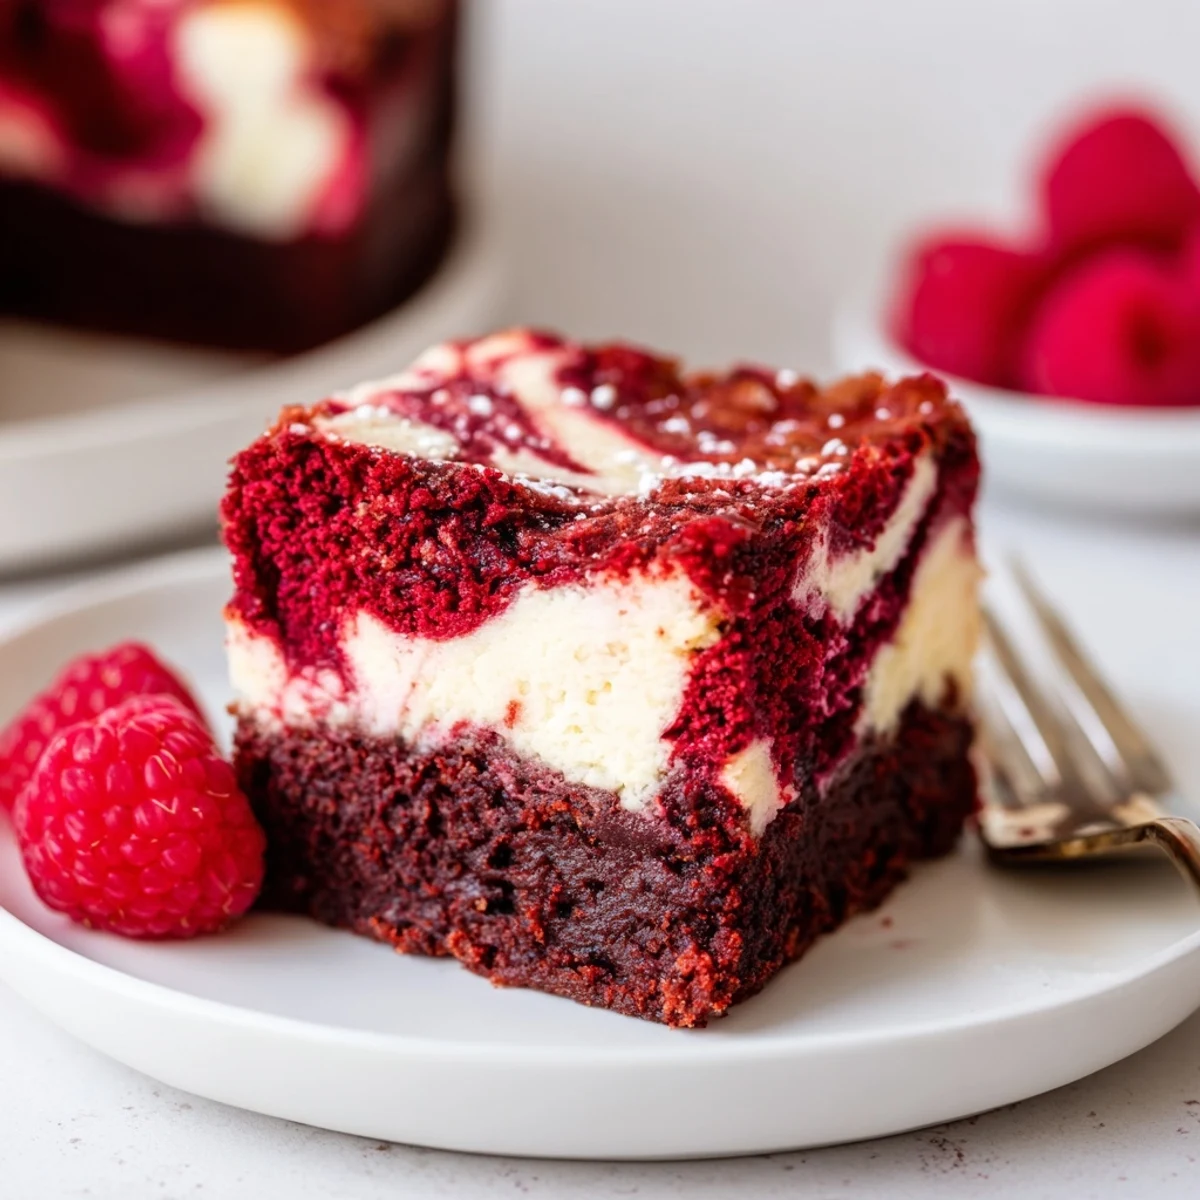
If you’re serving these at a party, slice them while cold for cleaner lines, then let them sit out a few minutes for that creamy, just-firm-enough bite. They also make a wonderful midnight snack with a tall glass of milk or paired with a handful of tart berries.
Quick Fixes for Everyday Mishaps
The batter once looked oddly pink when I ran out of cocoa, but a dusting of cocoa after baking helped salvage both flavor and color. Even if the cheesecake ripples aren’t magazine-perfect, don’t stress—the taste is what wins everyone over every time.
- Line your pan well to avoid messy edges.
- If your cream cheese is cold, microwave in short bursts until soft.
- Let the brownies chill fully if you want those crisp, Instagrammable squares.
 Pin it
 May these brownies become your sweet standby for whenever you need something a little bit special. Don’t be surprised if they disappear faster than you expect!
Recipe FAQs
- → How do I get a vibrant red color?
-
Use concentrated gel food coloring for a deeper hue with less liquid. Add gradually until you reach the shade you want; the color deepens slightly during baking.
- → How can I prevent the cheesecake layer from cracking?
-
Avoid overbeating the cream cheese and bake until the center is just set with a few moist crumbs. Cooling slowly and chilling fully before slicing reduces surface cracks.
- → Can I add mix-ins like chocolate chips?
-
Yes. Sprinkle chocolate chips over the brownie layer before adding the cheesecake mixture to keep them embedded and prevent sinking. Mini chips work best for even distribution.
- → How do I test for doneness?
-
Insert a toothpick into the center; it should come out with a few moist crumbs but not wet batter. The cheesecake layer will look set but may still jiggle slightly.
- → What's the best way to slice clean bars?
-
Chill the baked bars thoroughly for at least an hour, use a sharp knife warmed in hot water and wiped dry between cuts to get neat slices.
- → How should leftovers be stored?
-
Store chilled in an airtight container for up to 4 days. For longer storage, freeze wrapped slices for up to 1 month and thaw in the refrigerator before serving.
