
 Pin it
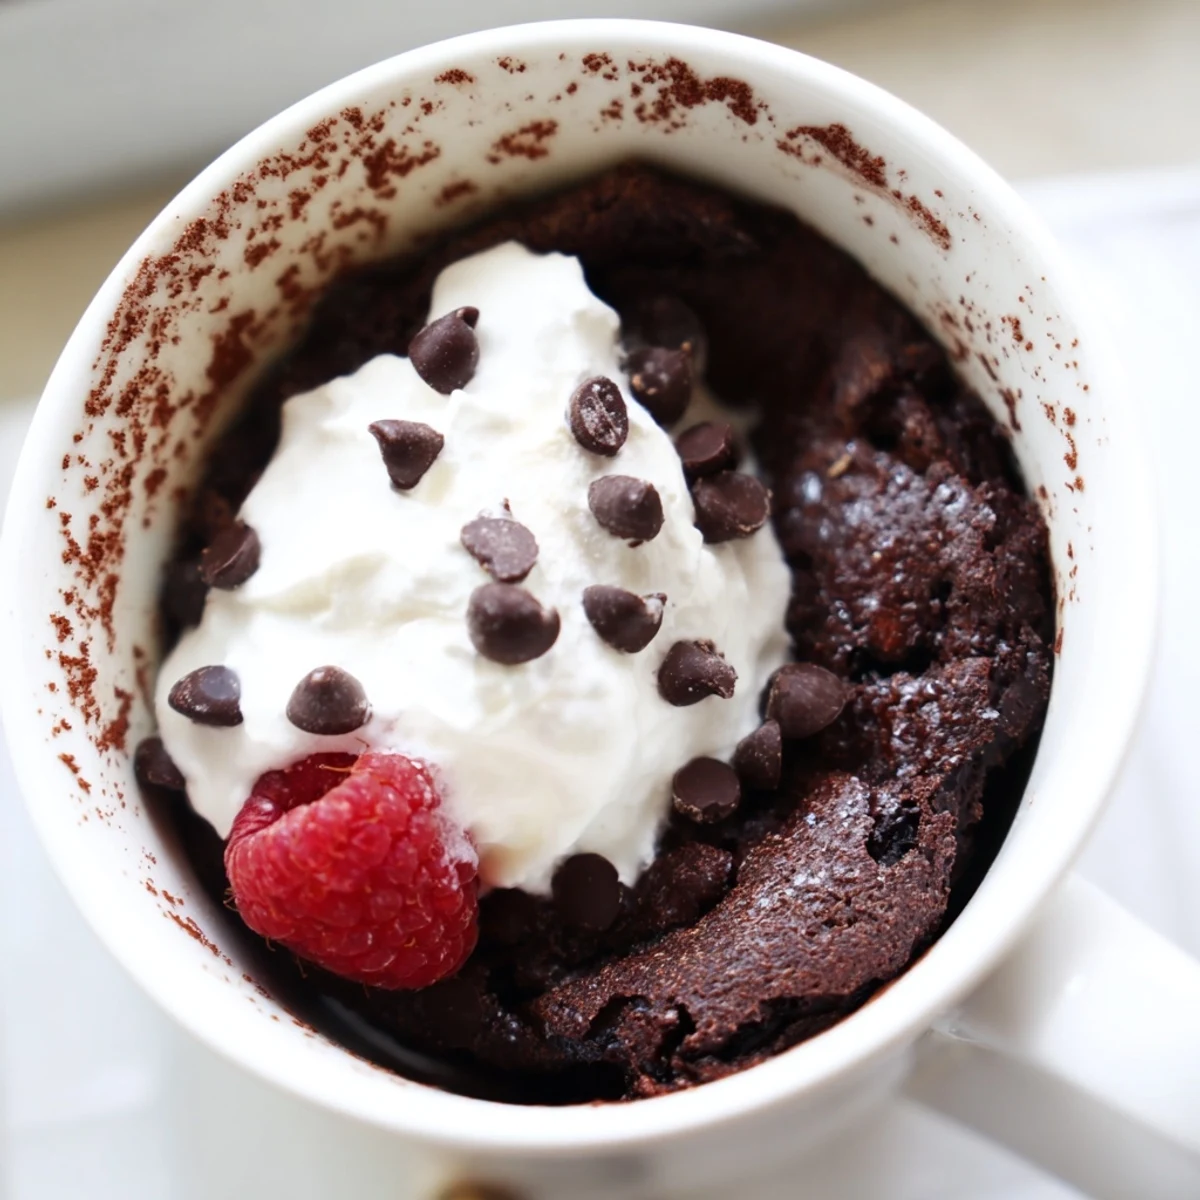
 This gluten-free chocolate mug cake delivers a rich, decadent dessert experience in just 7 minutes flat. Using a simple blend of gluten-free flour, cocoa powder, and pantry staples, you'll whisk together a smooth batter directly in your mug before microwaving to perfection.
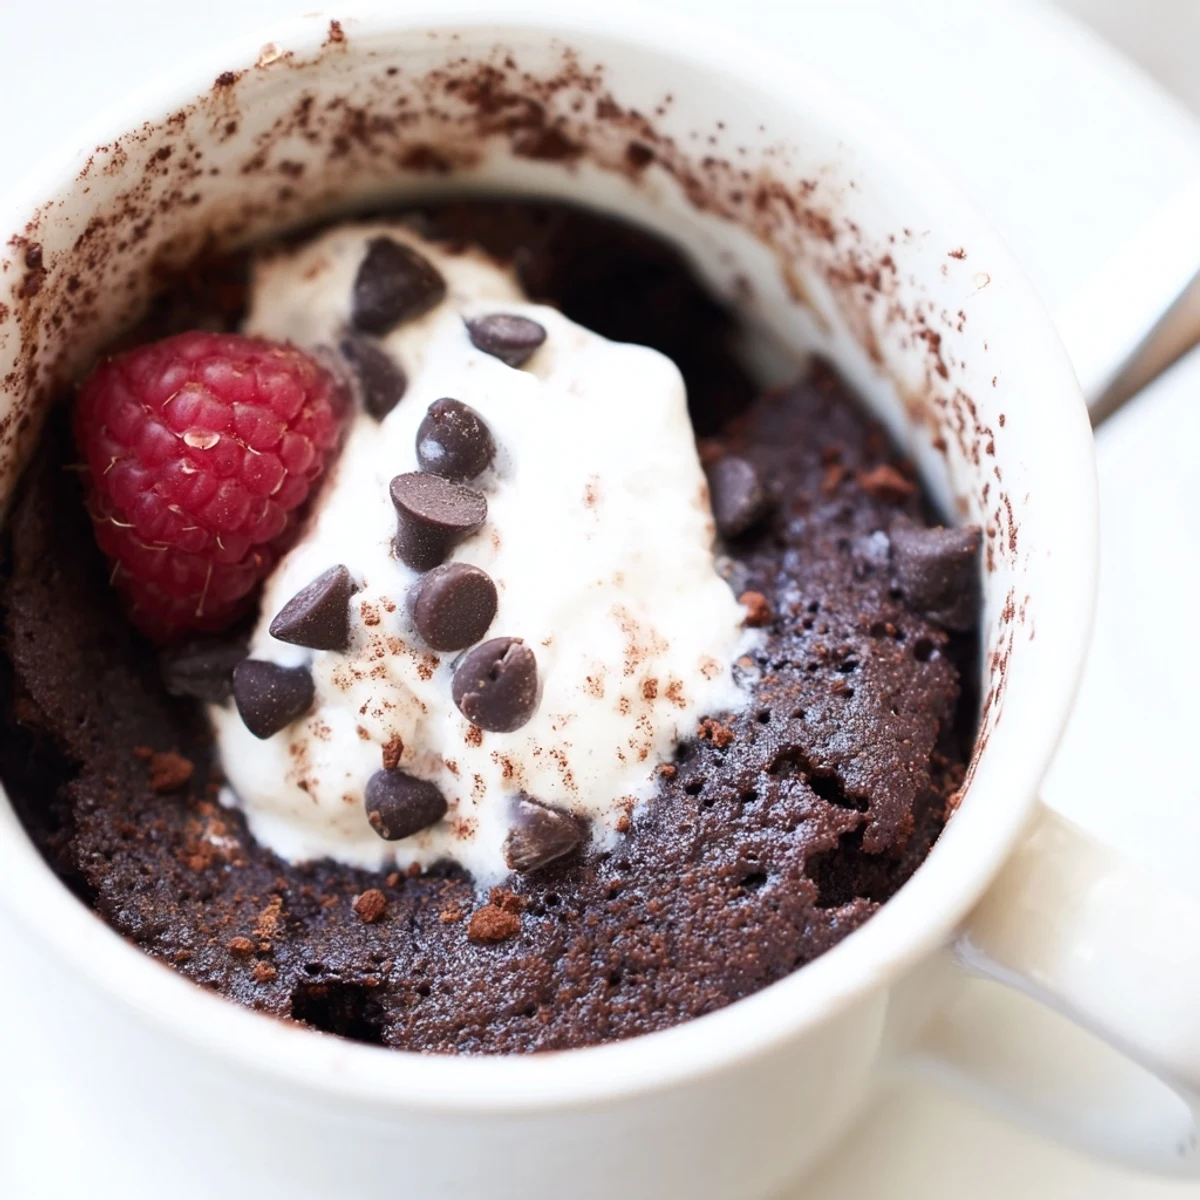
The result is a tender, fudgy cake that satisfies intense chocolate cravings without any gluten. Customize with chocolate chips, a dollop of whipped cream, or fresh berries for an extra-special touch.
The clock read 11:47 pm and the rain was hammering against the kitchen window when I finally caved. There was leftover cocoa on the shelf and a new gluten free flour blend I had been meaning to test. Two minutes later the microwave beeped and I was holding a warm chocolate mug cake that honestly tasted better than some properly baked cakes I have labored over for hours. That spontaneous midnight experiment turned into a weekly ritual I refuse to apologize for.
My sister visited last March and caught me making one at midnight. She raised an eyebrow at the microwave situation, took one bite, and then quietly asked me to make her one. We ended up sitting on the kitchen floor with two mugs at one in the morning, laughing about everything and nothing while the rain came down outside.
Ingredients
- Gluten free all purpose flour blend, 3 tablespoons: This is the foundation so use a blend you already trust. Some cheaper ones leave a gritty aftertaste that no amount of cocoa can hide.
- Unsweetened cocoa powder, 2 tablespoons: The chocolate backbone of the entire cake. Do not swap for hot cocoa mix unless you want something cloyingly sweet and oddly textured.
- Granulated sugar, 3 tablespoons: Balances the bitterness of the cocoa perfectly. You can nudge it down a little if your chocolate chips are very sweet.
- Baking powder, 1/4 teaspoon: A tiny amount that does critical lifting. Check that it is certified gluten free because some brands sneak wheat starch in without you expecting it.
- Salt, a pinch: Just enough to make the chocolate taste more like itself. Skip it and the cake tastes oddly flat.
- Milk, 3 tablespoons: Dairy or non dairy both work beautifully. Oat milk is my personal favorite because it adds a subtle creaminess that pairs well with chocolate.
- Neutral oil, 2 tablespoons: Canola or light olive oil keeps the cake tender. I once tried coconut oil and the texture was lovely but the coconut flavor competed with the chocolate.
- Pure vanilla extract, 1/4 teaspoon: A small splash that rounds everything out and makes the chocolate taste warmer and more complex.
- Chocolate chips, 1 tablespoon optional: These melt into little pockets of gooey chocolate inside the cake and are absolutely worth adding.
- Whipped cream or berries, for serving optional: A dollop of whipped cream or a few fresh raspberries on top turns this from a snack into something that feels genuinely special.
Instructions
- Build your dry foundation:
- Grab a microwave safe mug that holds at least twelve ounces and whisk together the gluten free flour, cocoa powder, sugar, baking powder, and salt until no lumps remain. Take your time here because cocoa powder loves to clump and those bitter little pockets ruin the first bite.
- Bring in the wet ingredients:
- Pour in the milk, oil, and vanilla extract then stir vigorously until you have a smooth batter with no dry flour hiding in the corners. The batter should look thick but pourable, almost like a loose brownie batter.
- Hide some chocolate treasures:
- If you are using chocolate chips, fold them in gently now and consider dropping one extra chip right into the center for a molten surprise. Press it down slightly so it is submerged but not resting on the bottom of the mug.
- Let the microwave work its magic:
- Cook on high for one minute and thirty seconds to two minutes, watching through the glass until the cake rises and sets. It should spring back lightly when you touch the top and the center should not look wet or jiggly.
- Rest and finish with flair:
- Let the cake sit for one to two minutes because that mug is volcanically hot and the cake continues to set as it cools. Top with whipped cream or berries if you want to feel fancy, then eat it straight from the mug while it is still warm.
 Pin it
 There is something oddly comforting about a dessert that asks almost nothing of you. It does not need a stand mixer or a preheated oven or even a proper bowl. It just needs five minutes of patience and a willingness to trust that something delicious can come out of a mug and a microwave.
Choosing the Right Mug Matters More Than You Think
Use a mug that holds at least twelve ounces because this cake rises significantly while cooking and will overflow a small coffee cup in seconds. I learned this the hard way when batter erupted all over my microwave plate and I spent the next evening scraping chocolate off the interior walls. Straight sided mugs cook more evenly than tapered ones. Ceramic is ideal because it distributes heat gently and does not create hot spots the way some glass containers can.
Making It Dairy Free Is Effortless
Swap the milk for almond, soy, or oat milk without changing anything else about the recipe. Coconut oil works in place of neutral oil if you enjoy that subtle coconut undertone alongside the chocolate. Just make sure your chocolate chips are dairy free as well because many semi sweet chips contain milk fat even when you would not expect it.
When the Craving Hits and Nothing Else Will Do
This recipe exists for those specific moments when you need chocolate immediately and cannot fathom waiting forty minutes for an oven to do its job. Keep the dry ingredients pre measured in small jars in your pantry so you are always three minutes away from cake. It is the kind of recipe that makes you feel resourceful and a little bit clever for having it in your back pocket.
- Double the recipe into a larger bowl and split between two mugs if a friend shows up unexpectedly.
- Eat it warm because the texture changes as it cools and it is never quite as magical once it reaches room temperature.
- Remember that this is meant to be imperfect and immediate so do not overthink it.
 Pin it
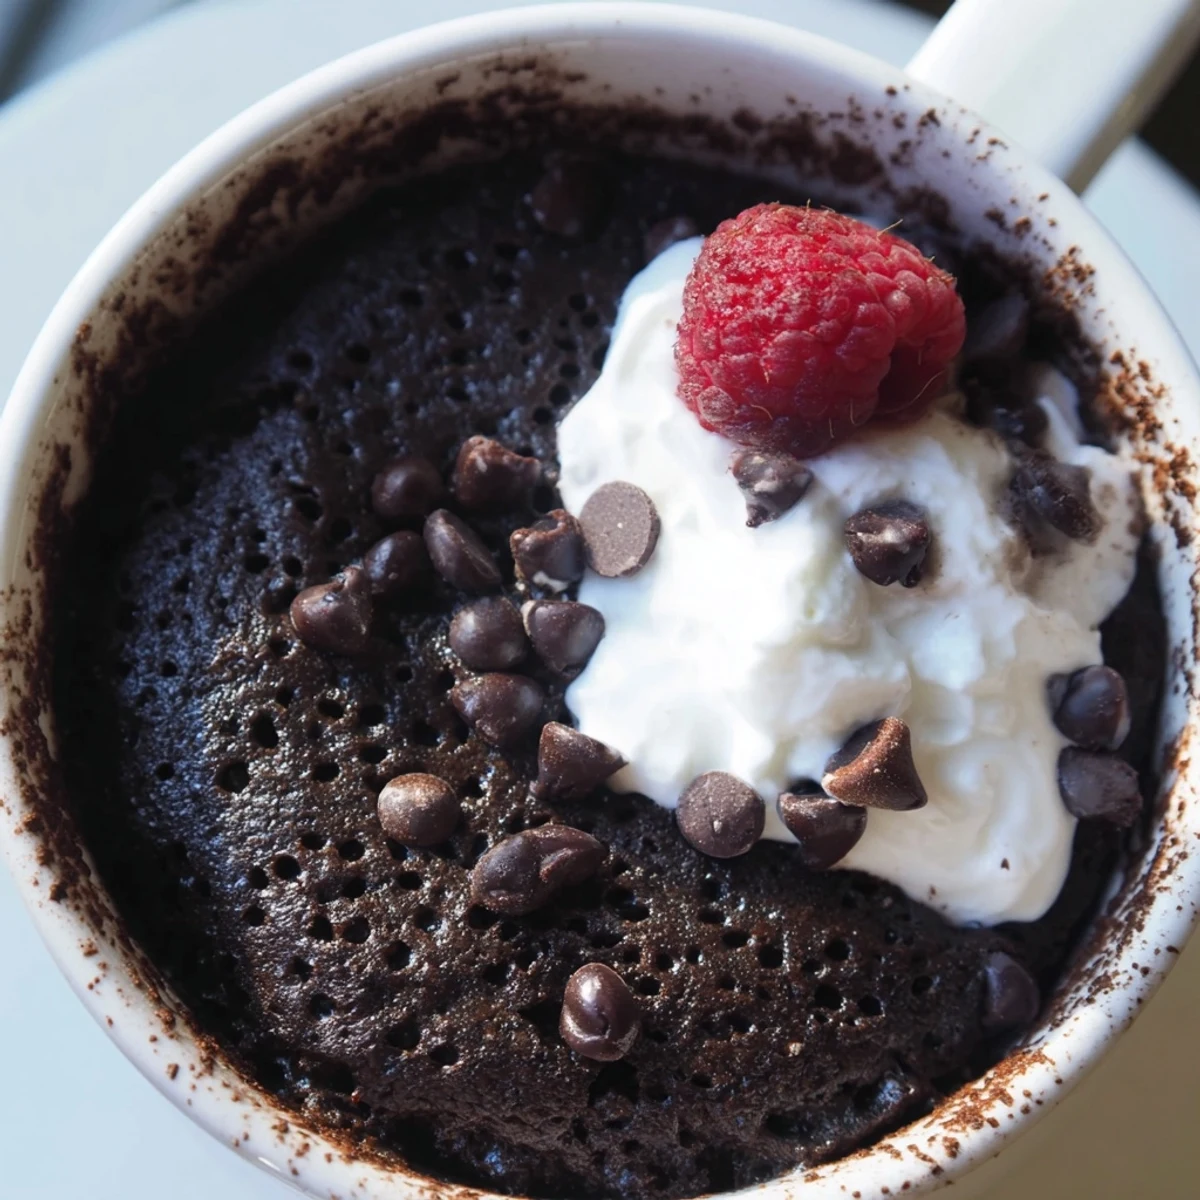
 Some nights you just need chocolate and you need it now. This little mug cake has never once let me down.
Recipe FAQs
- → Can I use regular flour instead of gluten-free flour blend?
-
Yes, if you don't need the cake to be gluten-free, you can substitute equal amounts of regular all-purpose flour. The texture and cooking time will remain essentially the same.
- → Why did my mug cake turn out rubbery or tough?
-
Over-mixing the batter or microwaving too long can cause a rubbery texture. Stir just until combined and start checking at 1 minute 30 seconds. Every microwave varies, so adjust in 15-second increments.
- → What size mug should I use?
-
Use a microwave-safe mug that holds at least 12 ounces to prevent overflow during cooking. A wider mug promotes more even cooking throughout the cake.
- → Can I make this dairy-free as well?
-
Absolutely. Simply swap the milk for almond, soy, or oat milk and use dairy-free chocolate chips. The cake will maintain its rich, fudgy consistency.
- → How do I know when the mug cake is done cooking?
-
The cake is ready when the top looks set and slightly dry, and it springs back lightly when gently pressed. A toothpick inserted in the center should come out with just a few moist crumbs.
- → Can I prepare the dry ingredients ahead of time?
-
Yes, you can pre-measure and store the dry ingredients in a small airtight container or zip-top bag for quick assembly later. Just add the wet ingredients when you're ready to cook.