 Pin it
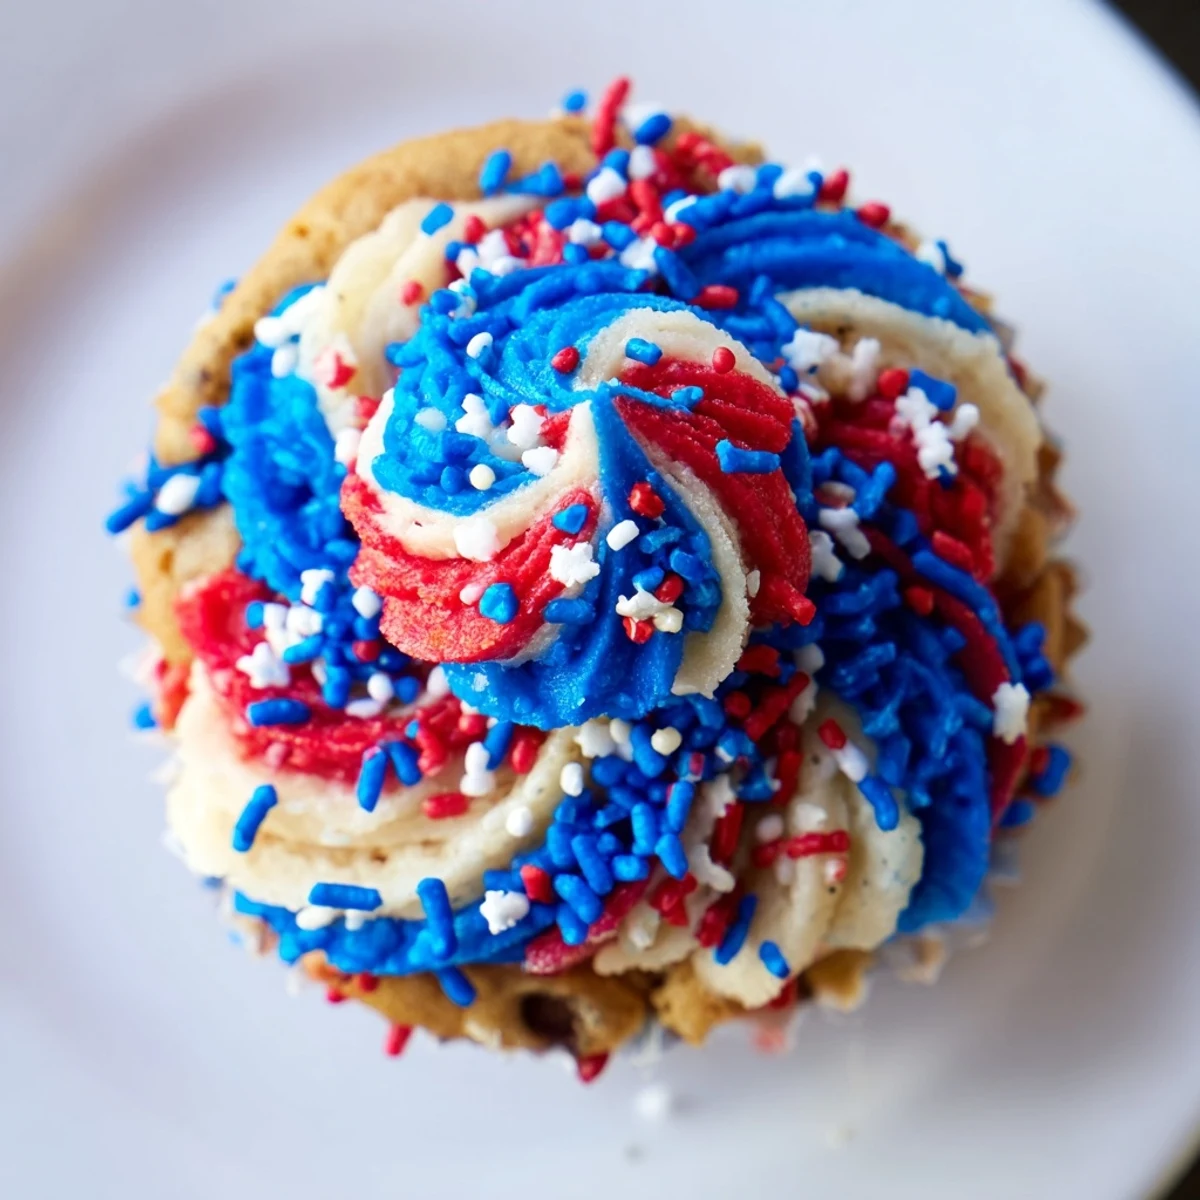
 These bite-sized cookie cups are a festive twist on classic chocolate chip cookies. Baked in a mini muffin tin, they feature a soft, chewy center filled with creamy frosting and topped with red, white, and blue decorations. Perfect for summer parties, 4th of July gatherings, or any patriotic celebration. Easy to make and even easier to enjoy!
One summer afternoon, my kitchen turned into a chaotic sprinkle explosion while I tried to perfect these little cups for a neighborhood block party.
I remember the kids grabbing them faster than I could set the platter down on the picnic table.
Ingredients
- Unsalted butter: Make sure it is truly soft to room temperature for a creamy dough base.
- Brown sugar and granulated sugar: This duo creates that chewy texture with crispy edges we all love.
- Eggs: Use them cold straight from the fridge to help keep the dough structure stable.
- Vanilla extract: Do not skimp on quality here because it defines the flavor profile.
- All-purpose flour: Spoon and level the flour to avoid a dense or dry final product.
- Semisweet chocolate chips: Fold them in gently to ensure every bite has a pocket of chocolate.
- Butter for frosting: Whipping this long enough is the secret to airy and smooth frosting.
- Red and blue gel food coloring: Gel colors give you vibrant shades without thinning out the frosting consistency.
Instructions
- Prepare the oven and pan:
- Heat your oven to 350°F (175°C) and grease a 24-cup mini muffin tin thoroughly so nothing sticks.
- Make the dough base:
- Cream the butter with both sugars in a large bowl until the mixture looks pale and fluffy.
- Add liquids and dry mix:
- Beat in the eggs and vanilla, then whisk the dry ingredients separately before combining everything.
- Add chocolate and shape:
- Fold in the chocolate chips by hand, then scoop a tablespoon of dough into each cup and press down lightly.
- Bake and press centers:
- Bake for 10 to 12 minutes until golden, then immediately press the centers down with a spoon while warm.
- Prepare the frosting:
- Beat the frosting butter until smooth, then gradually mix in powdered sugar, milk, and vanilla until fluffy.
- Color and decorate:
- Split the frosting into three bowls, color two red and blue, then pipe them into the cups with sprinkles on top.
 Pin it
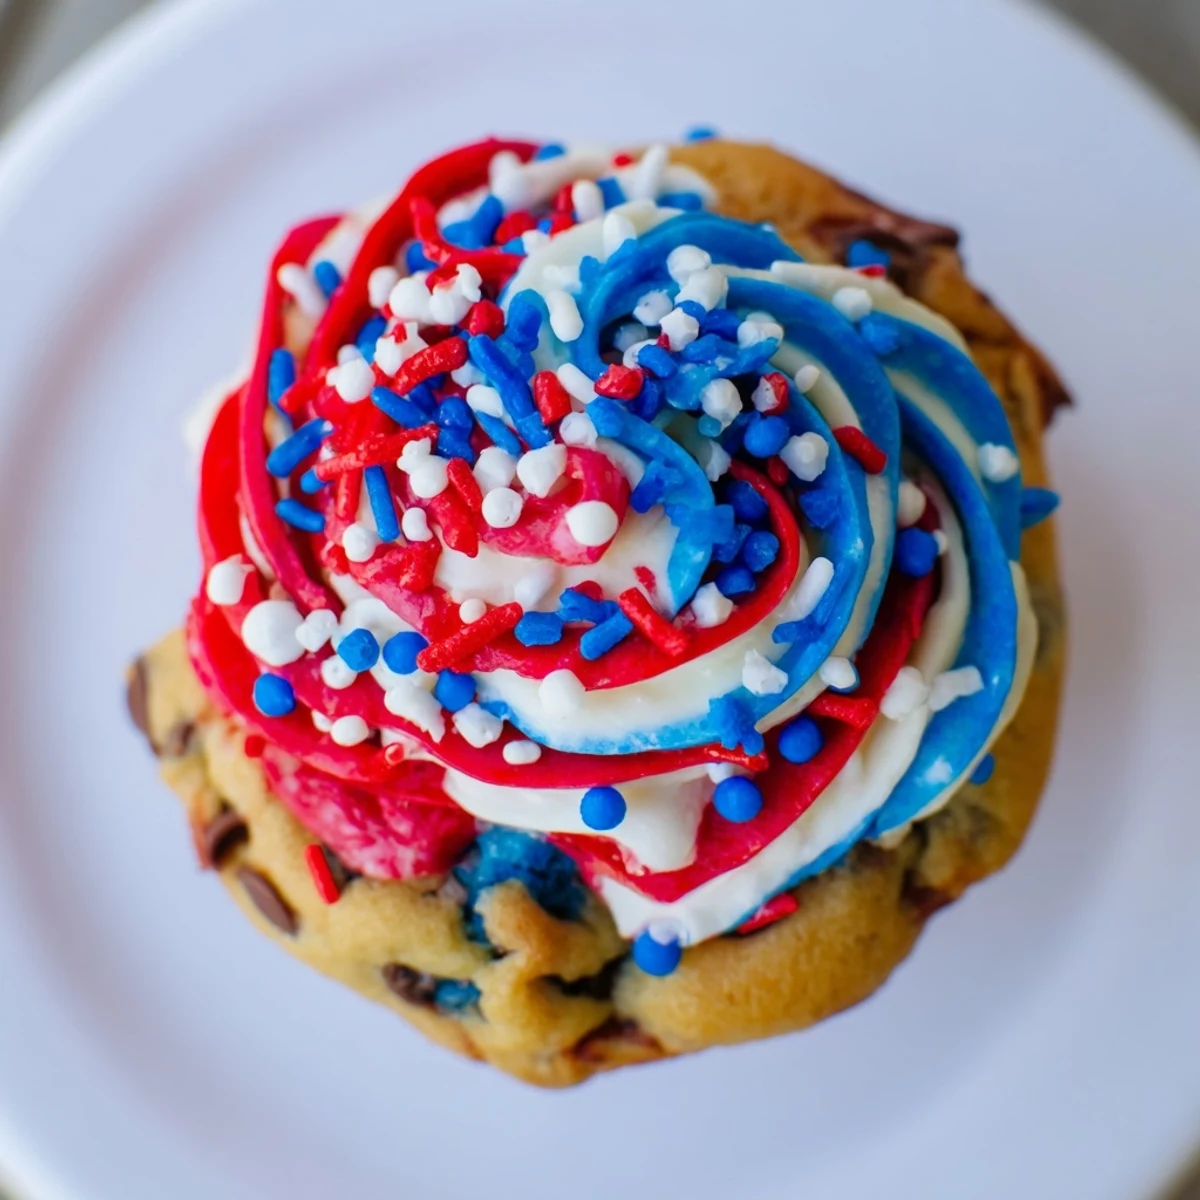
 These treats quickly became the most requested item at every family gathering that year.
Making Ahead
You can bake the cookie cups a day in advance and store them in an airtight container.
Serving Ideas
Arrange them on a tiered stand to really show off the red, white, and blue colors.
Success Secrets
Getting the cup shape right takes a little practice but makes all the difference.
- Use a small measuring spoon for consistent dough sizing.
- Chill the dough for 10 minutes if it feels too sticky.
- Have your sprinkles ready before the frosting sets.
 Pin it
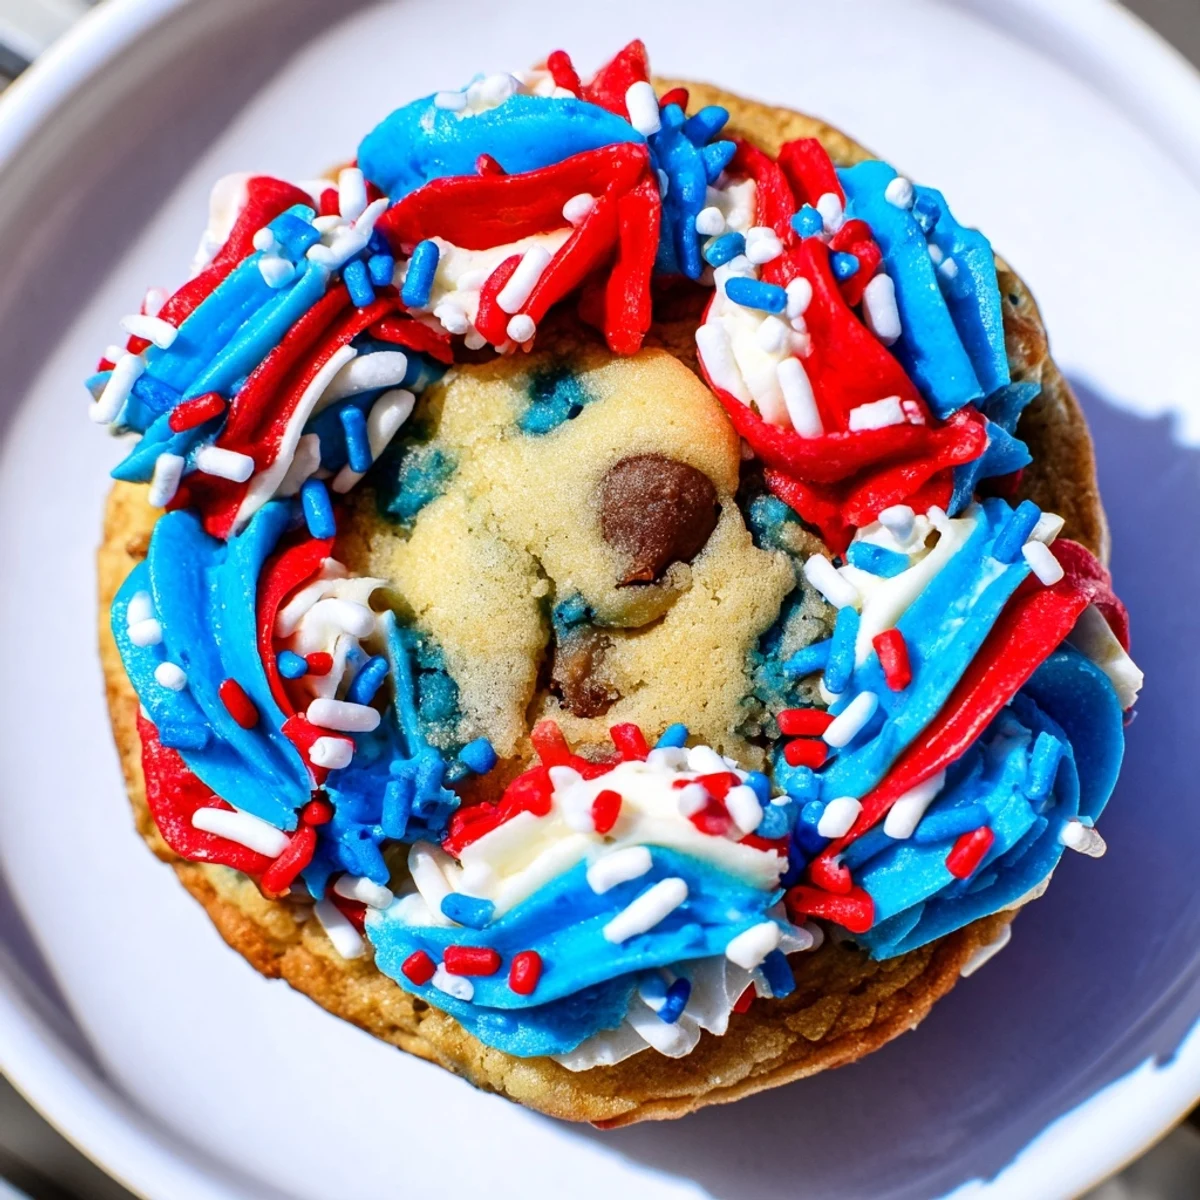
 Enjoy every festive bite of these delightful treats with your favorite people.
Recipe FAQs
- → Can I use store-bought cookie dough?
-
Yes, store-bought dough works well for quicker preparation. Just follow the same baking and cooling steps before frosting.
- → How do I store the cookie cups?
-
Store in an airtight container for up to 3 days. Refrigerate if frosted to keep the frosting fresh.
- → Can I freeze the unfrosted cups?
-
Absolutely! Freeze the unfrosted cookie cups in a freezer-safe bag for up to 1 month. Thaw and frost before serving.
- → What if I don’t have a mini muffin tin?
-
You can use a regular muffin tin for larger cups, but adjust baking time to 12-15 minutes. The yield will be smaller.
- → How do I get the cup shape?
-
Press the dough into the muffin cups before baking. After baking, use the back of a spoon to gently press down the centers while warm.
