 Pin it
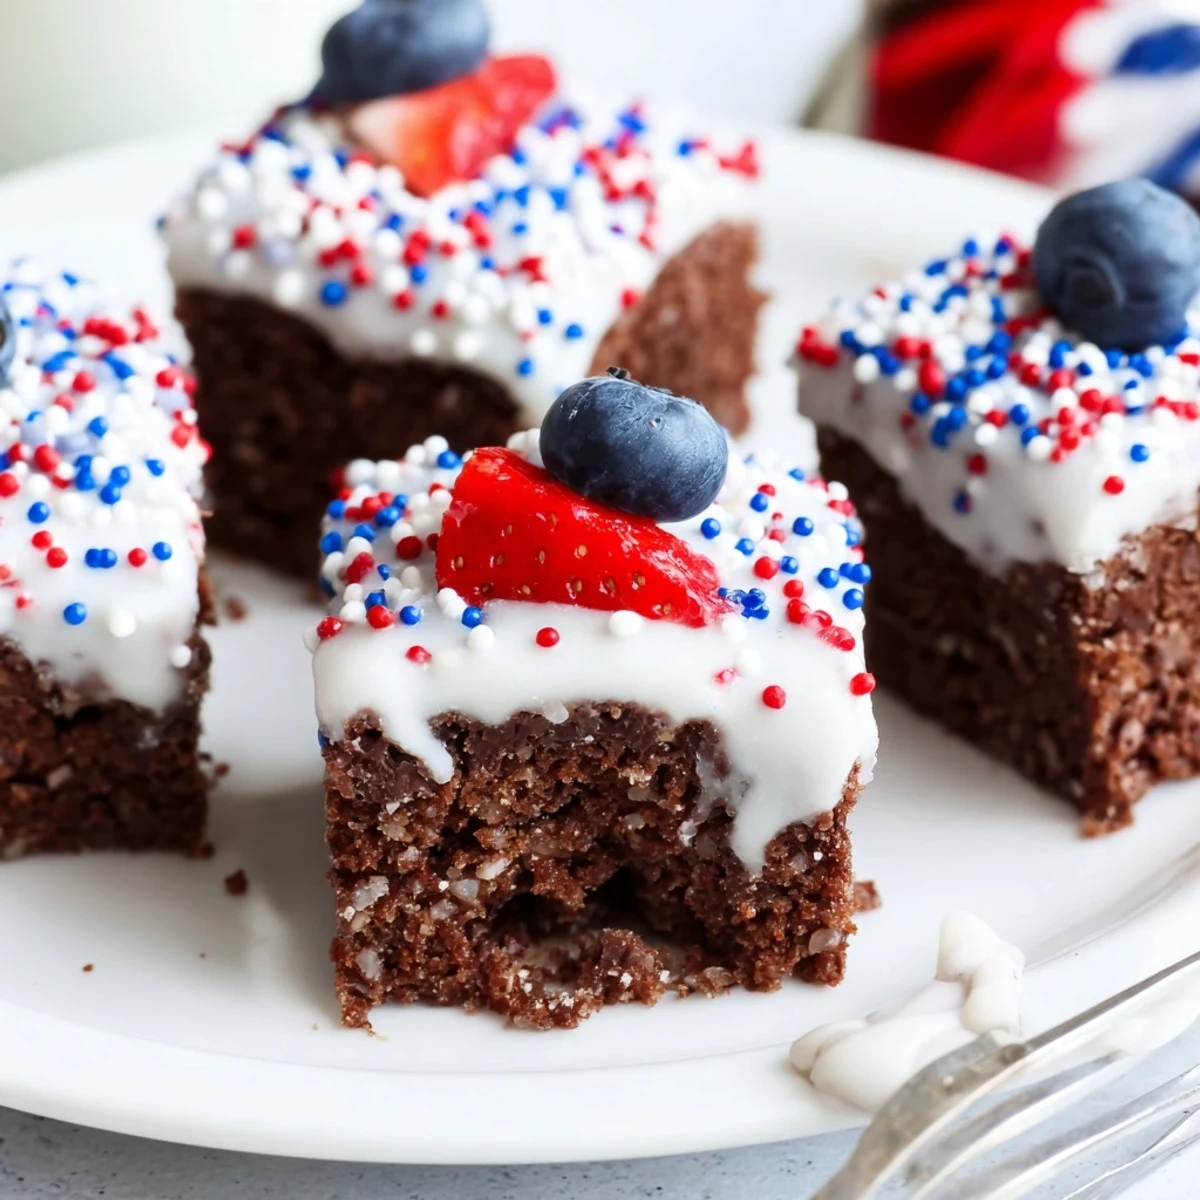
 These July brownie bites are a festive treat, topped with red, white, and blue decorations for Independence Day celebrations.
Last summer, I decided last minute to host a neighborhood get-together and realized I had zero time for a complicated dessert. I threw together these brownie bites with whatever sprinkles I had in the pantry, and they disappeared faster than anything else on the table. Now, they are my go-to solution for festive celebrations without the stress.
I remember watching my niece carefully place each blueberry and sprinkle on top of the cooled glaze like she was painting a masterpiece. It turned a simple baking project into a fun activity that kept the kids occupied while the adults chatted. Those little decorated bites were the star of the dessert table.
Ingredients
- Unsalted butter melted: Using melted butter creates a dense, fudgy texture that feels luxurious.
- Granulated sugar: This provides the necessary sweetness and creates a shiny, crackly top on the brownies.
- Large eggs: Room temperature eggs incorporate better into the batter for a consistent rise.
- Vanilla extract: Pure vanilla extract enhances the chocolate flavor without overpowering it.
- Unsweetened cocoa powder: High-quality cocoa powder ensures a deep, rich chocolate taste.
- All-purpose flour: This gives the brownies just enough structure to hold their shape in the mini muffin tin.
- Salt: A pinch of salt balances the sweetness and highlights the cocoa flavor.
- Baking powder: A small amount helps the brownie bites puff up slightly for a tender crumb.
- Powdered sugar: Essential for creating the smooth white glaze that holds the sprinkles.
- Milk: Adjust the amount of milk to get the glaze to your preferred drizzling consistency.
- Sprinkles or candy stars: These add the festive red and blue pop for the occasion.
- Fresh blueberries and strawberries: Fresh fruit adds a tart contrast to the sweet chocolate and glaze.
Instructions
- Prep the oven and pan:
- Start by preheating your oven to 350 degrees Fahrenheit and greasing a mini muffin tin so nothing sticks.
- Whisk the wet ingredients:
- In a medium bowl, whisk together the melted butter and sugar until smooth, then stir in the eggs and vanilla.
- Combine dry ingredients:
- Add the cocoa powder, flour, salt, and baking powder to the mixture and stir just until combined.
- Fill the muffin tin:
- Scoop the batter evenly into the prepared tin, filling each cavity about two-thirds full to allow for rising.
- Bake to perfection:
- Bake for 13 to 15 minutes, checking that a toothpick comes out with moist crumbs for a fudgy result.
- Cool the bites:
- Let the brownie bites cool in the tin for 5 minutes before moving them to a wire rack to cool completely.
- Make the glaze:
- Whisk together the powdered sugar, milk, and vanilla extract in a small bowl until smooth and lump-free.
- Decorate:
- Drizzle the glaze over the cooled brownie bites and immediately top with sprinkles so they stick.
- Finish and serve:
- Add fresh fruit if you like and let the glaze set before serving these festive treats.
 Pin it
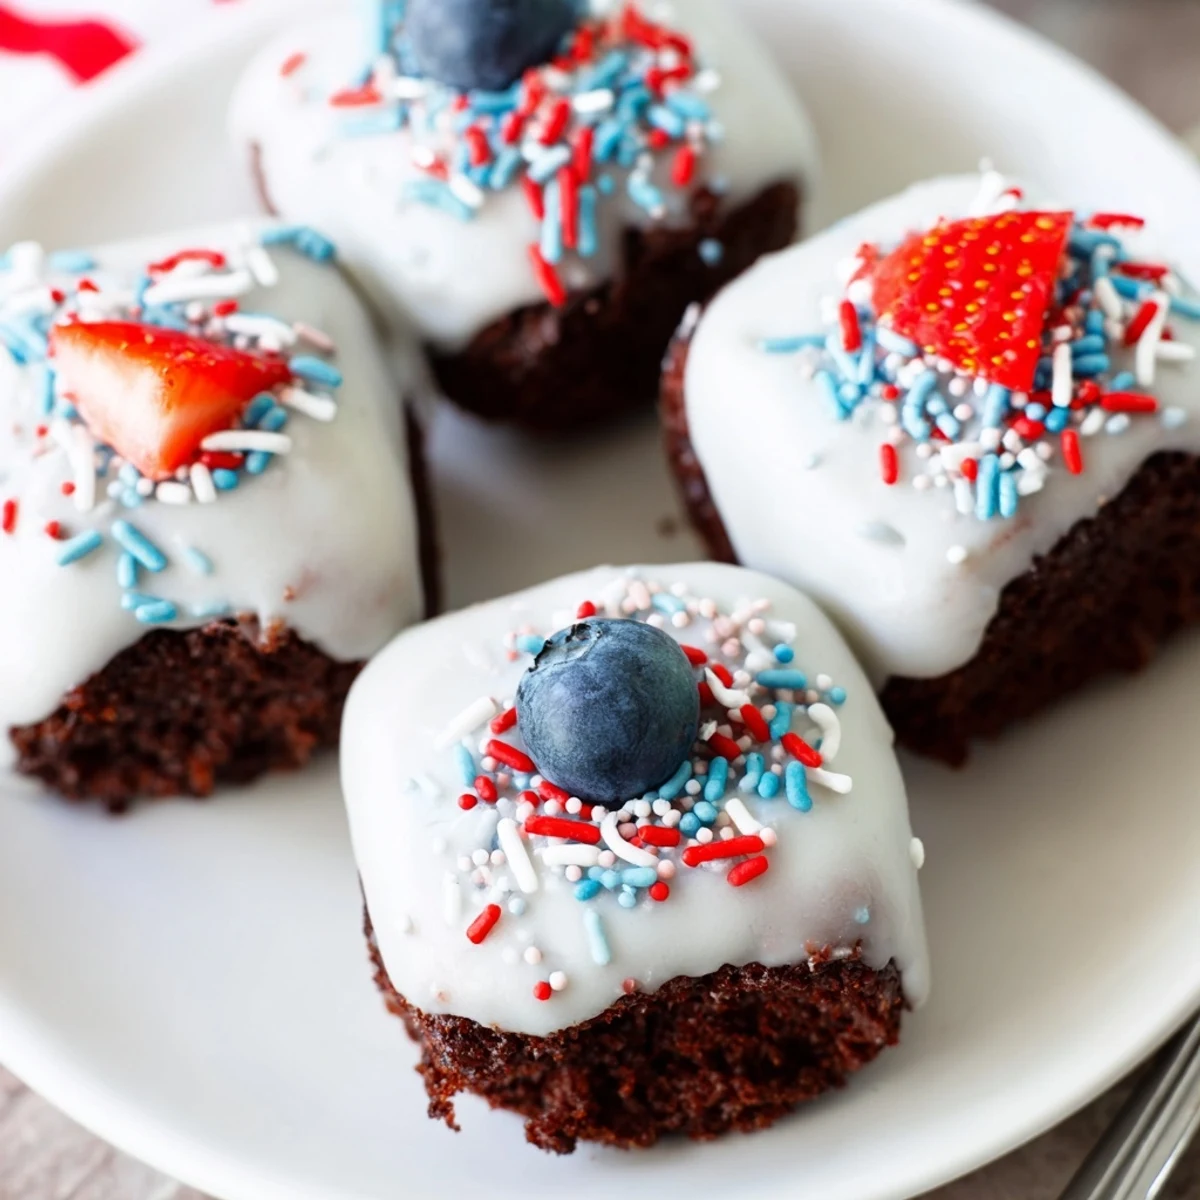
 These little bites became a tradition for us after that first summer party, bringing a touch of joy to every gathering. It is amazing how a simple treat can bring so many smiles to the table.
Getting the Right Texture
I have found that pulling the brownies out when the toothpick has moist crumbs is the secret to avoiding dryness. They continue cooking slightly in the hot pan, ensuring a perfect fudgy consistency once cooled.
Customizing the Glaze
If you prefer a thinner glaze, add just a teaspoon more milk at a time until it reaches your desired flow. A thicker glaze works great if you want to dip the tops instead of drizzling.
Making Ahead
You can bake the brownie bites a day in advance and store them in an airtight container to save time. Wait to glaze them until a few hours before serving so they look fresh and vibrant.
- Store unglazed brownies in a cool, dry place for up to two days.
- Keep glazed brownies in the refrigerator if the weather is hot and humid.
- Separate layers with parchment paper to prevent sticking.
 Pin it
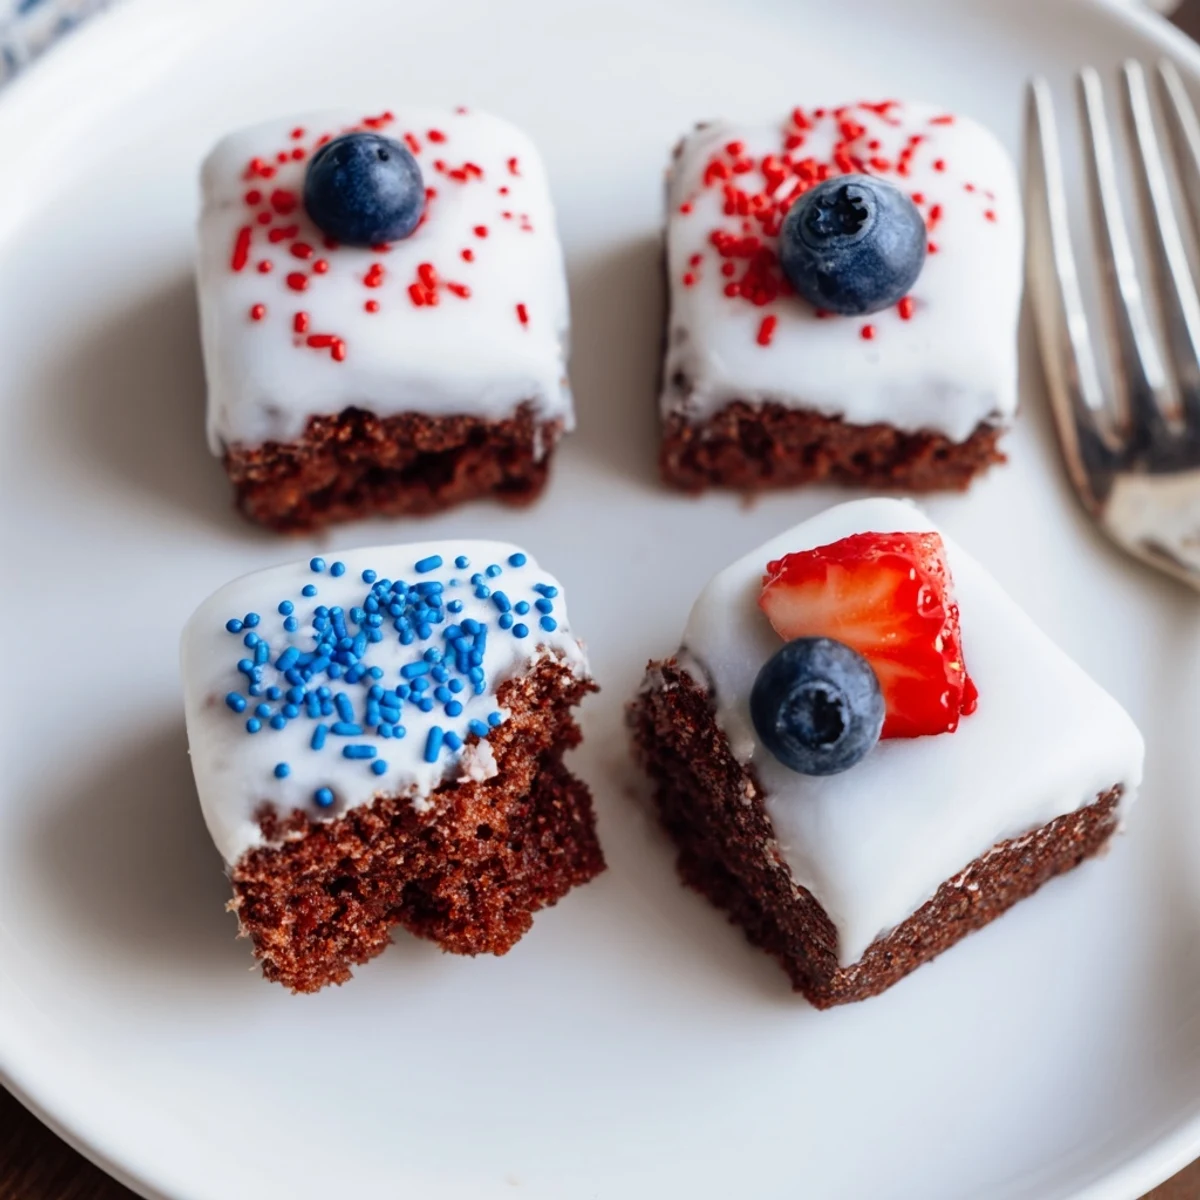
 Enjoy every bite of these festive treats and the happy moments they create. Happy baking and happy holidays!
Recipe FAQs
- → How long do these brownie bites take to make?
-
Total time is 35 minutes, including 20 minutes prep and 15 minutes baking.
- → Can I make these gluten-free?
-
Yes, use a 1:1 gluten-free flour blend instead of all-purpose flour.
- → What toppings work best?
-
Red and blue sprinkles, small candy stars, fresh blueberries, and diced strawberries are perfect.
- → How should I store these brownie bites?
-
Store in an airtight container at room temperature for up to 3 days.
- → Can I add extra chocolate?
-
Yes, mix in chocolate chips to the batter for an extra chocolatey bite.
