 Pin it
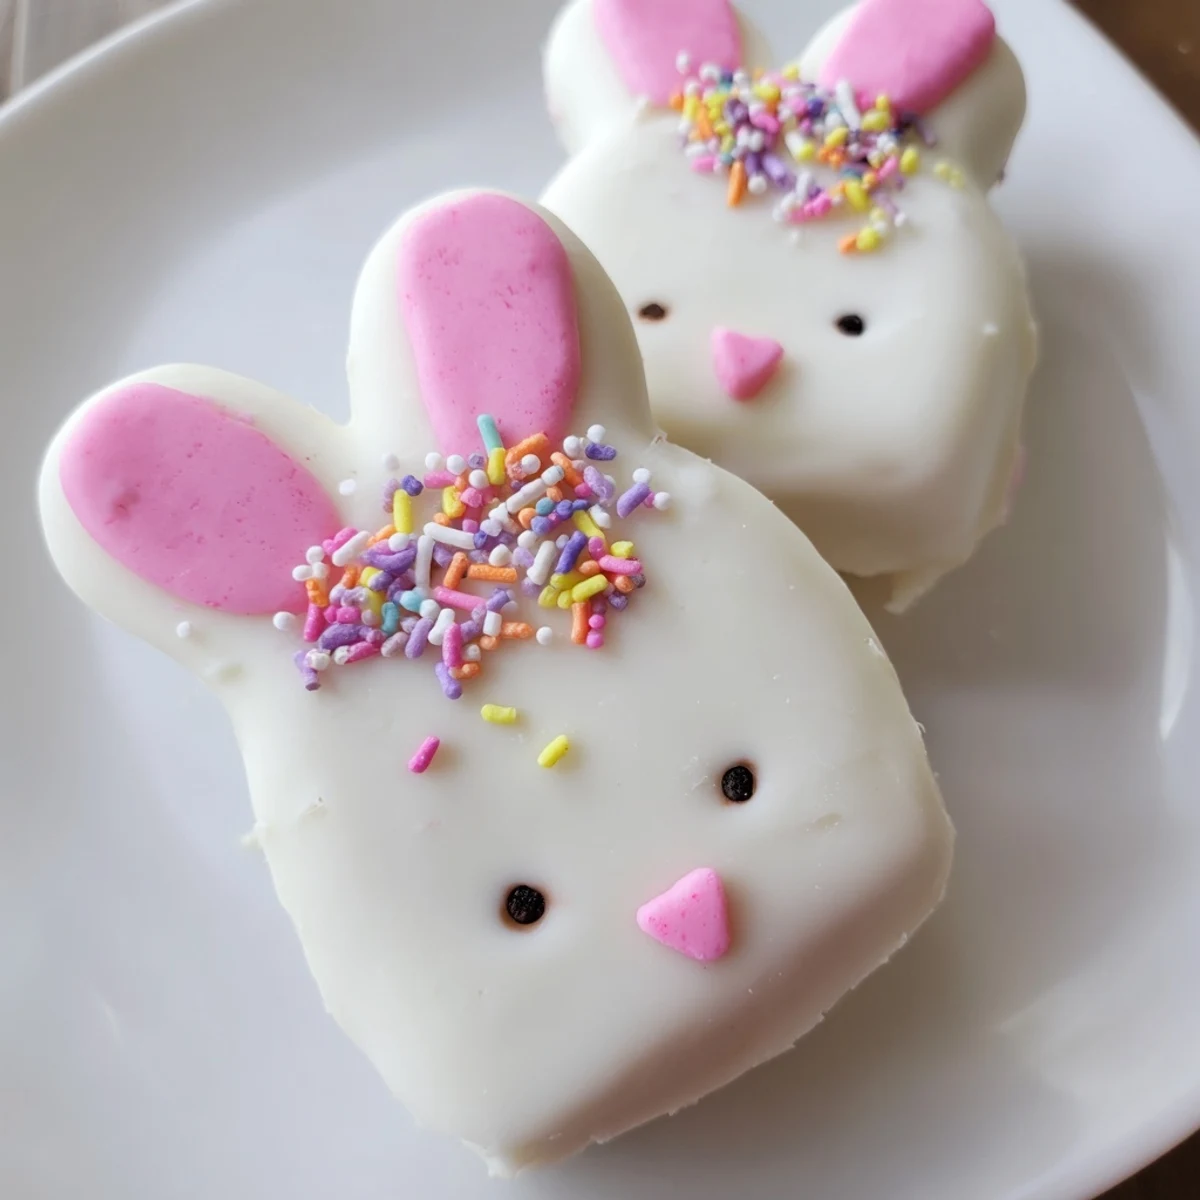
 These delightful bunny-shaped cakesicles combine moist vanilla cake crumbs with cream cheese and butter, creating a perfect dough consistency. Each portion gets shaped into adorable bunny faces, dipped in luscious melted white chocolate, and decorated with candy eyes, sprinkles, or fondant details. The entire process takes just one hour, yielding eight festive treats that are both visually charming and delicious. These handheld desserts are perfect for Easter baskets, spring parties, or as a fun weekend baking project with family.
The first Easter I made these, my kitchen looked like a confetti explosion gone wrong. Pink sprinkles everywhere, chocolate smudges on my apron, and three tiny helpers eagerly waiting to lick the spatula. That messy afternoon created a tradition my kids now ask for months in advance. Theres something magical about turning cake into edible art that makes everyone feel like a kid again.
Last spring, my neighbor popped over just as I was dipping the last batch. She ended up staying an hour, dipping her own and experimenting with different ear designs. We laughed until our sides hurt over some particularly lopsided bunnies that looked more like cats. Now she brings her own sprinkles every Easter and we make an afternoon of it.
Ingredients
- Vanilla cake crumbs: Using slightly stale cake actually works better here, so bake a day ahead or grab those day-old cupcakes from the grocery store
- Cream cheese: Room temperature is nonnegotiable, it binds everything together into that perfect dough-like texture
- Unsalted butter: Softened butter helps the mixture hold its shape without making it too dense or heavy
- Powdered sugar: This adds just enough sweetness to balance the rich white chocolate coating
- Vanilla extract: Pure vanilla makes all the difference in elevating that classic birthday cake flavor
- White chocolate: Candy melts are easier to work with but real white chocolate tastes incredible if you have patience for tempering
- Edible gel food coloring: Gel colors wont seize up your chocolate like liquid food coloring will
- Cakesicle sticks: Insert these at an angle for better stability and less chance of sliding off
- Sprinkles and decorations: Have everything ready before you start dipping because chocolate sets fast
Instructions
- Mix the cake dough:
- Combine everything in a bowl and mix with your hands, feeling for that perfect Play-Doh consistency that holds together when squeezed
- Shape your bunnies:
- Work quickly with clean hands, forming flattened ovals slightly tapered at the top for that classic bunny face silhouette
- Add the sticks:
- Push each stick about halfway in, then give it a gentle twist to secure it in the cake mixture
- Chill until firm:
- Cold cake pops dip much better, so dont skip this 20-minute refrigerator waiting period
- Melt the chocolate:
- Microwave in short bursts, stirring between each one, until you have silky smooth liquid white chocolate
- Dip and swirl:
- Holding the stick at an angle, lower each cake pop into the chocolate and pull it up quickly with a smooth motion
- Tap off excess:
- Gently tap the stick against the bowl edge to remove drips, but dont go overboard or youll pull off too much coating
- Decorate immediately:
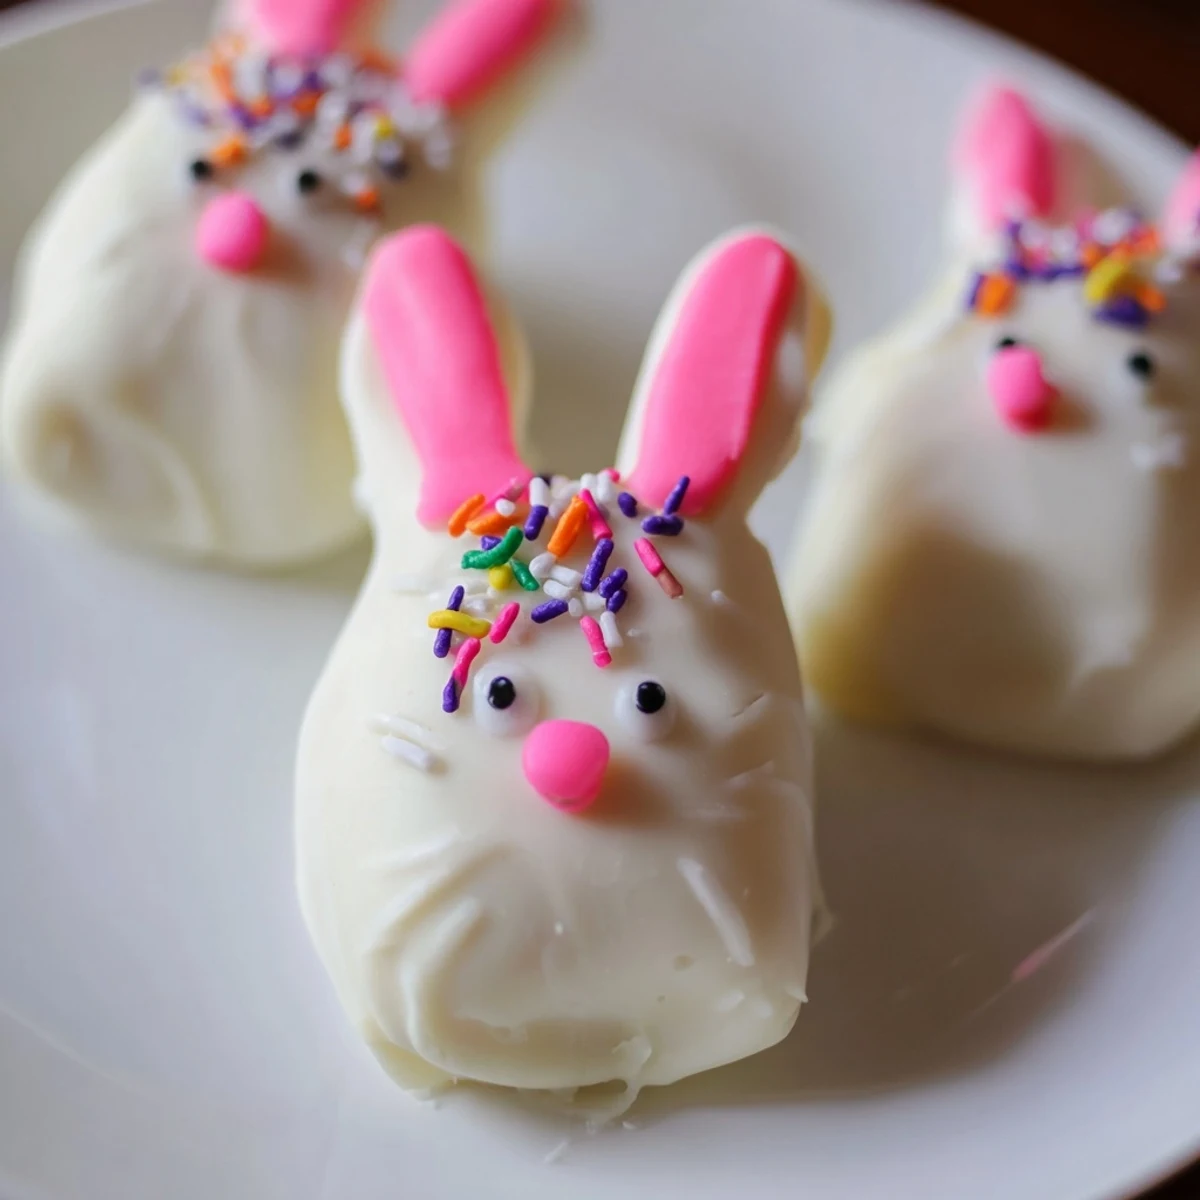
- Add candy eyes, sprinkle whiskers, and press in fondant ears while the chocolate is still tacky
- Set completely:
- Stand them up in a glass or styrofoam block and let them harden at room temperature for the smoothest finish
 Pin it
 My youngest daughter made a whole batch with rainbow ears for her class party, and they were such a hit that her teacher asked for the recipe. Seeing how proud she was serving something she created herself was better than any bakery-perfect result. Those imperfect, sprinkles-covered bunnies taught me that the joy is in the making together.
Making Different Cake Flavors
Chocolate cake crumbs with white chocolate coating creates that cookies and cream flavor everyone loves. Lemon cake with yellow-tinted white chocolate feels like sunshine on a stick. The possibilities really are endless once you start experimenting.
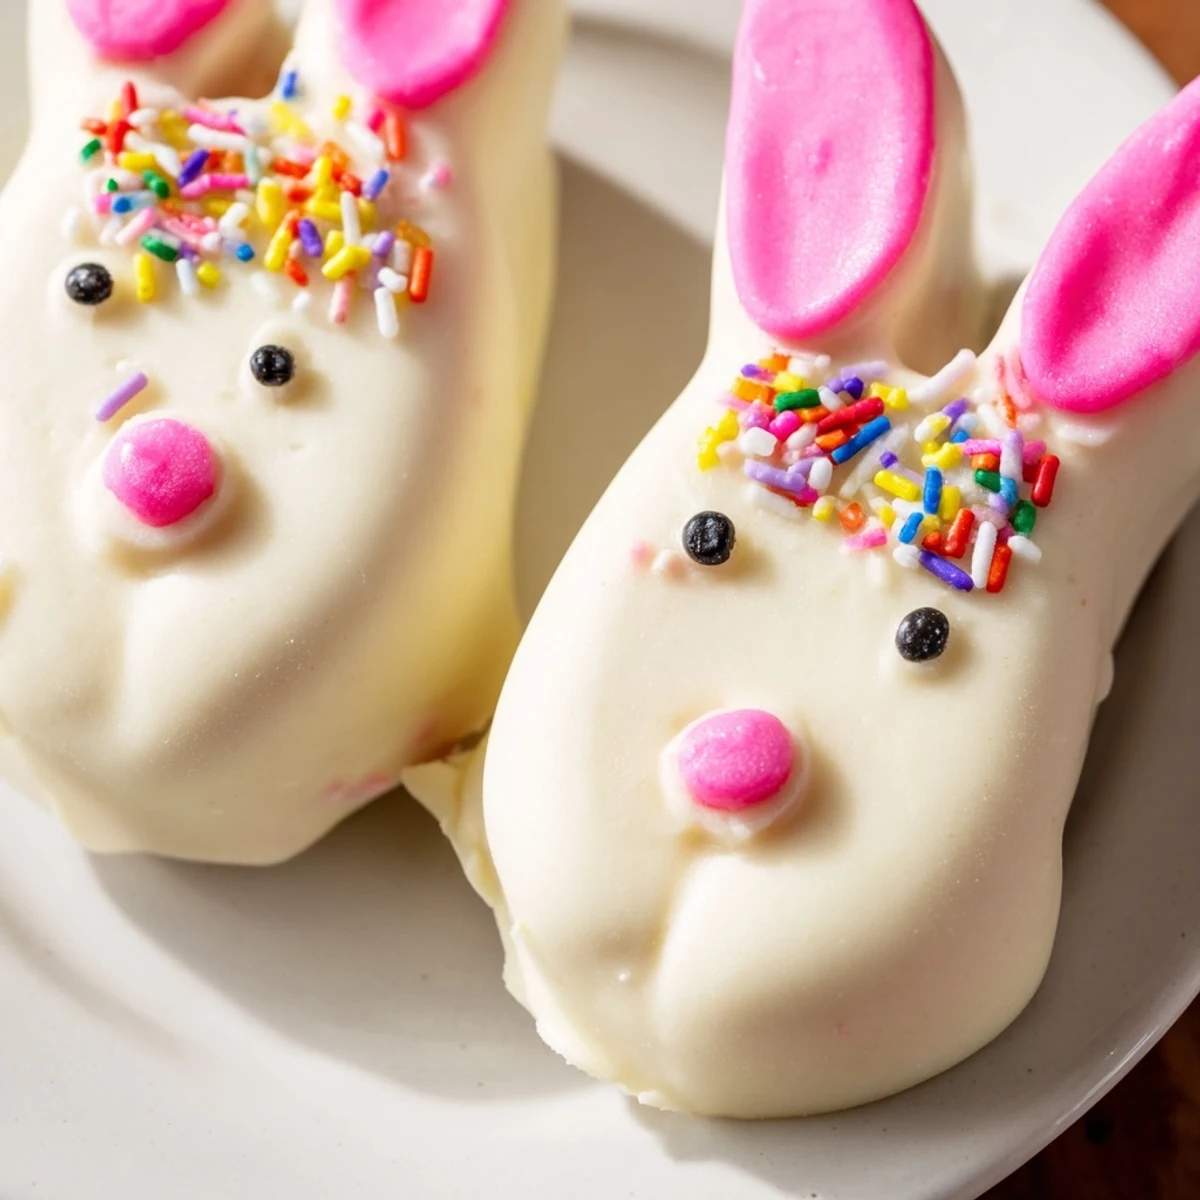
Getting Creative With Ears
Fondant rolls out thin and holds shape beautifully for classic bunny ears. Pretzel sticks dipped in pink chocolate add a salty crunch that surprises people. Even sliced almonds work in a pinch for minimalist modern bunnies.
Storage And Making Ahead
These actually taste better after resting overnight, so theyre perfect for making the day before your Easter celebration. The cake and chocolate have time to become friends and the texture improves significantly.
- Layer them between parchment paper in an airtight container
- Let them come to room temperature before serving for the best texture
- Avoid storing them near anything with strong odors since chocolate absorbs smells
 Pin it
 Happy Easter baking, and may your kitchen be filled with more laughter than sprinkles this year.
Recipe FAQs
- → What are cakesicles made of?
-
Cakesicles are created by combining cake crumbs with cream cheese, butter, powdered sugar, and vanilla extract. This mixture forms a dough-like consistency that can be shaped and coated in chocolate.
- → How long do white chocolate cakesicles stay fresh?
-
Store these treats in an airtight container in the refrigerator for up to 3 days. The chocolate coating helps maintain freshness while keeping the cake center moist.
- → Can I use different cake flavors?
-
Absolutely! Chocolate, lemon, red velvet, or any favorite cake flavor works wonderfully. Just ensure the crumbs are fine enough to form a cohesive mixture with the binding ingredients.
- → Do I need a special mold for cakesicles?
-
While cakesicle molds help create uniform shapes, you can hand-shape the mixture into flattened ovals or bunny faces. Simply insert the sticks and chill before coating.
- → What's the best way to melt white chocolate?
-
Melt white chocolate in a microwave-safe bowl using 30-second intervals, stirring between each burst. This method prevents scorching and ensures smooth, evenly melted coating.
