 Pin it
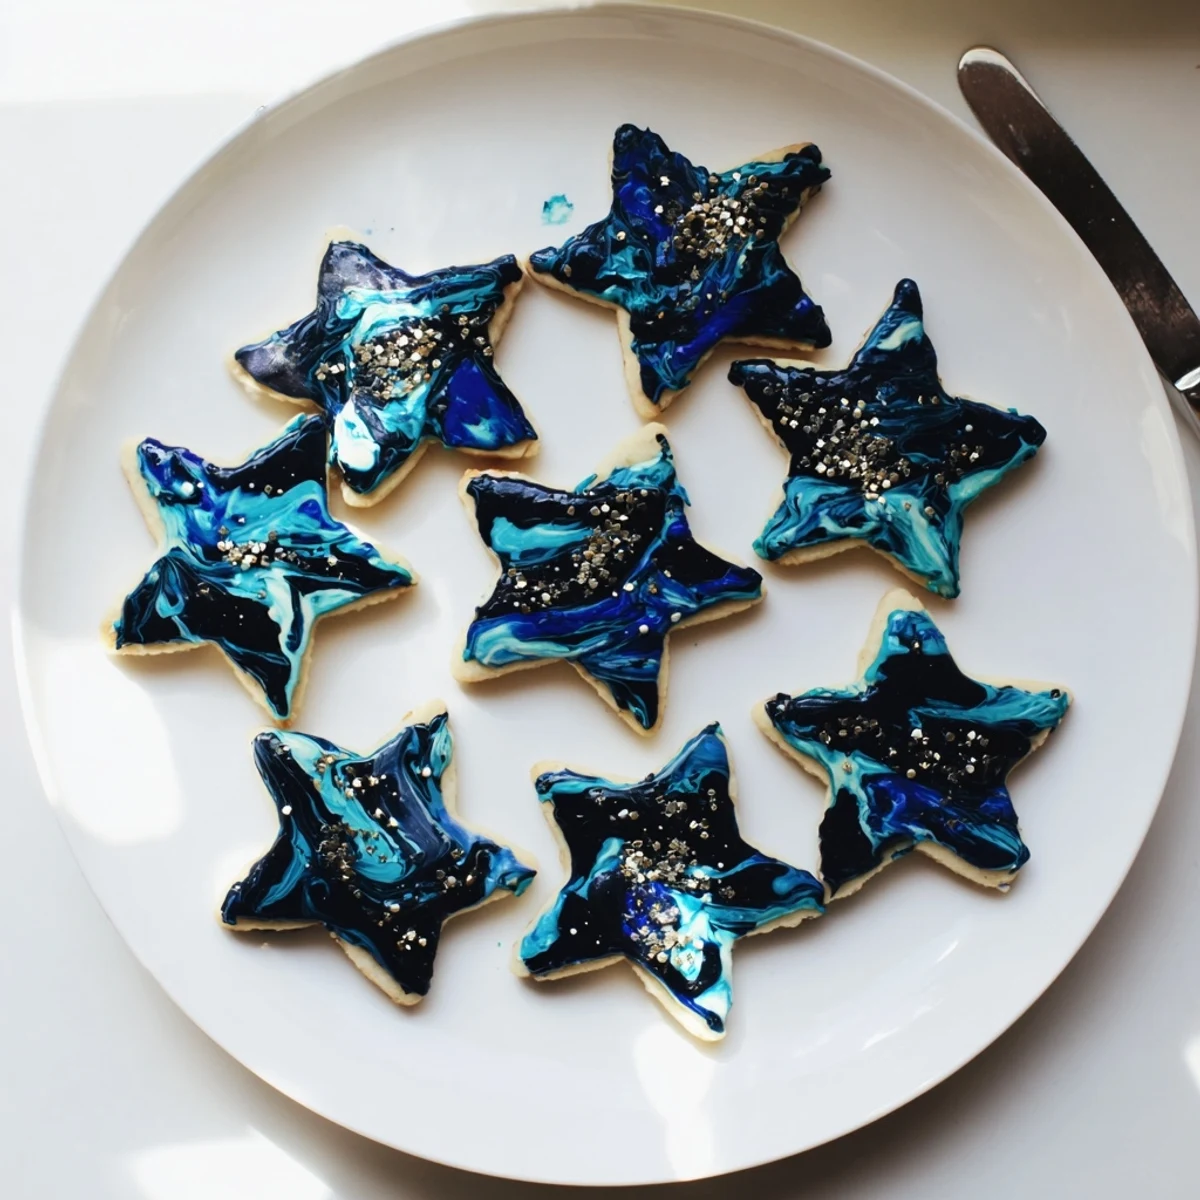
 These delicate vanilla sugar cookies feature a stunning dark blue and black marbled icing that mimics a starry night sky. The buttery cookie base pairs perfectly with the sweet royal-style glaze, while edible gold and silver stars add magical sparkle. Each batch yields two dozen celestial treats ideal for birthdays, holidays, or any celebration calling for something extraordinary.
The first time I attempted galaxy themed cookies was for a meteor shower party that got completely clouded out. My friends didnt seem to mind though once they saw these midnight blue beauties twinkling on the dessert table. Theres something almost magical about watching the dark and light icing swirl together like youve captured a piece of the night sky right on your baking sheet. Now I make them anytime we need a little celestial wonder in our lives.
My daughter helped me make a batch for her schools space themed spring festival and the kids went absolutely wild for them. Watching her face light up as she dropped each cookie into the swirling blue and black frosting was better than any meteor shower could have been. Weve started making them together whenever we need a little kitchen magic.
Ingredients
- All-purpose flour: Provides the perfect structure for a cookie that holds its shape without getting tough or crumbly
- Baking powder: Just enough to give these cookies a subtle lift so theyre tender rather than hard
- Unsalted butter: Room temperature butter is non negotiable here it creates the perfect creamy base for your dough
- Granulated sugar: Sweetens while helping create those crisp edges we all love in a good sugar cookie
- Powdered sugar: Sifting first prevents those frustrating lumps that can ruin an otherwise smooth icing
- Corn syrup: The secret ingredient that gives your icing that gorgeous professional sheen and helps it set perfectly
- Gel food coloring: Liquid coloring will thin your icing too much while gel gives you those rich deep celestial colors
Instructions
- Mix your dry ingredients:
- Whisk the flour baking powder and salt in a medium bowl until everything is evenly distributed
- Cream the butter and sugar:
- Beat them together for a full 2 to 3 minutes until the mixture looks pale and fluffy like vanilla clouds
- Add the wet ingredients:
- Mix in the egg and vanilla extract just until combined dont overmix or your cookies might toughen
- Combine everything:
- Gradually add the dry ingredients mixing only until you no longer see visible flour streaks
- Chill the dough:
- Shape into two discs wrap tightly and refrigerate for at least 30 minutes this step is crucial for clean cut edges
- Prepare for baking:
- Preheat your oven to 350 degrees F and line your baking sheets with parchment paper
- Roll and cut:
- Roll one disc at a time to a quarter inch thickness and cut into shapes chilling the scraps if they get too soft
- Bake to perfection:
- Bake for 9 to 11 minutes until edges are barely golden they should still look slightly underbaked in the center
- Make the icing base:
- Whisk powdered sugar milk corn syrup and vanilla until smooth adding more milk only if needed for thick pourable consistency
- Create the galaxy effect:
- Tint one bowl of icing deep blue and another black then swirl them together gently in a shallow dish
- Dip and decorate:
- Dip each cooled cookie face down into the marbled icing and immediately scatter edible stars on top before it sets
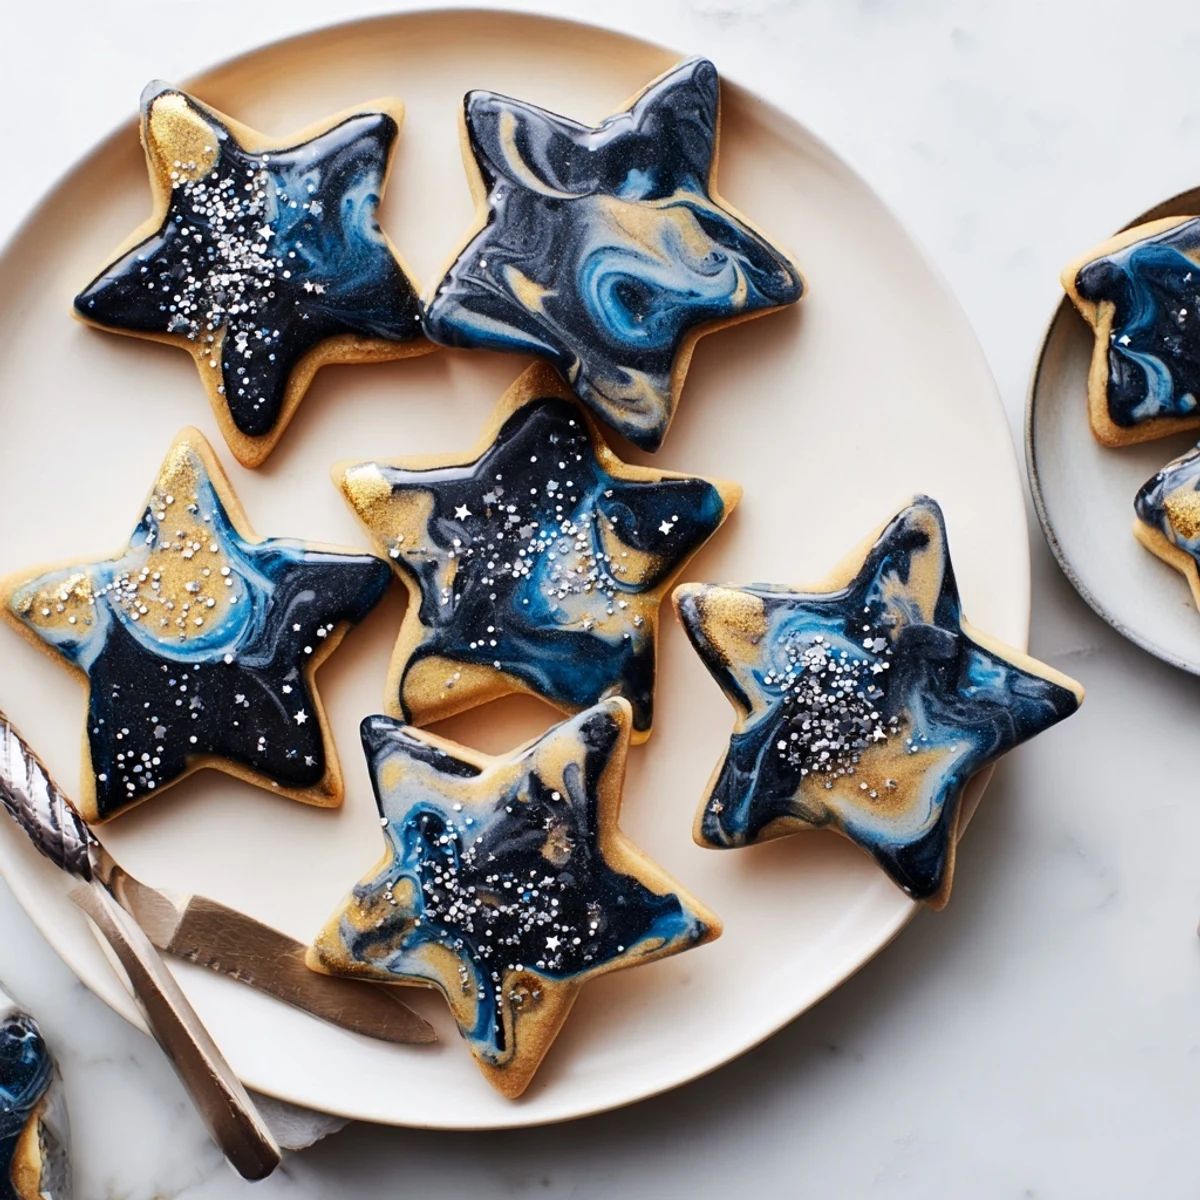 Pin it
 These have become my go to contribution for any evening gathering because they always spark conversation. Theres something about breaking out a tray of edible constellations that makes people linger around the dessert table just a little bit longer. I love how something so simple can make a regular Tuesday dinner feel like a special occasion.
Getting That Perfect Marble
The key is barely swirling your two colors together think gentle figure eights rather than full mixing. I keep a clean toothbrush handy to sweep away any stray crumbs before dipping since even the smallest speck will show up against that dark blue background.
Temperature Secrets
Your cookies must be completely cooled before icing or the frosting will melt right off. I learned this the hard way when I got impatient and ended up with a streaky mess instead of beautiful galaxies.
Storage Solutions
Once the icing has fully set which takes about 30 minutes you can stack these between sheets of parchment paper. They actually taste better on day two when the flavors have had time to meld together.
- Freeze unbaked cookie dough discs for up to two months then thaw in the refrigerator overnight
- Baked undecorated cookies freeze beautifully and can be iced whenever youre ready to serve them
- Already decorated cookies will keep at room temperature for three to four days in an airtight container
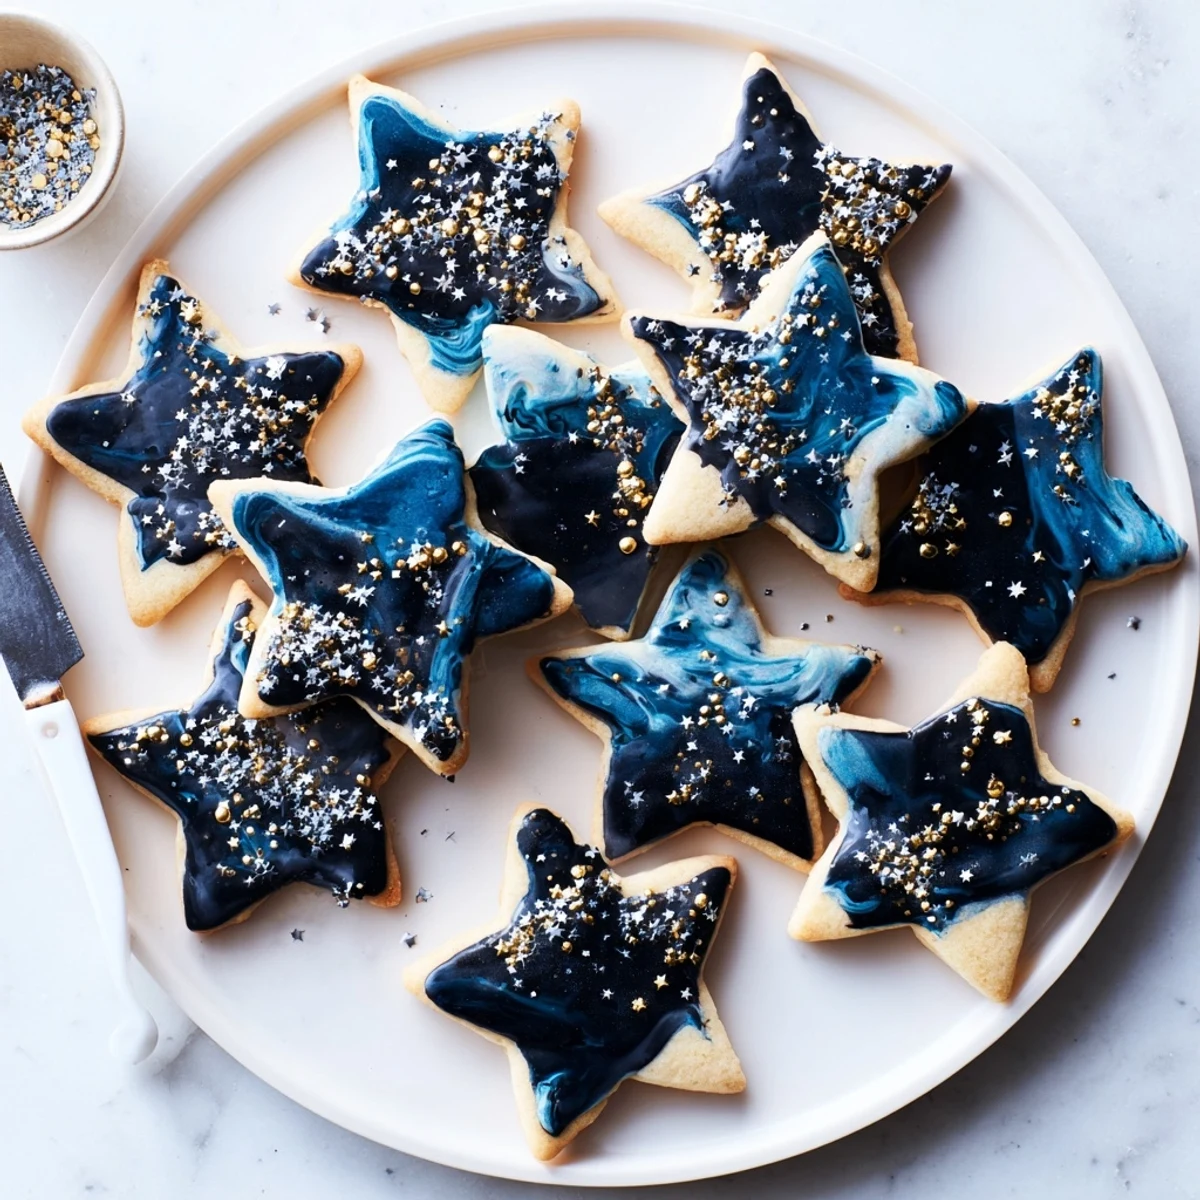 Pin it
 Theres something deeply satisfying about creating your own little galaxy right on the kitchen counter. I hope these starry treats bring as much wonder to your table as they have to mine.
Recipe FAQs
- → How far ahead can I make these cookies?
-
The dough can be prepared and refrigerated up to 3 days before baking or frozen for up to 2 months. Once baked and decorated, cookies stay fresh in an airtight container for up to 5 days.
- → Can I use different colors for the marbled effect?
-
Absolutely! The marbling technique works with any gel food coloring combination. Try purple and pink for galaxy cookies, or green and blue for an ocean-inspired look.
- → What's the best way to achieve the marble pattern?
-
Add both colored icings to a shallow dish without fully mixing them. Gently swirl once or twice with a toothpick, then dip the cookie face-down. Each one will have a unique pattern.
- → Can I make these without a stand mixer?
-
Yes, a hand mixer works perfectly for creaming the butter and sugar. You can also mix by hand, though it will take longer to achieve the proper fluffy texture.
- → Where can I find edible star sprinkles?
-
Edible gold and silver stars are available at baking supply stores, specialty grocery stores, and online retailers. Some craft stores with baking sections also carry them in the cake decorating aisle.
- → Why is chilling the dough important?
-
Chilling prevents the cookies from spreading too much during baking, maintaining their shape and thickness. It also makes the dough easier to roll out and cut without sticking.
