
 Pin it
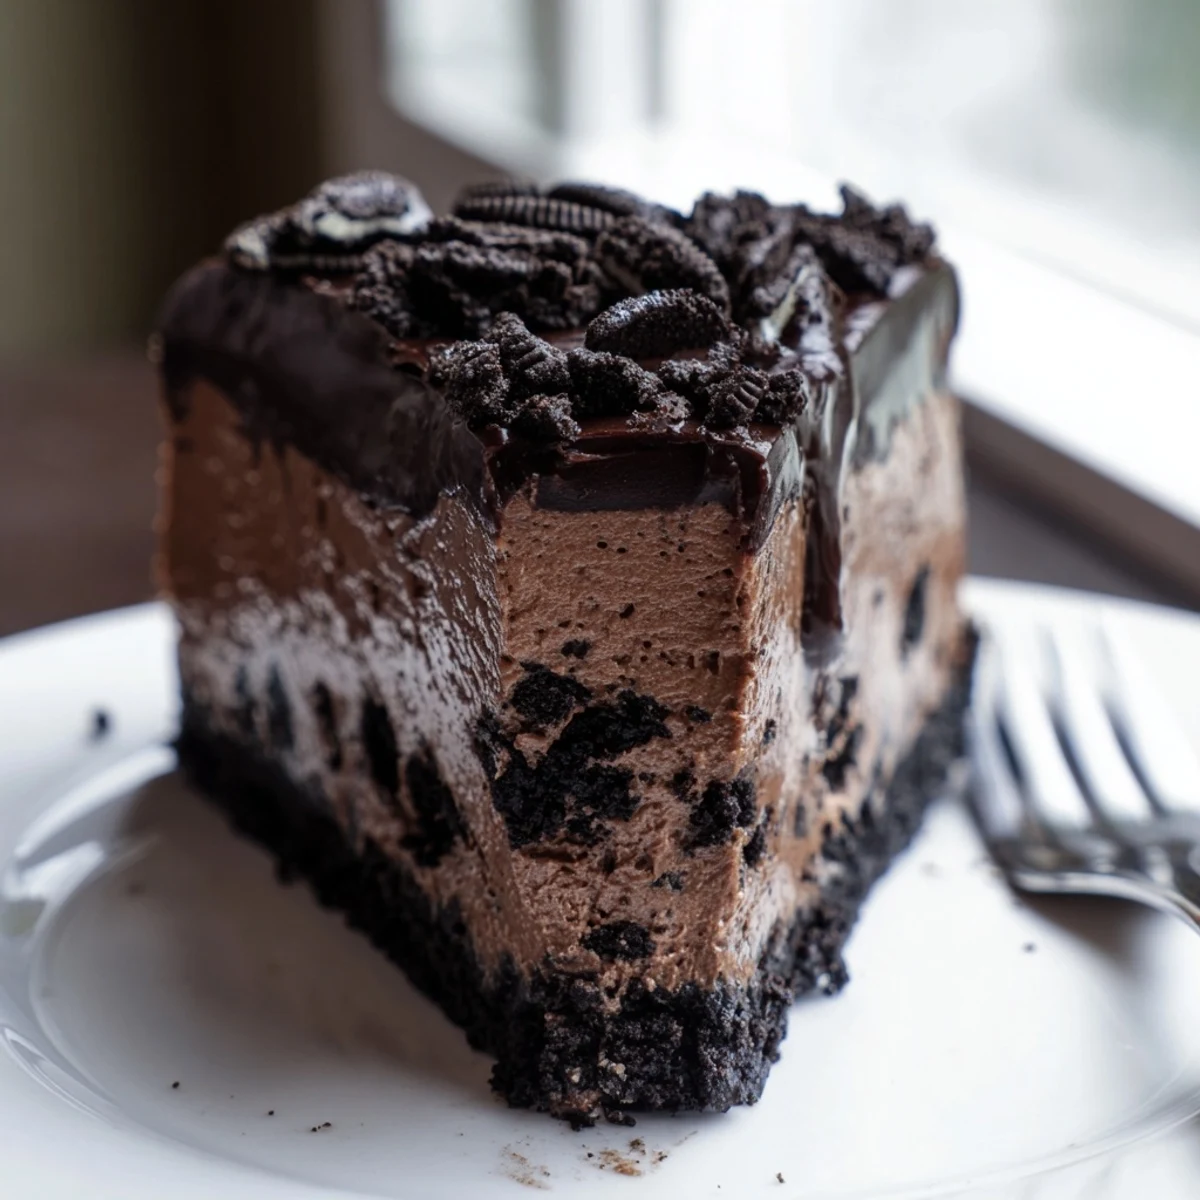
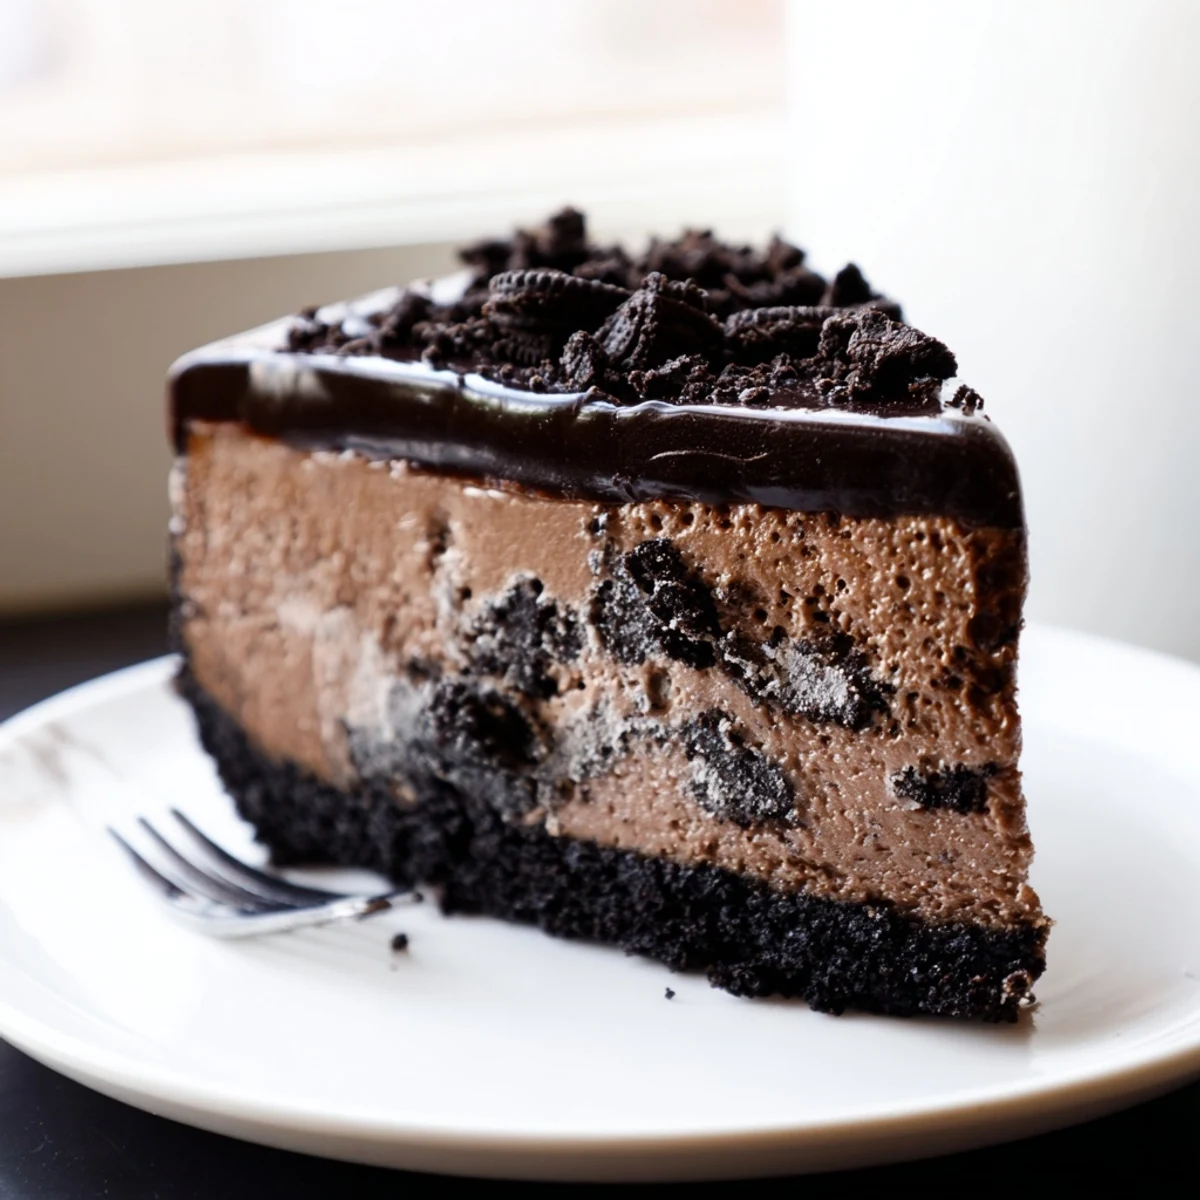
 This Oreo chocolate cheesecake brings together three irresistible layers of chocolate indulgence. A buttery Oreo cookie crust forms the crunchy base, topped with a velvety cream cheese filling loaded with melted dark chocolate, cocoa powder, and chunks of chopped Oreos.
The whole thing gets crowned with a silky chocolate ganache and a sprinkle of crushed cookies for extra crunch. Plan ahead—the cheesecake needs at least 4 hours of chilling time, and overnight is even better for the perfect slice.
Serve it at your next gathering and watch it disappear. It pairs beautifully with fresh berries or a dollop of whipped cream.
The rain was hitting my kitchen window last November when I decided to attempt what I thought would be a simple chocolate cheesecake for my sister's birthday. Three failed attempts later, I finally understood why cheesecake has earned its reputation as both beloved and temperamental. That fourth try, when everything finally came together, taught me more about patience and technique than any other dessert I've ever made.
My sister still talks about that birthday cake, but what she doesn't know is that I almost served her a cracked, sunken disaster until I discovered the oven door trick that changed everything. Now this cheesecake has become our family tradition for special occasions, and I've learned that the overnight chill is not optional—it's what transforms good into absolutely incredible.
Ingredients
- 28 Oreo cookies: These create the foundation, and I've learned that processing them to fine crumbs helps the crust hold together better than chunky pieces
- 5 tbsp unsalted butter, melted: Room temperature butter blends more evenly with the crumbs, creating that signature crunch
- 675 g cream cheese, softened: This is nonnegotiable—cold cream cheese creates lumps that no amount of mixing can fix
- 200 g granulated sugar: Dissolving this completely into the cream cheese prevents grainy texture in the final cake
- 200 g dark chocolate, melted and cooled: Cooling it to room temperature prevents scrambling the eggs when you add them later
- 30 g unsweetened cocoa powder: Sift this first to avoid stubborn lumps that won't break down during mixing
- 180 ml sour cream, room temperature: This adds tang and helps create that velvety texture we all love
- 1 tsp pure vanilla extract: Don't skip this—even though it's chocolate, vanilla enhances all the flavors
- 3 large eggs, room temperature: Cold eggs can cause the filling to seize up, so let them sit out about 30 minutes
- 8 Oreo cookies, roughly chopped: These become delightful little pockets of crunch throughout the filling
- 120 ml heavy cream: Room temperature cream incorporates more smoothly with the chocolate
- 120 g dark chocolate, chopped: Chop this into small, even pieces so they melt uniformly
- 2 Oreo cookies, crushed: The garnish that tells everyone exactly what they're about to enjoy
Instructions
- Prep your pan and oven:
- Preheat to 160°C and wrap that springform pan tightly with foil—water bath leaks are no joke
- Build the crust foundation:
- Pulse those Oreos until they're sandlike, mix with butter, and press into your pan with the back of a measuring cup for even thickness
- Create the creamy base:
- Beat cream cheese and sugar until you can't see any granules, then blend in that melted chocolate and cocoa until it looks like satin
- Add the finishing touches:
- Fold in sour cream and vanilla, then add eggs one at a time on low speed—overmixing here is what causes cracks later
- Gently incorporate the cookies:
- Handfold those chopped Oreos with a spatula until just distributed, keeping some chunks visible for texture
- Bake with patience:
- Pour and smooth the top, then bake 45 to 50 minutes until the center barely moves when you give the pan a gentle nudge
- The cooling magic trick:
- Turn off the oven, crack that door, and let the cheesecake rest inside for an hour—this slow cooling prevents sinking
- Make the ganache crown:
- Heat cream until it just simmers, pour over chocolate, wait 2 minutes, then stir until glossy and smooth
- Finish with flair:
- Pour that ganache over your thoroughly chilled cake, add crushed cookies, and give it one final 30 minute chill before serving
 Pin it
 Last Christmas, my normally reserved father asked for the recipe after taking one bite, and I realized this wasn't just a dessert anymore—it had become part of our family story. Now whenever I make it, I think about how something as simple as patience and technique can turn basic ingredients into memories that last long after the last crumb is gone.
Mastering the Water Bath
I learned the hard way that wrapping your springform pan in two layers of foil prevents those disastrous leaks that turn your water bath into a sad, soggy mess. The gentle steam from the water bath creates that incredibly smooth texture, but only if you seal that pan like you're protecting a treasure.
Knowing When It's Done
The center should still have a slight wobble, like gelatin, when you remove it from the oven. That residual heat continues cooking the cake as it cools, and I've ruined more than one by overbaking while chasing that fully set look.
Serving Secrets
Run a thin knife under hot water before each slice, wiping it clean between cuts for those pristine restaurant style edges. Serve this slightly chilled rather than ice cold—the flavors are so much more vibrant when they've had 15 minutes out of the fridge.
- Let your knife do the work with gentle sawing motions rather than pressing down
- Dip the knife in hot water and wipe it every single slice for picture perfect pieces
- This cake actually improves after 24 hours in the refrigerator, if you can wait that long
 Pin it
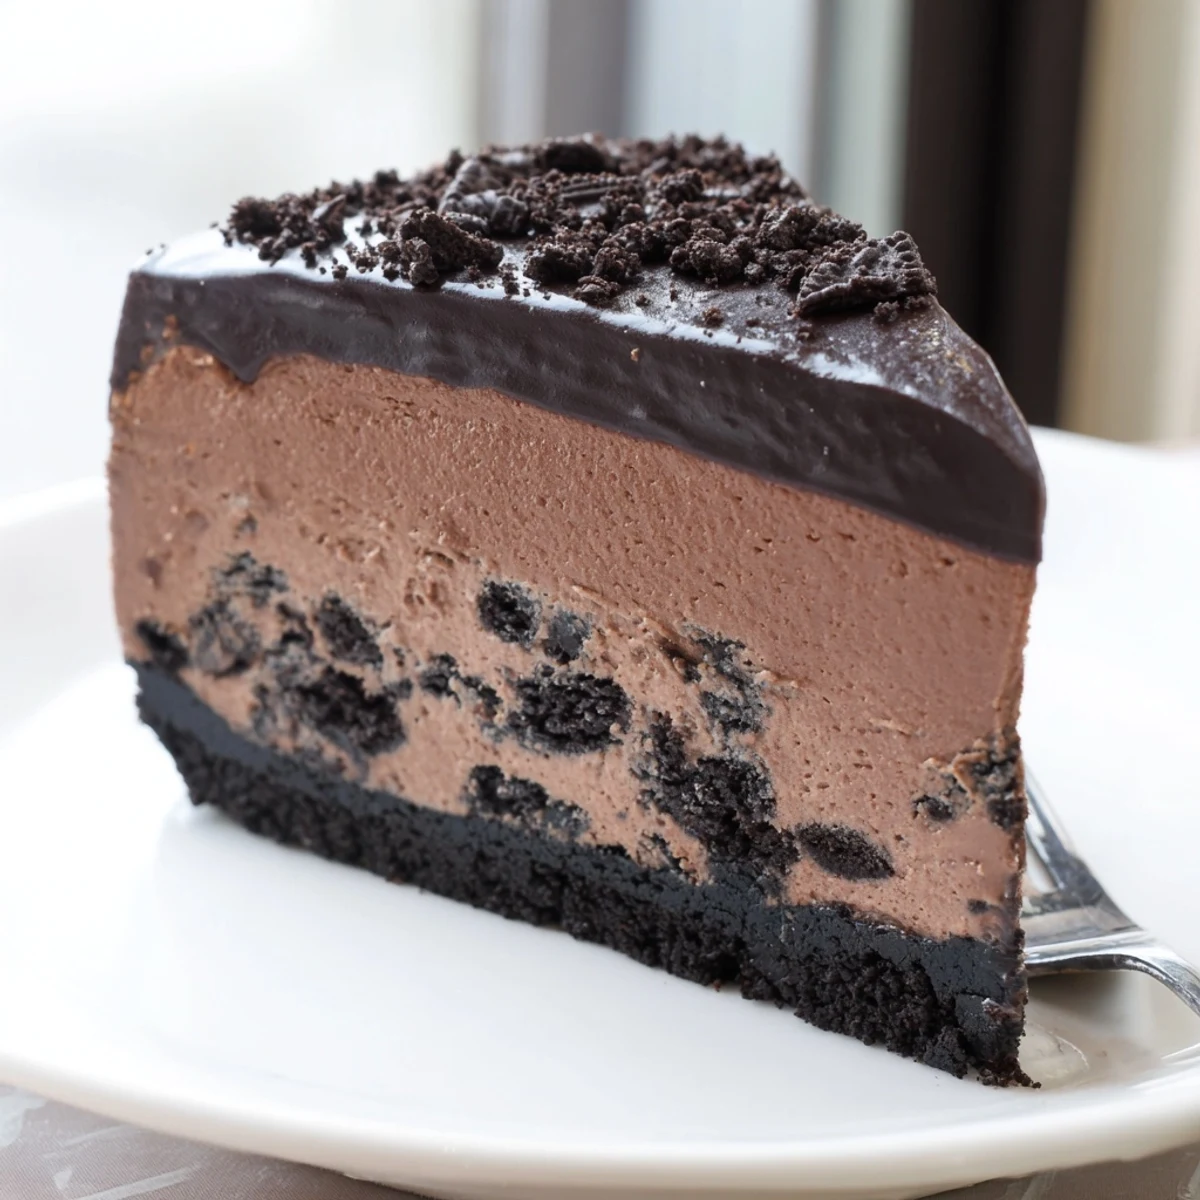
 There's something deeply satisfying about slicing into this cake and seeing those perfect layers, knowing you mastered one of baking's most temperamental desserts. Enjoy every bite of this chocolate decadence.
Recipe FAQs
- → Can I make this cheesecake ahead of time?
-
Absolutely. This cheesecake actually benefits from being made in advance. You can prepare it up to 2 days ahead and keep it refrigerated. The flavors meld and the texture firms up beautifully overnight, making it easier to slice clean portions.
- → Why does my cheesecake crack on top?
-
Cracks usually happen from overmixing the batter or sudden temperature changes. Mix the eggs on low speed and only until just incorporated. The slow cooling method—turning off the oven and leaving the door cracked—helps prevent cracks by letting the cheesecake cool gradually.
- → Can I use milk chocolate instead of dark chocolate?
-
Yes, you can swap dark chocolate for milk chocolate in both the filling and ganache. Keep in mind the cheesecake will be significantly sweeter. You might want to reduce the sugar slightly in the filling to balance the sweetness.
- → How do I get clean slices when cutting the cheesecake?
-
Use a sharp knife dipped in hot water and wiped dry between each cut. The warm blade glides through the cheesecake cleanly. Also, make sure the cheesecake is fully chilled—minimum 4 hours, but overnight gives the best results for neat slicing.
- → Can I make this without a springform pan?
-
A springform pan is strongly recommended because it allows you to remove the sides without flipping the cheesecake. If you don't have one, use a deep cake pan lined with parchment paper, leaving overhangs to lift the cheesecake out. The water bath method won't work as well without a springform pan.
- → How should I store leftover cheesecake?
-
Cover the cheesecake tightly with plastic wrap or transfer slices to an airtight container. Store in the refrigerator for up to 5 days. For longer storage, wrap individual slices in plastic wrap and freeze for up to 2 months. Thaw overnight in the fridge before serving.