 Pin it
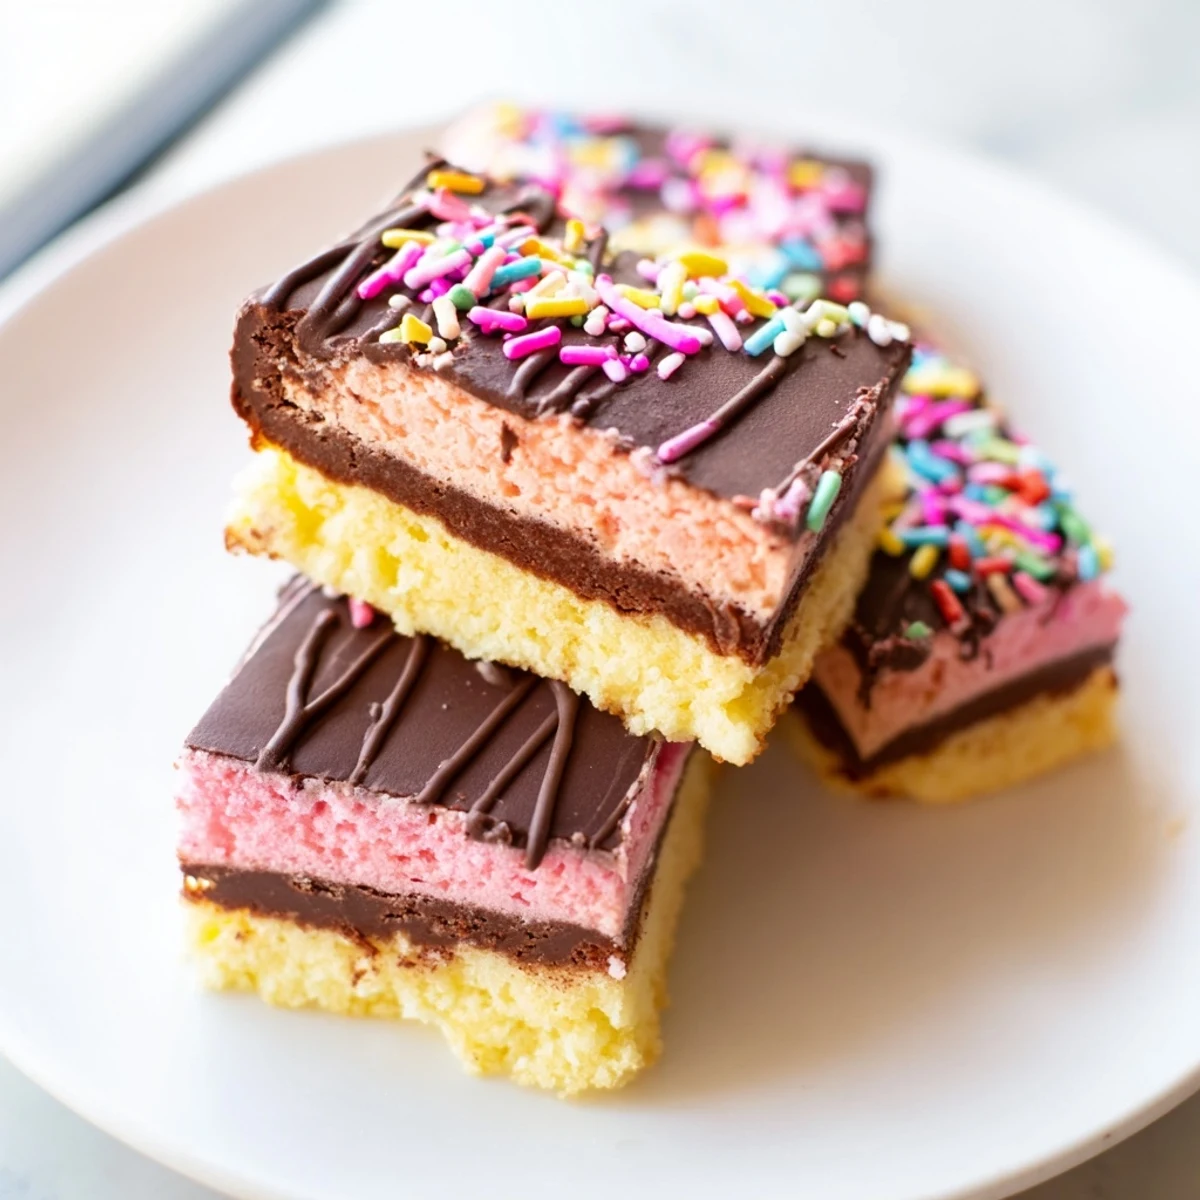
 These Neapolitan cookies bring together three classic flavors—rich chocolate, smooth vanilla, and sweet strawberry—in beautiful layered bars. Each bite delivers a trio of tastes reminiscent of the beloved ice cream.
The dough is divided into three portions, each flavored and colored separately, then stacked and baked together. The result is a stunning sliced cookie with distinct layers that looks impressive yet requires only basic baking skills.
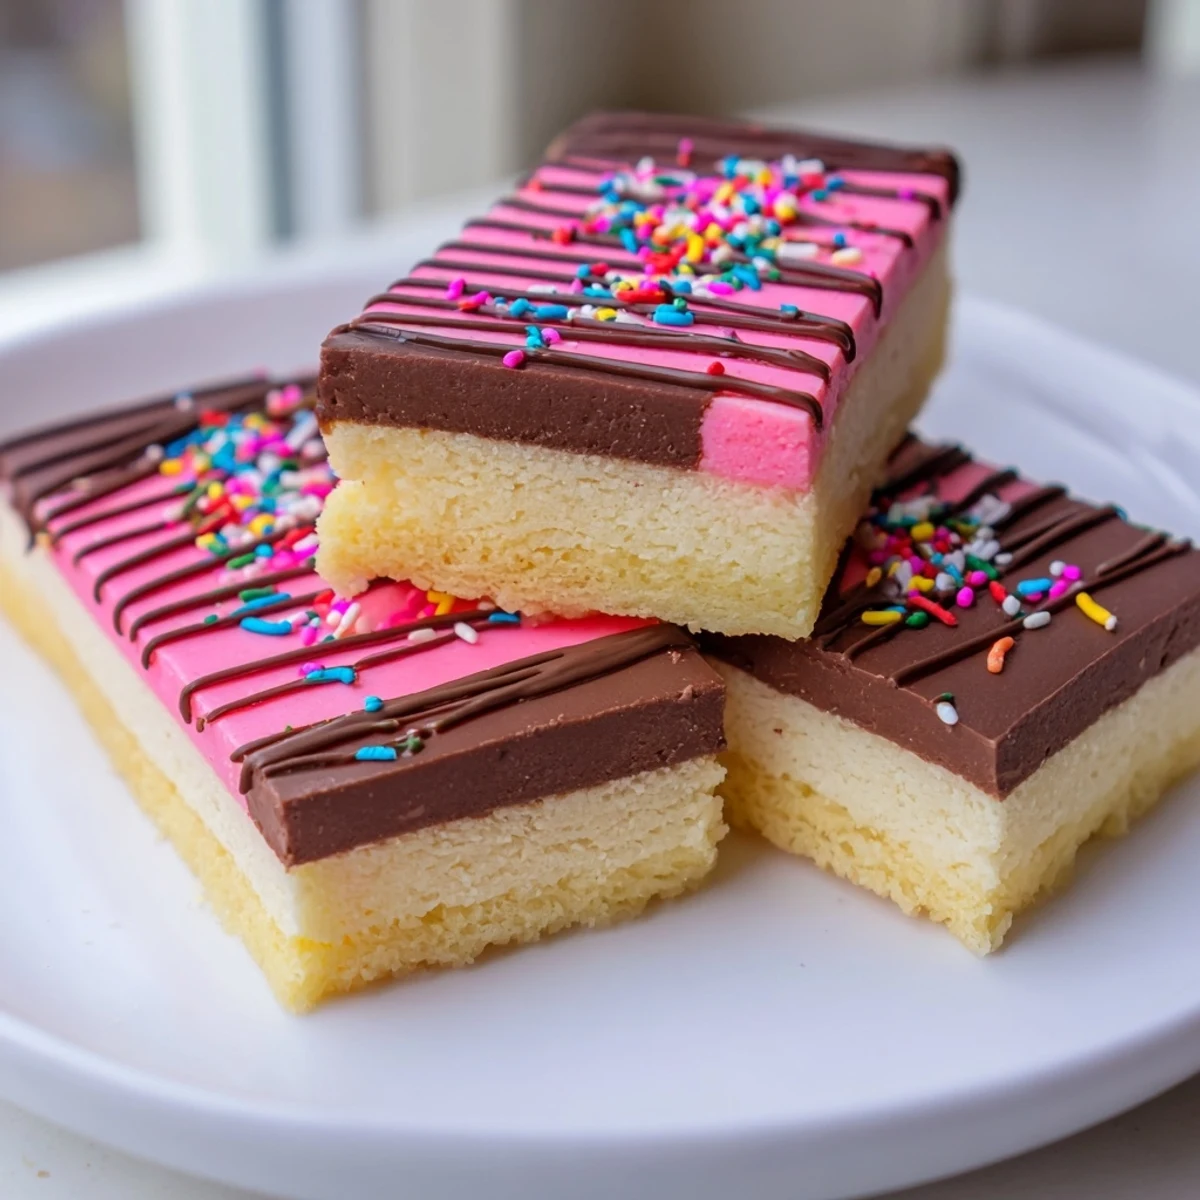
Perfect for holidays, bake sales, or anytime you want a colorful, crowd-pleasing treat. Drizzle with melted chocolate and add sprinkles for an extra festive touch.
The kitchen smelled like three different bakeries at once, and honestly, that was the point. Neapolitan cookies are my attempt at capturing that childhood ice cream counter indecision in a single square, chocolate, vanilla, and strawberry all living side by side in one buttery bar. My niece took one bite and declared them better than the ice cream truck, which is the highest compliment a seven year old can give.
I brought a batch of these to a neighborhood potluck last spring and watched a quiet table become the most popular spot in the room. People kept picking up squares and turning them over, marveling at the clean layers like I had performed some elaborate trick. The truth is, pressing dough into a pan is not exactly magic, but I will never tell them that.
Ingredients
- Unsalted butter (225 g): Room temperature butter creams smoothly with sugar, creating the tender crumb that holds these layers together without crumbling.
- Granulated sugar (300 g): This amount gives the cookies their delicate sweetness without overpowering the individual flavors of each layer.
- Large eggs (2): They bind the dough and add richness, and adding them one at a time keeps everything emulsified properly.
- Vanilla extract (1 tsp): Use pure extract here because the vanilla layer depends entirely on it for depth.
- All purpose flour (340 g): Measure by spooning into the cup and leveling off to avoid dense, heavy bars.
- Baking powder (1/2 tsp): Just enough lift to keep the texture soft without puffing up and blurring the clean lines between layers.
- Fine salt (1/2 tsp): Salt sharpens every flavor, especially the chocolate, and without it the bars taste flat.
- Unsweetened cocoa powder (2 tbsp): Dutch processed gives a deeper color and smoother flavor, but natural works fine too.
- Strawberry extract (1/2 tsp): A little goes a long way, so start with less and taste before adding more.
- Pink or red food coloring (gel preferred): Gel coloring gives vibrant results without adding liquid that would throw off the dough consistency.
- Semisweet chocolate (100 g, optional): Melted for drizzling over the finished bars, adding a professional finish and extra chocolate punch.
- Sprinkles or chopped nuts (optional): Pressed into the drizzle before it sets for texture and visual charm.
Instructions
- Prepare your pan and oven:
- Heat the oven to 175 degrees C (350 degrees F) and line a 23 by 33 cm baking pan with parchment, leaving the sides hanging over like handles. This little trick saves you from the nightmare of stuck cookies later.
- Cream butter and sugar:
- Beat the softened butter and sugar together in a large bowl until the mixture turns pale, light, andcloudy looking, about three to four minutes. You want it to feel like frosting before you move on.
- Add eggs and vanilla:
- Drop in one egg at a time, beating well after each addition so the dough stays smooth rather than curdled. Pour in the vanilla and give it another quick mix until everything smells wonderful.
- Incorporate the dry ingredients:
- Whisk flour, baking powder, and salt together in a separate bowl, then add this gradually to the butter mixture. Mix just until a soft dough comes together, and stop the moment you see no more dry flour.
- Divide and flavor the dough:
- Split the dough into three equal portions, roughly by weight if you have a scale. Add cocoa to one bowl and work it in with your hands, add strawberry extract and coloring to the second, and leave the third bowl plain and proud.
- Layer the doughs:
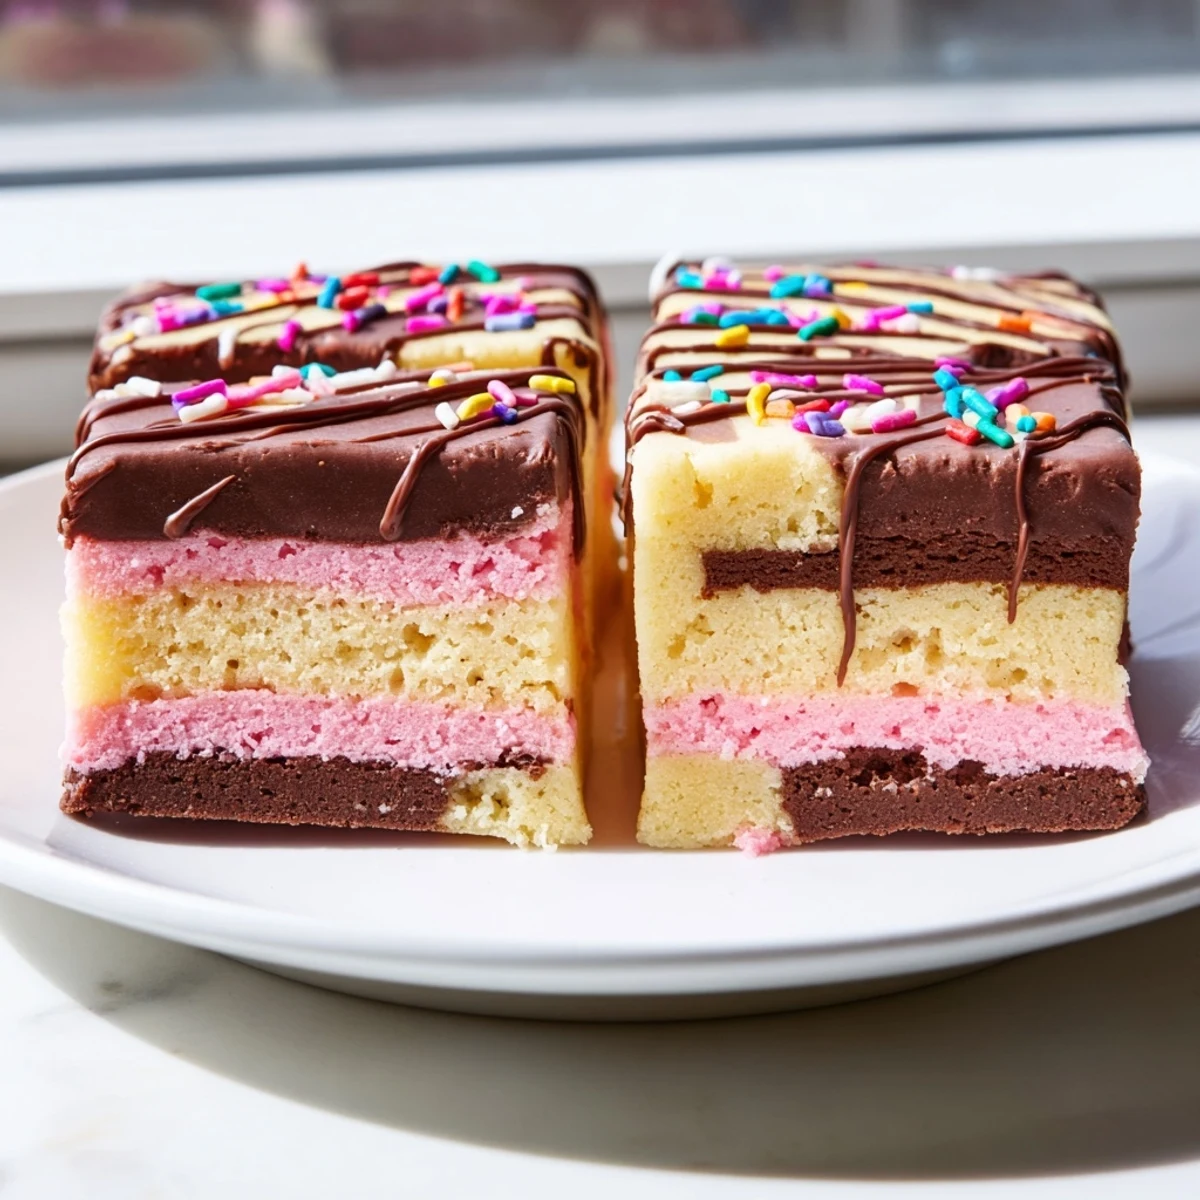
- Press the chocolate dough flat into the bottom of your lined pan, using an offset spatula to get it even. Spread the vanilla dough carefully over the top, then finish with the strawberry layer, smoothing each one gently so the colors stay distinct.
- Bake and cool:
- Slide the pan into the oven for 12 to 15 minutes, just until the edges are set and the center no longer looks wet. Cool completely in the pan on a wire rack, because cutting warm bars will give you smudged, muddy layers.
- Cut and garnish:
- Lift the slab out using the parchment overhang and cut into squares or bars with a sharp knife. Drizzle with melted chocolate and scatter sprinkles or nuts if you are feeling festive.
 Pin it
 The moment I knew these cookies were special was when my friend Rita packed three of them carefully in a napkin to take home for her mother. She said they reminded her of the rainbow cookies from the Italian bakery near her childhood apartment, and that connection alone made the whole afternoon worth it.
Getting Clean, Beautiful Layers
The secret to those sharp, bakery style layers is patience with the pressing. Use slightly damp fingertips or the back of a lightly oiled spoon to spread each layer, working from the center outward. If one layer tears or shifts, just patch it gently and smooth over, because the baking process forgives small imperfections and the final cut rarely shows them.
Customizing Your Color Palette
Part of the fun is making these cookies your own. Swap the strawberry extract for lemon and yellow coloring, or use matcha powder for a green layer that tastes lightly earthy and sweet. I once made a red, white, and green version for a holiday party and they disappeared before the main course even hit the table.
Storage and Make Ahead Advice
These bars actually improve after resting overnight, which makes them an ideal make ahead dessert for busy weekends. Wrap the uncut slab tightly in plastic and slice when you are ready to serve, or cut them early and layer between sheets of parchment in a container.
- Freeze cut bars for up to three months and thaw at room temperature for an hour before serving.
- Keep different flavored batches separated if you are storing multiple varieties together.
- Always let the chocolate drizzle set completely before stacking or wrapping.
 Pin it
 Every time I make these, someone asks for the recipe, and I always say the same thing: trust the process, respect the layers, and do not skip the parchment. They are a little bit of kitchen magic that anyone can pull off.
Recipe FAQs
- → Can I freeze the Neapolitan cookie dough before baking?
-
Yes, you can freeze the assembled layered dough. Wrap it tightly in plastic wrap and freeze for up to 3 months. Thaw overnight in the refrigerator before baking as directed.
- → Why did my layers blend together during baking?
-
Layers may blend if the dough is too soft or warm when assembled. Chill each layer briefly before adding the next, and avoid pressing too hard when spreading. Also, do not overbake, as this can cause layers to merge.
- → Can I use natural food coloring instead of gel?
-
Absolutely. Natural food colorings work well, though you may need more to achieve vibrant results. Beet powder or juice can create a lovely pink hue for the strawberry layer without artificial ingredients.
- → How do I get clean, even slices of these cookies?
-
Use a sharp knife and wipe it clean between cuts. For the neatest slices, chill the baked cookie slab in the refrigerator for at least an hour before cutting. A ruler can help ensure uniform portions.
- → What can I substitute for strawberry extract?
-
If strawberry extract is unavailable, use vanilla extract with extra food coloring, or try a tablespoon of freeze-dried strawberry powder blended into the dough. Raspberry extract is another delicious alternative with a similar berry profile.
- → How should I store these cookies to keep them fresh?
-
Store the cookies in an airtight container at room temperature for up to 5 days. Place parchment paper between layers to prevent sticking. If decorated with chocolate drizzle, keep them in a cool spot to prevent melting.
