 Pin it
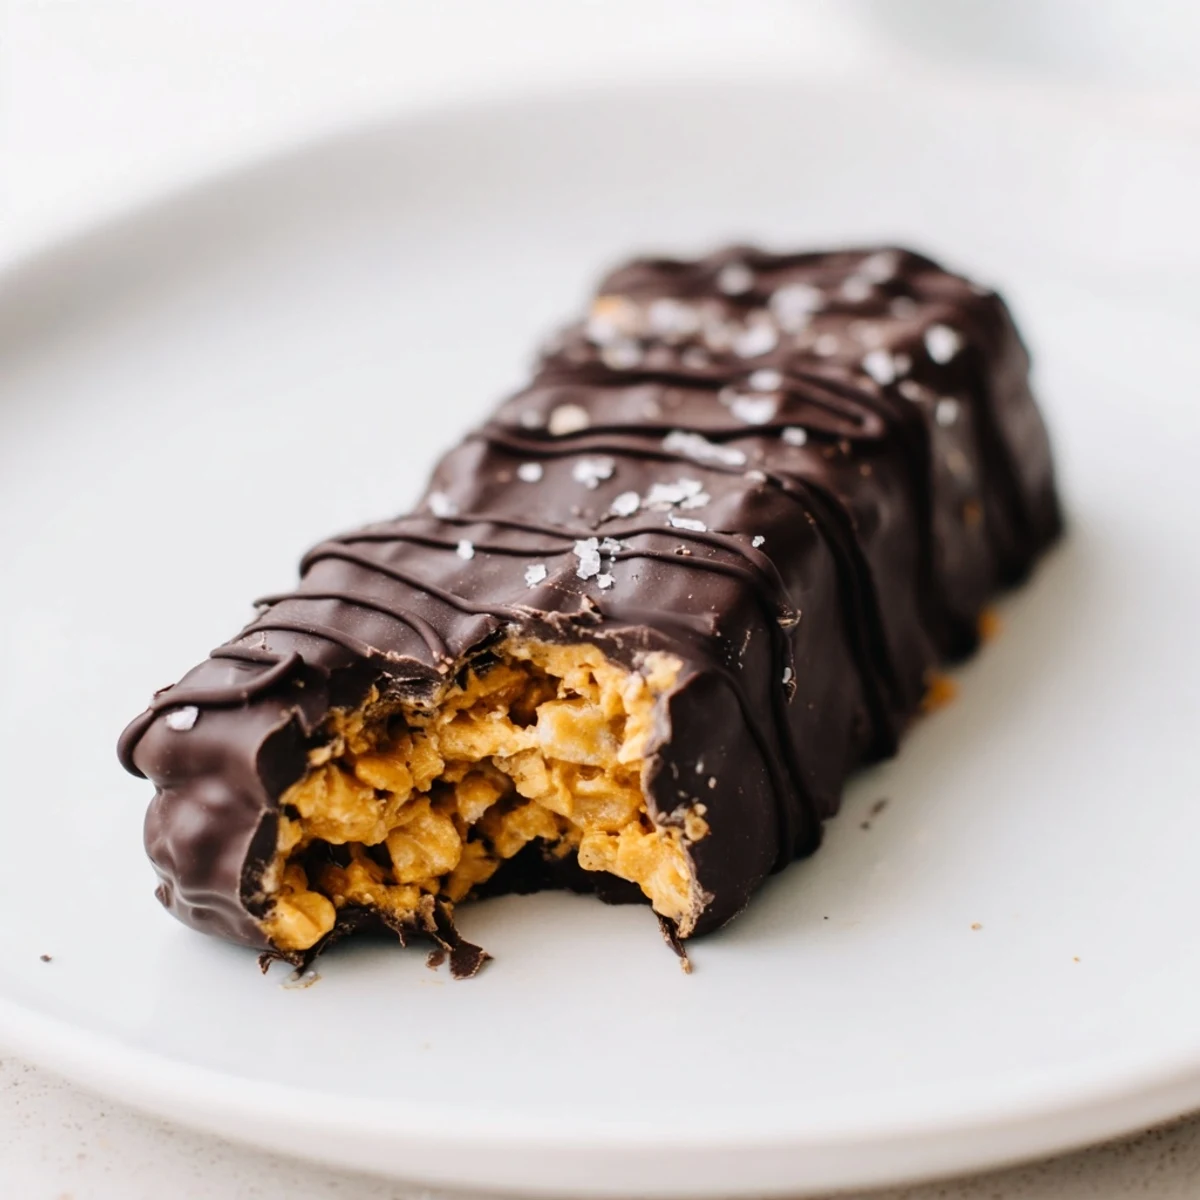
 These homemade Butterfingers capture everything you love about the classic candy bar — that signature crunchy peanut butter center and smooth chocolate coating — but with simpler, wholesome ingredients.
A mixture of creamy peanut butter, maple syrup, and crushed cornflakes forms the irresistible crisp filling. After a quick chill to set, each bar gets dipped in melted dark chocolate and finishes with a satisfying snap.
The entire process takes about 30 minutes of hands-on time. They're naturally vegetarian, easily made vegan and gluten-free, and store beautifully in the fridge or freezer for whenever a sweet craving hits.
The candy aisle at the grocery store used to call my name every single time, especially when those orange Butterfinger wrappers caught the corner of my eye. Something about that flaky peanut butter crunch beneath a shell of chocolate felt like it was engineered specifically to ruin my willpower. One rainy Tuesday, staring at a bag of candy corn inspired impulse purchases I did not need, I decided it was time to figure out how to make something similar at home with ingredients I could actually pronounce. Twenty minutes later my kitchen smelled like warm peanut butter and I never looked back.
My neighbor Dave stopped by unannounced the afternoon I was testing my third batch, and he stood in the kitchen doorway watching me dip bars into melted chocolate with this confused look on his face. He asked if I had lost a bet or something, then ate four of them before he left and texted me that night asking for the recipe.
Ingredients
- Natural creamy peanut butter: The kind with just peanuts and salt on the label works best because it melts smoothly without separating into an oily mess.
- Pure maple syrup or honey: This is your binder and sweetener in one, and maple syrup keeps the whole thing vegan friendly.
- Vanilla extract: Just a teaspoon rounds everything out and makes the peanut butter taste more like a candy bar than a sandwich.
- Cornflakes: Lightly crushed is the key here, you want small pieces that still have their flake shape, not dust.
- Sea salt: A small pinch balances the sweetness and makes the peanut butter flavor pop.
- Dark chocolate chips: Go for something around sixty percent cacao for the best snap and richness when you bite in.
- Coconut oil: Just a tablespoon thins the chocolate so it coats evenly instead of clumping up thick on one side.
Instructions
- Prep your pan:
- Tear off a sheet of parchment paper and press it into an eight by eight baking dish, letting the edges hang over like handles because you will thank yourself later when lifting the whole block out is effortless.
- Warm the peanut butter mixture:
- Set your saucepan over medium low heat and stir the peanut butter and maple syrup together until they become one glossy, fragrant pool that smells like the inside of a candy factory, about two to three minutes.
- Add flavor and crunch:
- Pull the pan off the heat, stir in vanilla and salt, then gently fold in the cornflakes with a spatula until every flake is coated but not completely pulverized.
- Freeze until firm:
- Spread the mixture into your prepared pan and press it flat and even, then tuck it into the freezer for twenty to thirty minutes until it holds together when you press it with your finger.
- Cut into bars:
- Lift the slab out using the parchment overhang and set it on a cutting board, then slice it into sixteen rectangles with a sharp knife using confident downward pressure.
- Melt the chocolate:
- Combine the chocolate chips and coconut oil in a microwave safe bowl and heat in thirty second bursts, stirring between each one, until you have a silky pool with no lumps remaining.
- Coat each bar:
- Dip one bar at a time into the chocolate, using a fork to flip it and tap off the excess, then place each one on a fresh parchment lined tray with a little space between them.
- Chill to set:
- Slide the tray into the fridge for fifteen to twenty minutes until the chocolate shell is firm and slightly glossy, then try to resist eating them all standing in front of the refrigerator door.
 Pin it
 The moment these bars went from a fun experiment to something more was when my sister in law, who politely declines almost every dessert I make, asked if she could take a few home for her kids. She quietly ate two in my kitchen before packing up the rest.
Storage That Actually Works
Keep these bars in an airtight container in the refrigerator and they stay perfect for about two weeks, though they have never lasted more than three days in my house. The chocolate holds its snap when chilled, and the peanut butter center stays firm but still tender when you bite into it. You can also freeze them layered between sheets of parchment for up to three months, which means you could theoretically have emergency candy bars hidden in your freezer at all times.
Swaps and Tweaks
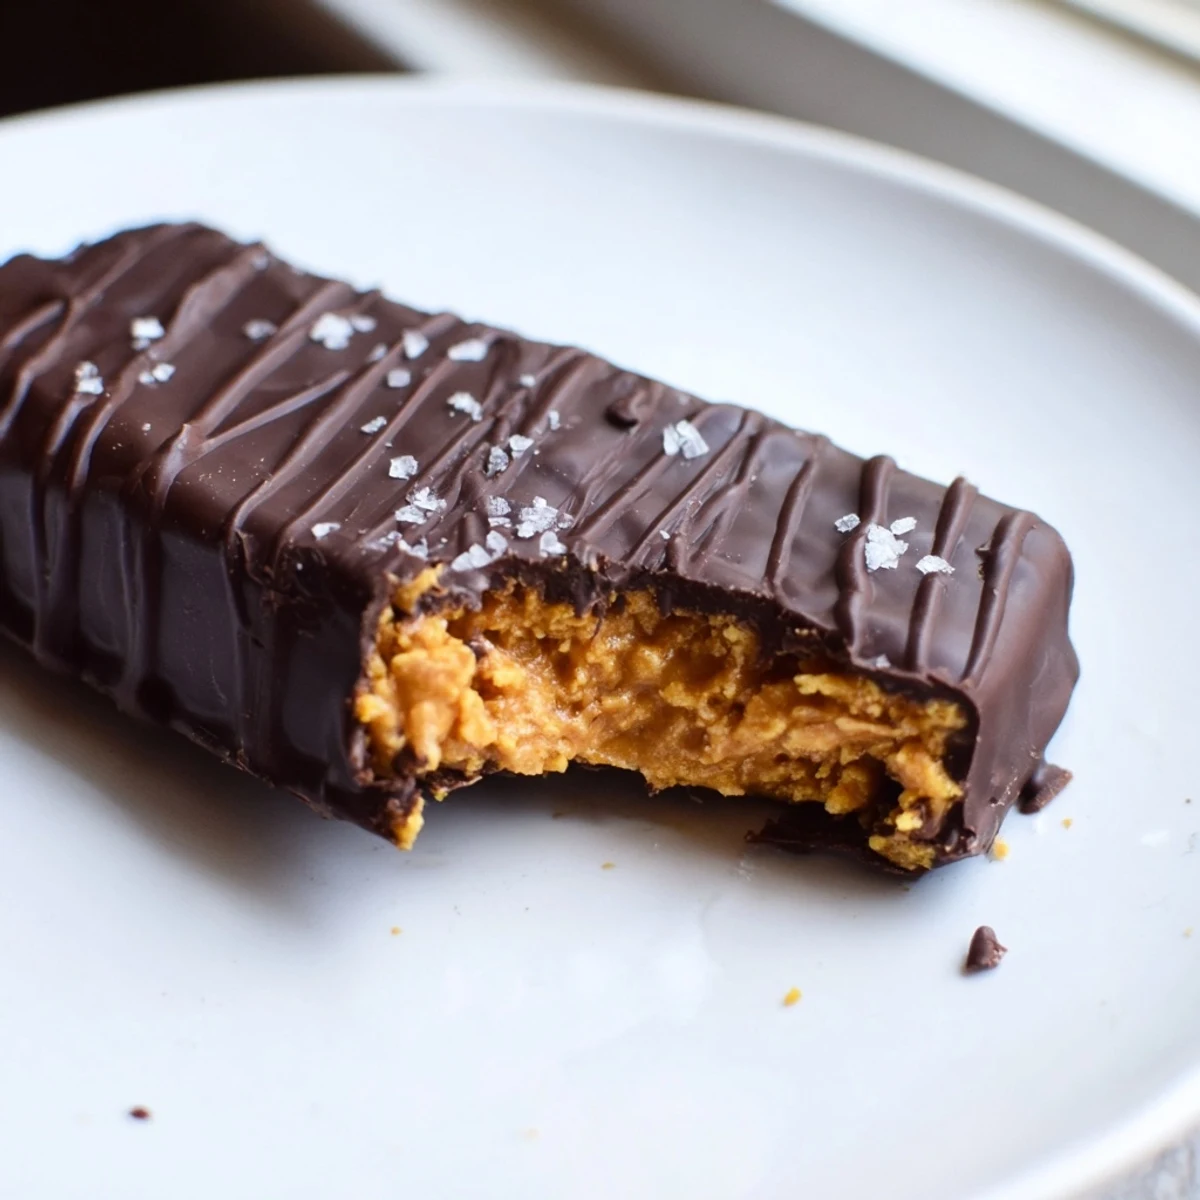
Milk chocolate works beautifully if dark is not your thing, just know the bars will be sweeter and a little softer at room temperature. A friend of mine swaps in crunchy peanut butter for the creamy version and skips the cornflakes entirely when she is out, and the result is denser but still genuinely good. A shower of flaky sea salt over the wet chocolate coating adds a grown up touch that makes people think you bought them at a fancy shop.
My Favorite Way to Serve These
Pull them out of the fridge about ten minutes before serving so the chocolate softens just slightly and the peanut butter layer becomes creamier on your tongue. They are incredible alongside a cup of black coffee in the afternoon when you need a moment of sweetness without going overboard.
- Arrange them on a plate with no explanation and watch people gravitate toward them.
- Wrap individual bars in wax paper if you want to gift them without fuss.
- Always make a double batch because sharing one batch feels generous but slightly painful.
 Pin it
 There is something deeply satisfying about making your own candy bars with a saucepan and a baking dish, and these particular bars remind you that homemade does not have to mean complicated. Keep a batch in your fridge and ordinary afternoons suddenly feel a little more special.
Recipe FAQs
- → Can I make these Butterfingers vegan?
-
Yes, simply use maple syrup instead of honey and choose dairy-free dark chocolate chips. Coconut oil remains the same. These two swaps make the entire batch fully vegan-friendly.
- → Why are my bars falling apart when dipping?
-
The peanut butter layer needs sufficient chilling time to firm up properly. Freeze for at least 20-30 minutes before cutting. If your kitchen is warm, work quickly and return undipped bars to the freezer between batches.
- → What can I substitute for cornflakes?
-
Rice Krispies work as a direct substitute and keep the bars gluten-free. Crushed pretzels add a salty twist, though they contain gluten. Avoid large flake cereals since they won't create the signature Butterfinger crunch.
- → How should I store leftover bars?
-
Keep them in an airtight container in the refrigerator for up to two weeks. For longer storage, freeze them layered between parchment paper for up to three months. Let frozen bars sit at room temperature for about 10 minutes before eating.
- → Can I use milk chocolate instead of dark?
-
Absolutely. Milk chocolate melts and coats just as well, though you may want to reduce or skip the coconut oil since milk chocolate is already softer. Semi-sweet chips are a nice middle ground if you prefer less bitterness.
- → Why add coconut oil to the chocolate?
-
Coconut oil thins the melted chocolate slightly, making it easier to dip and coat each bar evenly. It also helps the chocolate set with a nice glossy finish and a firmer snap when you bite into the bar.
