 Pin it
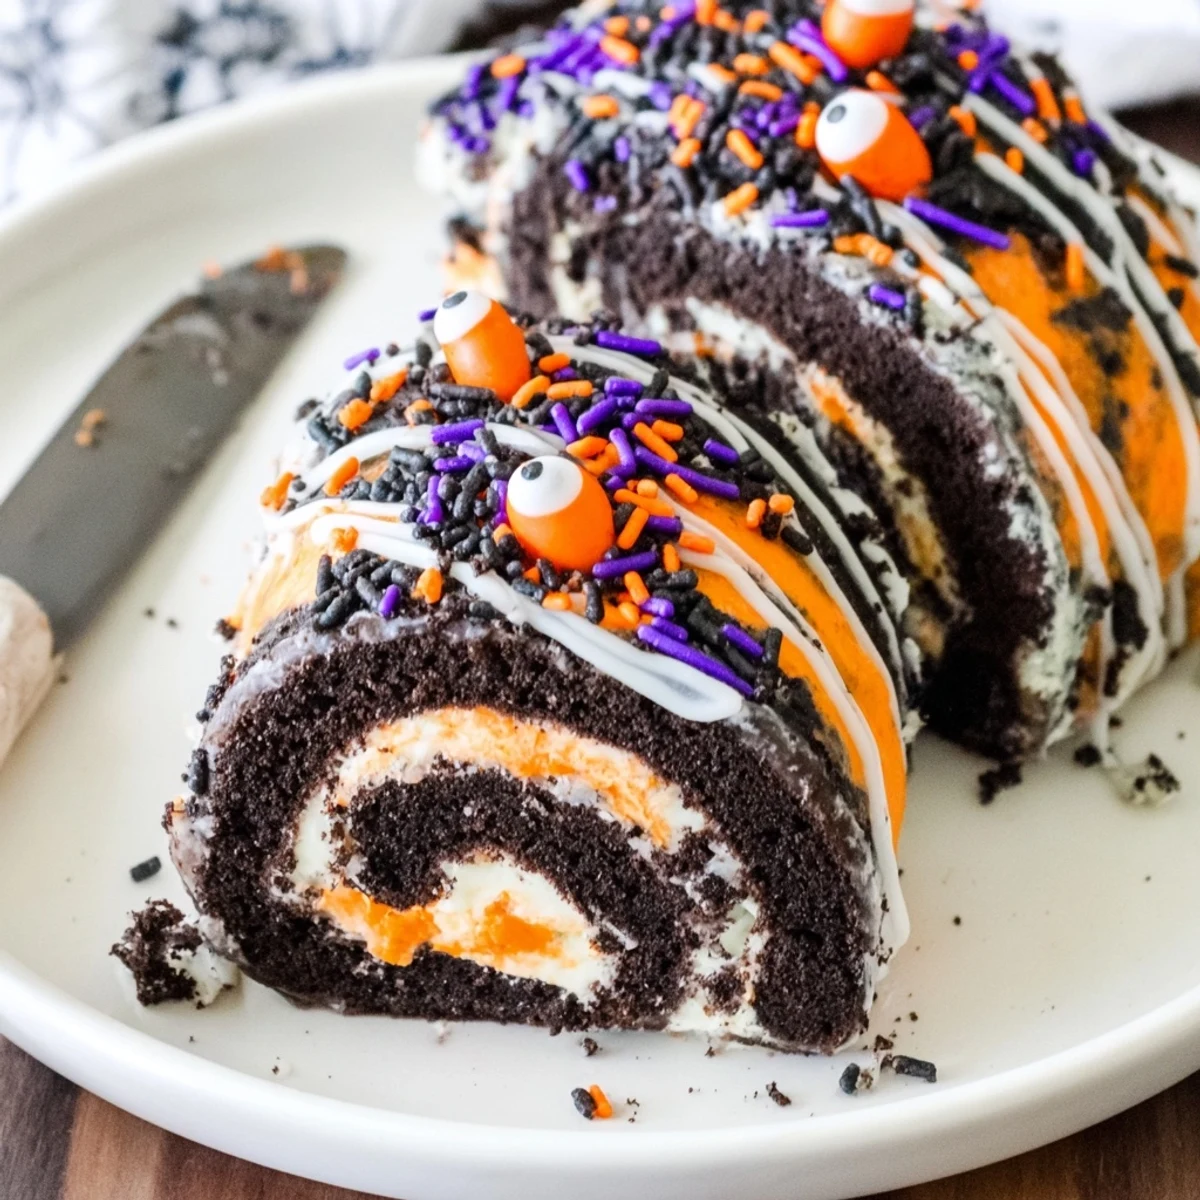
 This indulgent Halloween Oreo roll combines crushed chocolate sandwich cookies with a creamy, colored whipped filling. Simply press the Oreo mixture into a rectangle, spread with tinted cream, roll into a log, and chill. The result is a stunning swirled dessert featuring black and orange Halloween colors that looks impressive on any party table. Top with sprinkles, candy eyes, or chocolate drizzle for extra flair.
Last October my daughter decided we needed something more exciting than the usual pumpkin cookies for her class party. We ended up making this Oreo roll at 11pm after I'd already cleaned the kitchen, and the way her eyes lit up when we added the orange food coloring to the cream was absolutely worth the extra mess.
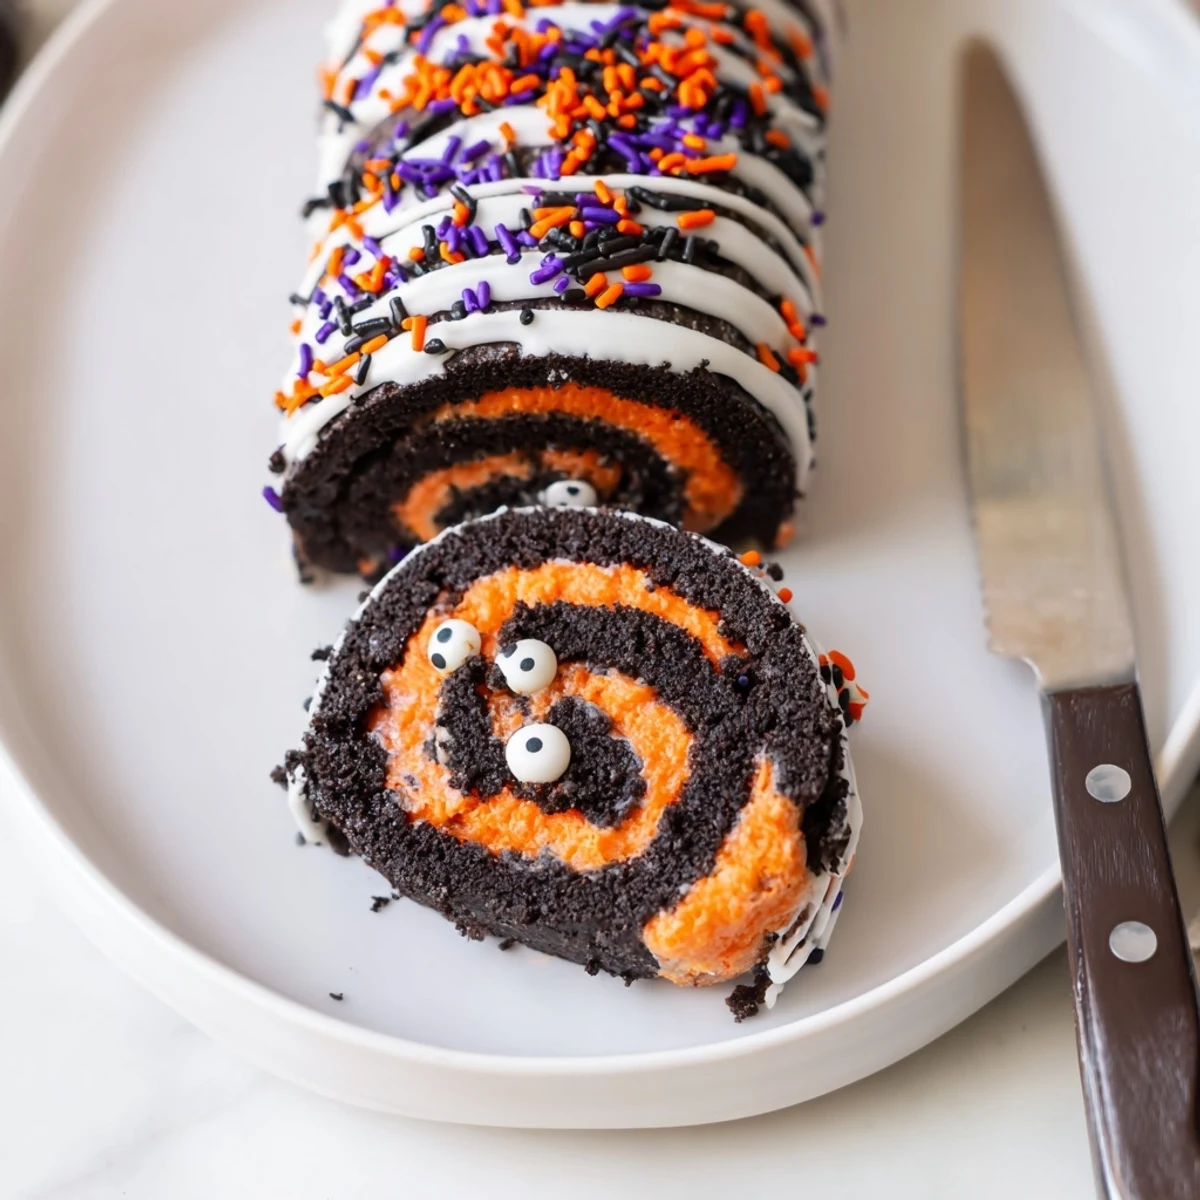
The first time I served this at a Halloween gathering, I watched three different people ask for the recipe while simultaneously trying to sneak a second slice. Something about that swirled pattern with the pop of orange against dark chocolate makes people genuinely happy before they even take a bite.
Ingredients
- 36 Halloween Oreos: The seasonal ones already have that orange cream inside but regular Oreos work perfectly fine with added food coloring
- 1 cup powdered sugar: This sweetens the cookie base and helps bind everything together into that perfect dough consistency
- 6 tbsp unsalted butter melted: Make sure its slightly cooled before mixing or you might melt your cream cheese too much
- 4 oz cream cheese softened: Room temperature is non negotiable here or you will end up with frustrating lumps in your base
- 1 cup heavy whipping cream: Cold straight from the fridge beats best so pop your bowl in the freezer for 10 minutes first
- 1/4 cup powdered sugar: This sweetens the whipped cream just enough without overpowering the chocolate
- 1 tsp vanilla extract: Pure vanilla makes such a difference in something this simple
- Orange or purple food coloring: Gel coloring gives you those vibrant Halloween hues without adding extra liquid
- Halloween themed sprinkles and candy eyes: These turn a simple dessert into something that looks like it came from a bakery window
Instructions
- Prepare your workspace:
- Line a large baking sheet or flat countertop with parchment paper having this ready beforehand saves so much stress when working with sticky dough
- Make the cookie base:
- Pulse all those Oreos in a food processor until they resemble fine sand then mix in powdered sugar melted butter and softened cream cheese until everything comes together into a thick dough that holds its shape when you squeeze it
- Roll it out:
- Place the dough between two sheets of parchment and roll to about half an inch thick aiming for a rough rectangle shape
- Whip the cream:
- Beat cold heavy cream with powdered sugar and vanilla until you have stiff peaks then gently fold in your food coloring until evenly distributed
- Assemble the roll:
- Spread that gorgeous colored cream over your cookie base leaving a one inch border along one long edge then use the parchment paper to help you roll everything into a tight log starting from the opposite edge
- Chill thoroughly:
- Refrigerate for at least one hour or until firm enough to slice cleanly without squishing
- Add the finishing touches:
- Drizzle with melted chocolate and pile on those sprinkles and candy eyes right before serving
 Pin it
 Last year my nephew who claims to hate dessert went back for thirds and then asked if we could make it for his birthday but with green cream for a monster theme. Thats when I realized this is basically a year round recipe in disguise just waiting for different food colors.
Getting The Colors Right
I learned the hard way that liquid food coloring can make your cream too loose and cause it to weep into the cookie base. Gel coloring is worth the extra trip to the baking aisle because you get those intense Halloween oranges and purples without compromising the texture of your whipped cream.
Making Ahead Like A Pro
This dessert actually improves after sitting overnight because the cookie layer softens slightly and melds with the cream. I make the roll completely except for the final decorations wrap it tightly and add the sprinkles and chocolate drizzle right before serving for the freshest look.
Customizing For Any Occasion
Red and green cream turns this into a Christmas log while pastel colors work beautifully for baby showers or spring gatherings. I even made a Fourth of July version with stripes of red white and blue cream once though it took some patience to get those clean lines.
- Try crushing candy canes into the base for a peppermint chocolate version
- Sprinkle edible glitter over the final drizzle for extra sparkle
- Freeze leftover slices for up to a month and eat them straight from the freezer like ice cream
 Pin it
 Watch how quickly this disappears from your dessert table and save the recipe because you will be asked to make it again next year.
Recipe FAQs
- → How far in advance can I make this?
-
You can prepare the Oreo roll up to 2 days ahead. Keep it tightly wrapped in the refrigerator and add decorations like sprinkles and chocolate drizzle shortly before serving for the freshest appearance.
- → Can I freeze this dessert?
-
Yes! Wrap the chilled roll tightly in plastic wrap, then foil, and freeze for up to 1 month. Thaw overnight in the refrigerator before serving and add fresh decorations.
- → What if I can't find Halloween Oreos?
-
Regular Oreos work perfectly—just add orange or purple food coloring to either the cookie base or the whipped cream filling to achieve those festive Halloween colors.
- → Why did my roll crack when slicing?
-
Let the roll sit at room temperature for 5-10 minutes before slicing, and use a sharp knife wiped clean between cuts. Chilling for at least the full hour helps firm the texture.
- → Can I make this gluten-free?
-
Absolutely! Simply substitute gluten-free sandwich cookies for the Oreos. The texture and taste remain excellent, making it suitable for guests with gluten sensitivities.
