 Pin it
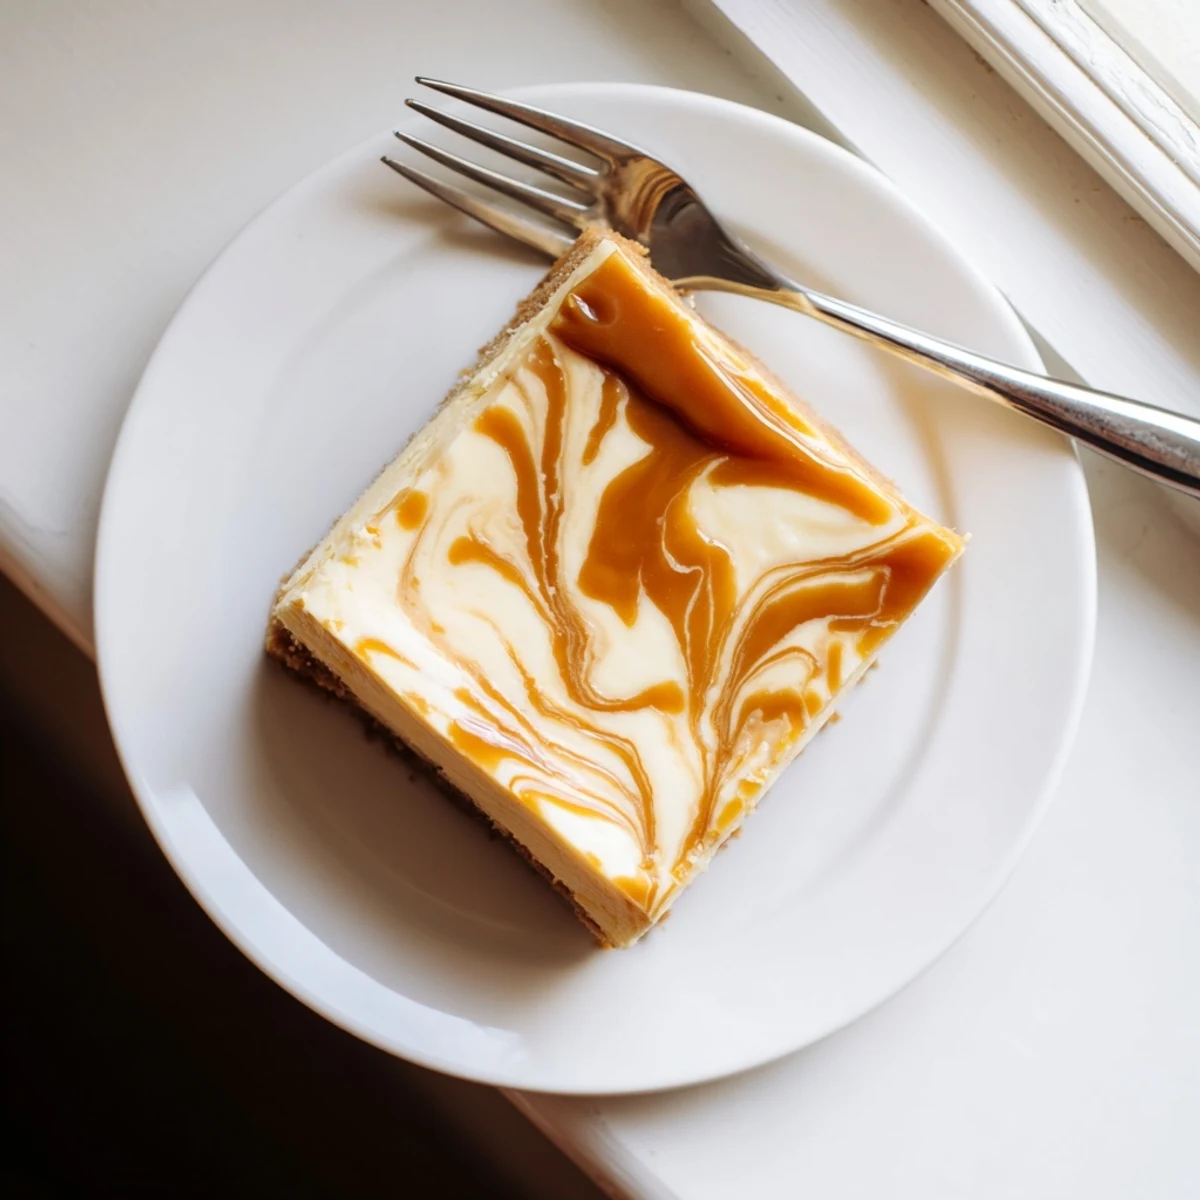
 Indulge in this velvety smooth cheesecake featuring gorgeous caramel ribbons swirled throughout every creamy bite. The buttery graham cracker crust provides the perfect crunchy foundation, while the luscious caramel creates beautiful marbled patterns. This showstopping dessert requires patience during the chilling process but delivers restaurant-quality results that will impress any gathering.
The golden caramel caught the kitchen light as I poured it over the cream cheese batter, and I remember holding my breath, hoping the ribbons wouldn't sink too deep. My first attempt at a swirl cheesecake ended up looking more like a marble experiment gone wrong, but this one felt different somehow.
I made this for my sister's birthday dinner last spring, and watching everyone's expressions when those caramel streaks appeared on their plates was the kind of kitchen moment that keeps you baking. The cake itself disappeared before anyone even thought about asking for seconds.
Ingredients
- Graham crackers: The buttery crunch creates the perfect foundation, and crushing them by hand ensures you get those satisfying texture variations
- Unsalted butter: Melt it completely so it coats every crumb evenly, creating that press down crust that holds together beautifully
- Cream cheese: Room temperature is non negotiable here, otherwise you'll be fighting lumps until your arm gives out
- Granulated sugar: This dissolves into the batter while mixing, creating that silky smooth cheesecake texture we're all chasing
- Vanilla extract: Pure vanilla makes a difference here since the flavor shines through the rich filling
- Eggs: Add them one at a time and really let each incorporate, or you'll end up with a puffed then fallen cake
- Sour cream: This is the secret to that slightly tangy finish that balances all the sugar sweetness
- All purpose flour: Just enough to stabilize without making it taste like a baked cake
- Caramel sauce: Warm it slightly before drizzling so it flows easily but holds its shape when swirled
Instructions
- Build your buttery foundation:
- Press the graham cracker mixture into your springform pan with the flat bottom of a measuring cup, getting it really tight into the corners so nothing leaks later
- Set the crust:
- Ten minutes in the oven is enough to toast the crackers and set the butter, and let it cool while you make the filling so the butter firm up again
- Beat the base:
- Get your cream cheese smooth and creamy before adding anything else, scraping the bowl down so no hidden lumps survive
- Add the sweetness and flavor:
- Pour in your sugar and vanilla, letting the mixture become pale and fluffy like frosting
- Incorporate the eggs gently:
- Each egg needs about 30 seconds of mixing on low speed, just until it disappears, keeping air bubbles to a minimum
- Add tang and stability:
- Fold in the sour cream and flour by hand or on the lowest speed, stopping the second you see white streaks vanish
- Layer and swirl:
- Spoon half your batter over the crust, drizzle caramel in loops over the surface, then drag a knife through in figure eights without touching the crust underneath
- Repeat the pattern:
- Add the rest of your batter and repeat the caramel swirl, trying different patterns for that marbled effect that looks so impressive
- Bake slowly:
- The center should wobble like gelatin when you gently shake the pan, and a dry toothpick around the edges means it's done
- The patience phase:
- Turn off the oven, crack the door, and let the cheesecake ease into room temperature for an hour this is what prevents those dreaded surface cracks
- The final chill:
- Refrigerate for at least four hours, but overnight is even better for clean slices and flavor development
 Pin it
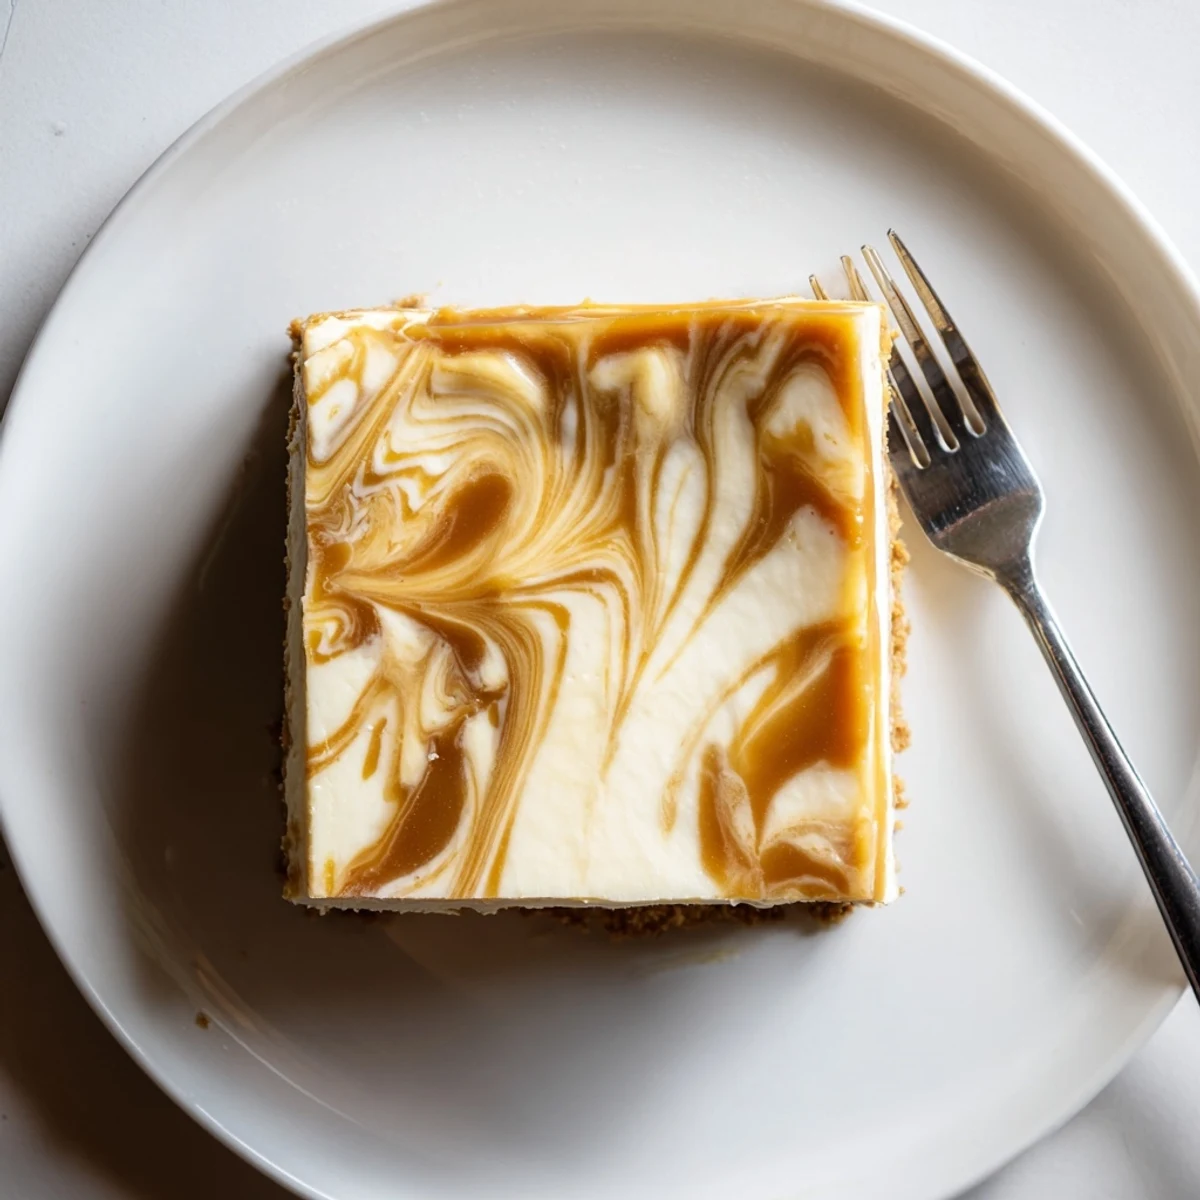
 This cake has become my go to for celebrations because it travels well and the flavors only get better after a night in the refrigerator. The texture becomes almost fudge like on day two, which might be even better than the first slice.
Making Your Own Caramel
Store bought caramel works perfectly fine, but melting sugar until it turns amber then whisking in warm cream and butter creates something entirely different. The homemade version has a depth of flavor that makes the extra effort worth it, especially when you can control the salt balance.
Getting Those Perfect Swirls
The trick is not to overthink it. Pour your caramel in random loops, then drag a knife through in one continuous motion without lifting it. Some of my most beautiful cakes came from moments when I just went for it instead of trying to create a perfect pattern.
Serving And Storage
A warm knife wiped clean between slices creates those restaurant style edges, and letting each piece sit at room temperature for ten minutes before serving makes the flavors pop.
- Run a thin knife around the edge before releasing the springform pan
- Press extra graham cracker crumbs into the sides if you want that professional bakery look
- Drizzle additional caramel over each slice right before serving for that finishing touch
 Pin it
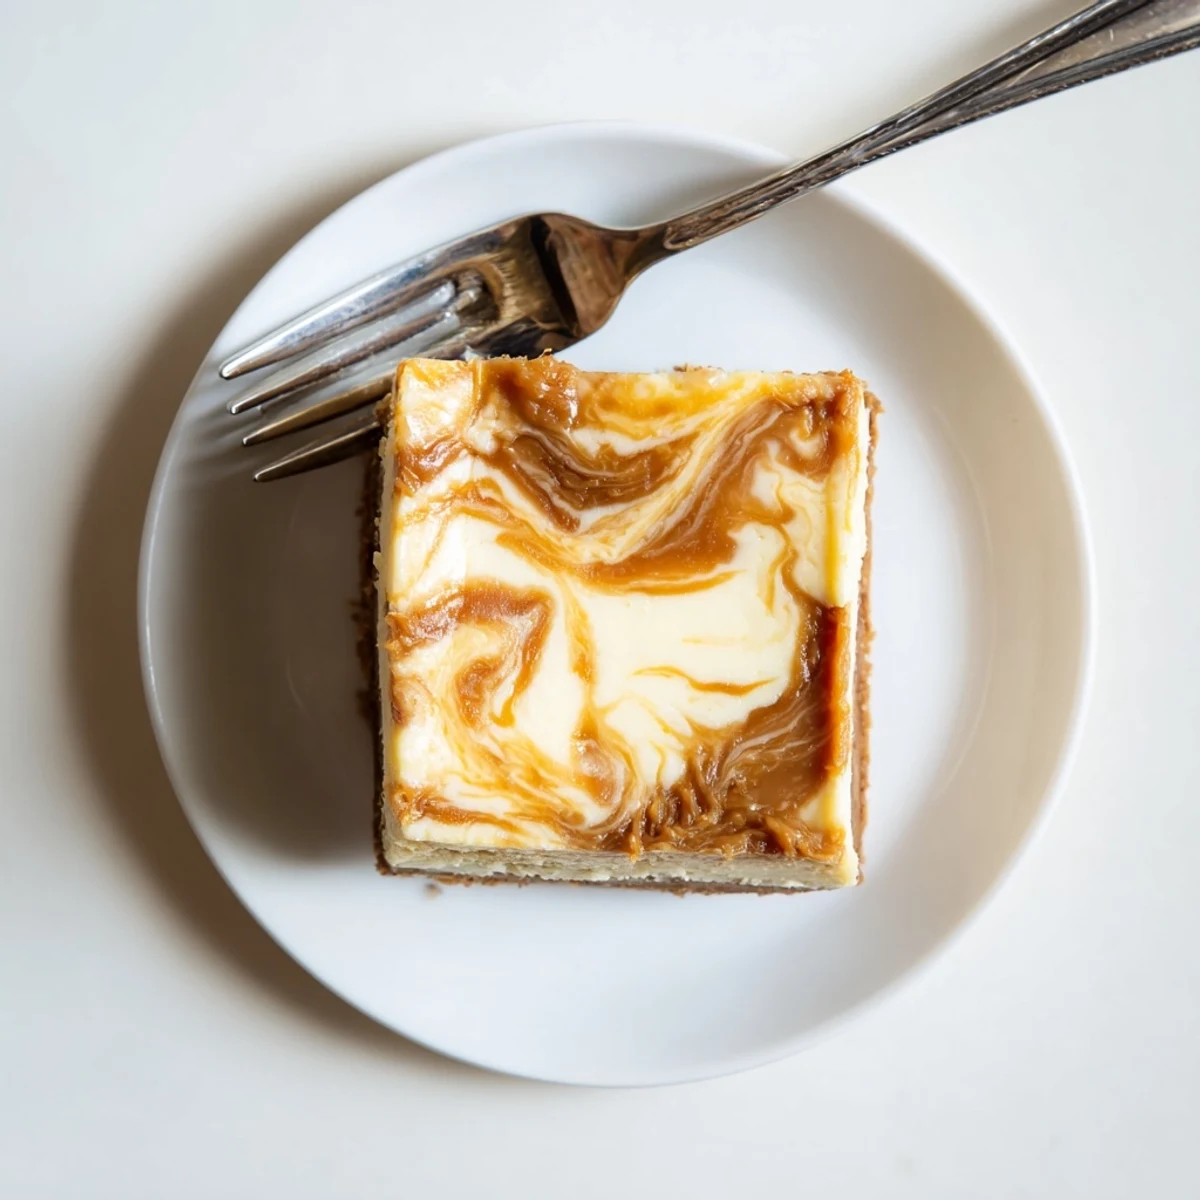
 There's something deeply satisfying about a recipe that looks impressive but actually rewards patience more than technique. This cheesecake delivers every single time.
Recipe FAQs
- → How long should I chill the cheesecake before serving?
-
Refrigerate for at least 4 hours, though preferably overnight for optimal texture and flavor development.
- → Can I use store-bought caramel sauce?
-
Yes, store-bought caramel sauce works perfectly. Alternatively, make your own by melting sugar with heavy cream and butter.
- → Why leave the cheesecake in the oven after baking?
-
Leaving the door ajar lets the cheesecake cool gradually, preventing cracks from forming due to sudden temperature changes.
- → What can I substitute for graham crackers?
-
Digestive biscuits make an excellent substitute for graham crackers in the crust if they're unavailable in your region.
- → How do I know when the cheesecake is done baking?
-
The center should appear set but still slightly wobbly when gently shaken. It will firm up completely during chilling.
- → Can I freeze this cheesecake?
-
Yes, wrap tightly in plastic and foil before freezing for up to 3 months. Thaw overnight in the refrigerator before serving.
