 Pin it
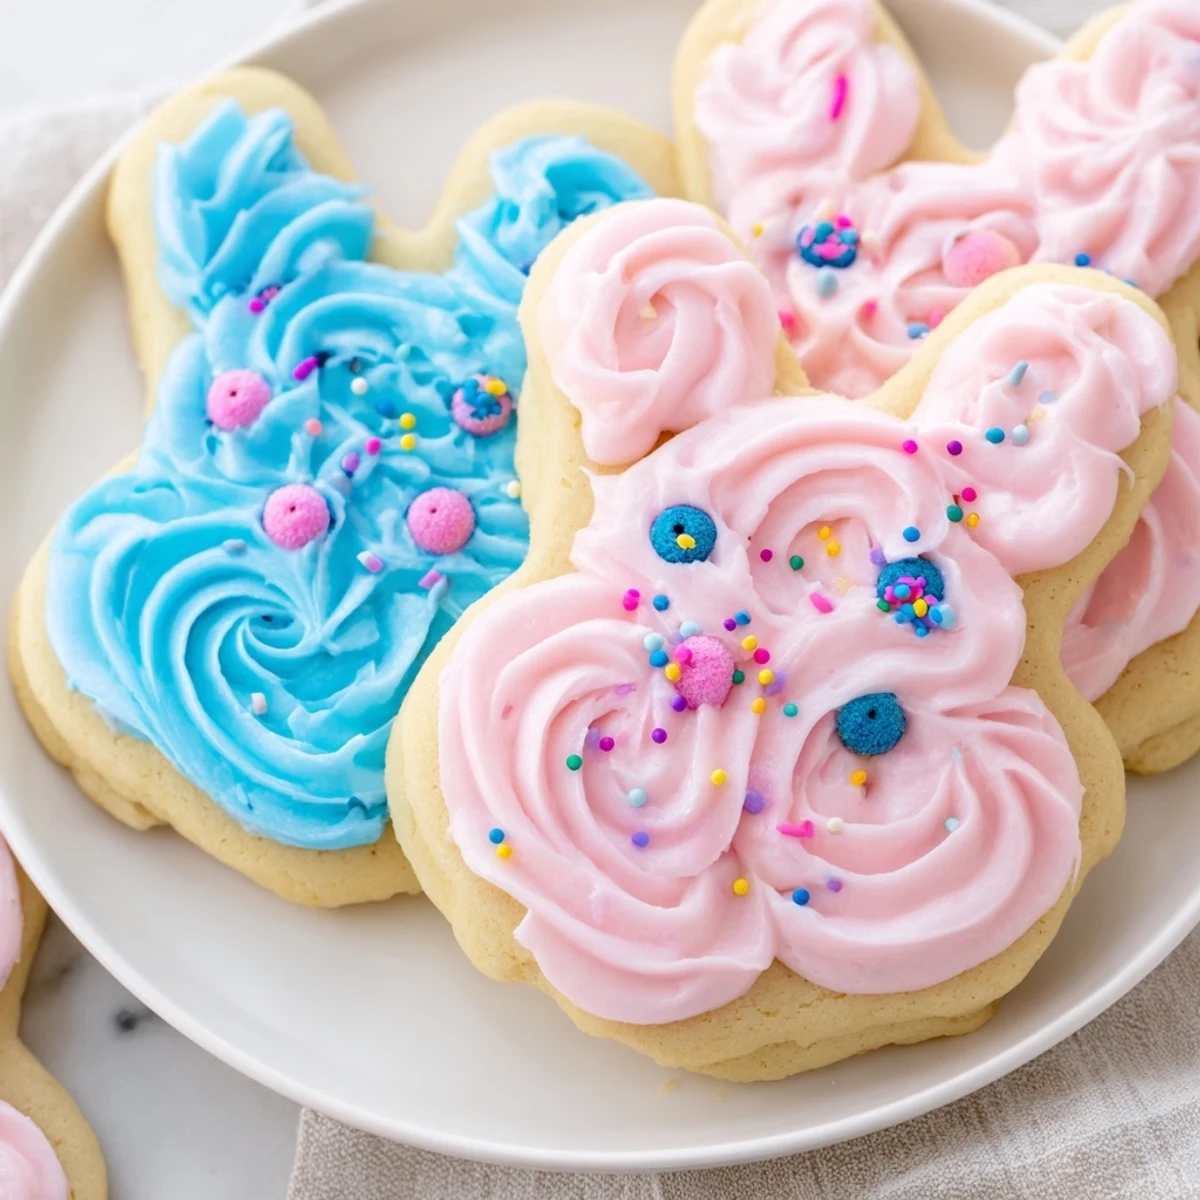
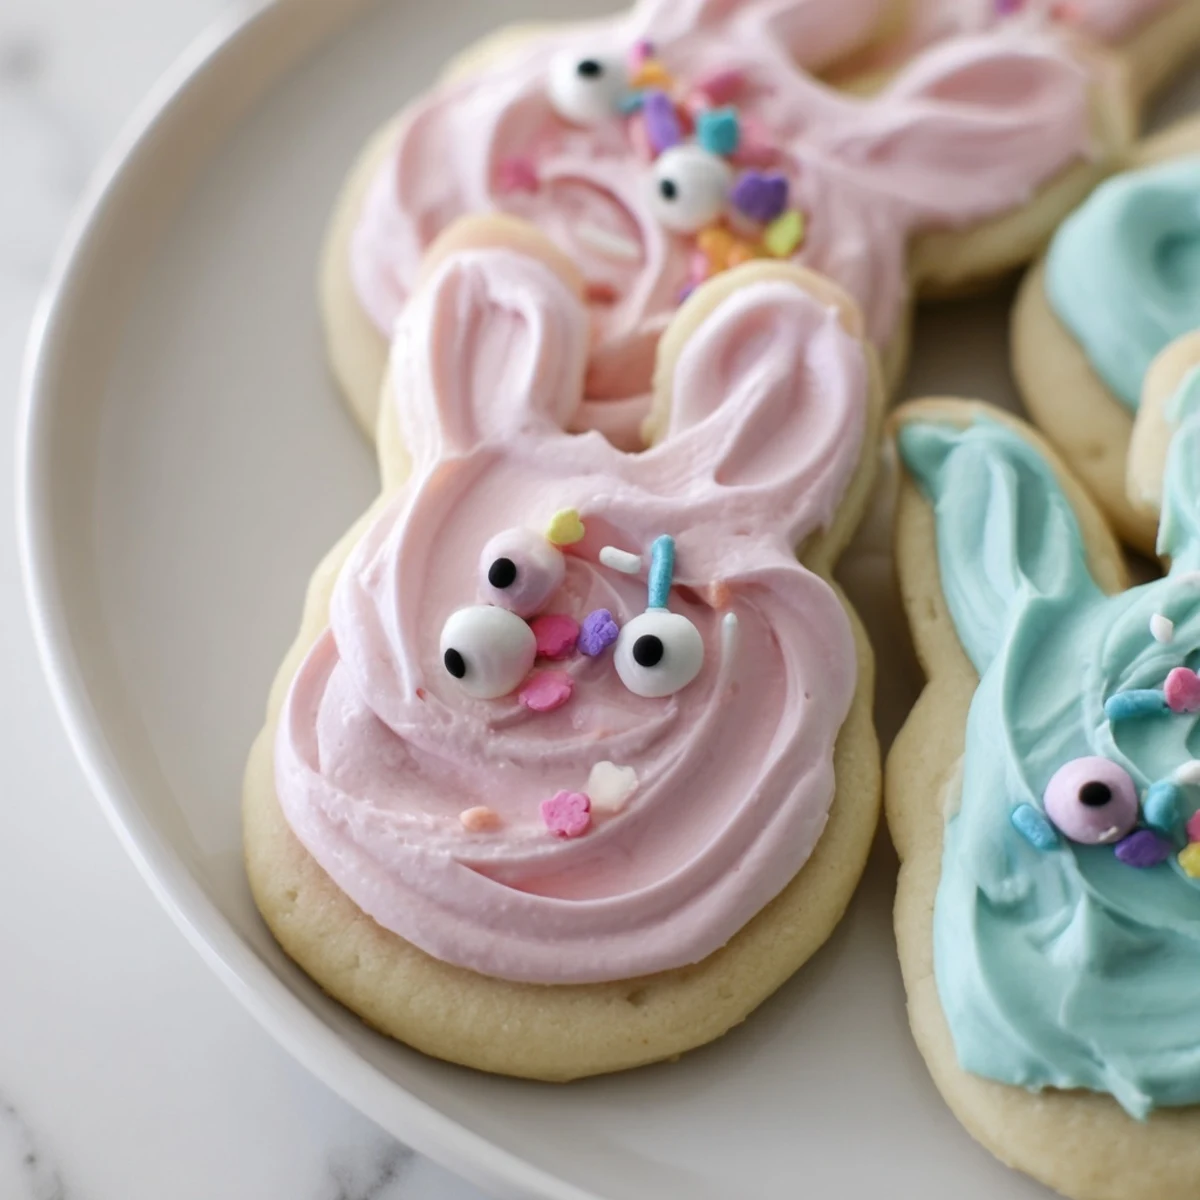
 These delightful bunny-shaped treats start with a classic buttery sugar cookie dough that rolls out perfectly for cutting. After a quick chill, the dough transforms into cute bunny shapes that bake until lightly golden. The real magic happens with the silky buttercream frosting—smooth, creamy, and tinted in soft pastel shades for that springtime feel. Each cookie gets generously frosted and decorated with candy eyes or sprinkles to bring the bunny faces to life. The result is an irresistible combination of tender, melt-in-your-mouth cookie and rich, buttery frosting that appeals to both kids and adults alike.
There was something magical about the first time these bunny cookies came out of the oven, their little ears slightly puffed and golden. My daughter stood on her tiptoes at the kitchen counter, absolutely transfixed as we piped on pink buttercream tails. Spring had just started showing its face outside, and suddenly our kitchen felt like the most whimsical place on earth.
Last Easter, my niece Lila brought home a classroom bunny cookie that looked more like a blob with ears. We spent the entire afternoon recreating them together, covering our kitchen counter in flour and laughter. By the time we finished, neither of us cared that some bunnies had crooked smiles or lopsided whiskers. Those imperfect cookies tasted like pure joy.
Ingredients
- All purpose flour: The foundation that gives these cookies their tender crumb and structure
- Baking powder: Just enough to help the bunny shapes puff up slightly without losing their definition
- Salt: A pinch that balances the sweetness and brings all flavors forward
- Unsalted butter: Use genuinely softened butter for that melt in your mouth texture that makes these unforgettable
- Granulated sugar: Sweetens while creating that perfect crisp edge and soft center
- Egg: Binds everything together while adding richness and structure
- Pure vanilla extract: The warm aromatic backbone that makes these taste like home
- Unsalted butter for frosting: Room temperature butter whips into the silkiest, most spreadable consistency
- Powdered sugar: Creates that velvety smooth frosting texture and sweetness
- Whole milk: Just enough to loosen the frosting to perfect spreading consistency
- Food coloring: Pastel shades make these bunnies come to life with personality
- Candy eyes: The finishing touch that gives each bunny its own adorable expression
Instructions
- Preheat your kitchen:
- Set oven to 350°F and line baking sheets with parchment paper, creating a welcoming workspace for your bunny creation process
- Whisk the dry ingredients:
- Combine flour, baking powder, and salt in a medium bowl, ensuring everything is evenly distributed for consistent baking
- Cream butter and sugar:
- Beat softened butter and granulated sugar for about 3 minutes until the mixture turns pale and fluffy, incorporating tiny air pockets that make cookies tender
- Add egg and vanilla:
- Mix in the egg and vanilla extract until fully combined, watching the dough transform into a smooth cohesive mixture
- Incorporate the flour mixture:
- Gradually add dry ingredients to the wet mixture, mixing just until dough comes together without overworking it
- Chill the dough:
- Divide dough into two discs, wrap tightly, and refrigerate for at least 30 minutes so the cookies hold their bunny shapes beautifully
- Roll and cut:
- On a floured surface, roll dough to 1/4 inch thickness and cut out bunnies, placing them 2 inches apart on prepared baking sheets
- Bake to perfection:
- Bake for 8 to 10 minutes until edges just begin turning golden, then let cool completely on wire racks before frosting
- Prepare the buttercream:
- Beat softened butter until creamy, gradually add powdered sugar, milk, and vanilla, then tint portions with pastel food coloring
- Decorate your bunnies:
- Frost cooled cookies using piping bags or spatulas, adding candy eyes and sprinkles to give each bunny its unique personality
 Pin it
 My mother still talks about the batch where I accidentally used blue food coloring instead of pink for the bunny tails. We laughed so hard frosting those blue tailed bunnies, but you know what? They disappeared just as quickly as the perfect ones. Sometimes the kitchen mishaps become the best memories.
Making Ahead
The dough actually develops better flavor when made ahead and chilled overnight. I love preparing it the day before a gathering, then waking up to ready to roll dough. The buttercream also keeps beautifully in the refrigerator for up to a week.
Flavor Variations
Swap vanilla extract for lemon or almond to completely transform these cookies into something new. Sometimes I add a teaspoon of orange zest to the dough, and the citrus notes make these feel incredibly fresh. A splash of raspberry extract in pink frosting creates the most delightful strawberry flavor.
Storage And Serving
These cookies stay fresh at room temperature for up to three days when stored in an airtight container. For longer storage, refrigerate them for up to a week, though they rarely last that long in my house. Let refrigerated cookies come to room temperature before serving for the best texture and flavor.
- Place parchment paper between stacked cookies to protect the buttercream decorations
- Bring buttercream to room temperature before frosting if it has been refrigerated
- Freshly frosted cookies taste best within 24 hours for the smoothest frosting texture
 Pin it
 There is something about watching someone take their first bite of these buttercream bunny cookies, their eyes lighting up at the combination of buttery cookie and silky frosting. Spring feels a little more magical when these are on the table.
Recipe FAQs
- → How far in advance can I make the dough?
-
The dough can be prepared up to 24 hours ahead and stored wrapped in the refrigerator. You can also freeze the dough discs for up to 3 months—just thaw overnight in the refrigerator before rolling and cutting.
- → Can I use different frosting colors?
-
Absolutely! Gel food coloring works best for vibrant pastel shades. Consider soft pink, lavender, mint green, or baby blue for a charming spring palette. You can also leave some frosting naturally white for variety.
- → What if I don't have a bunny cookie cutter?
-
You can use any seasonal cutter you have on hand, or create a simple bunny shape by cutting a round cookie and adding small round pieces for ears. Alternatively, use a standard round or egg-shaped cutter for Easter-themed treats.
- → How should I store the finished treats?
-
Store in an airtight container at room temperature for up to 3 days. If you need longer storage, refrigerate for up to a week. Layer between parchment paper to prevent sticking. Bring to room temperature before serving for best texture.
- → Can I make these dairy-free?
-
Yes! Substitute the butter with a high-quality plant-based butter alternative and use non-dairy milk in the frosting. The texture and flavor will remain delicious while accommodating dietary restrictions.
- → Why is my dough too sticky to roll?
-
If the dough feels sticky, it likely needs more chilling time. Return it to the refrigerator for 15-30 minutes. You can also lightly dust your work surface and rolling pin with flour, but use sparingly to avoid toughening the dough.
