 Pin it
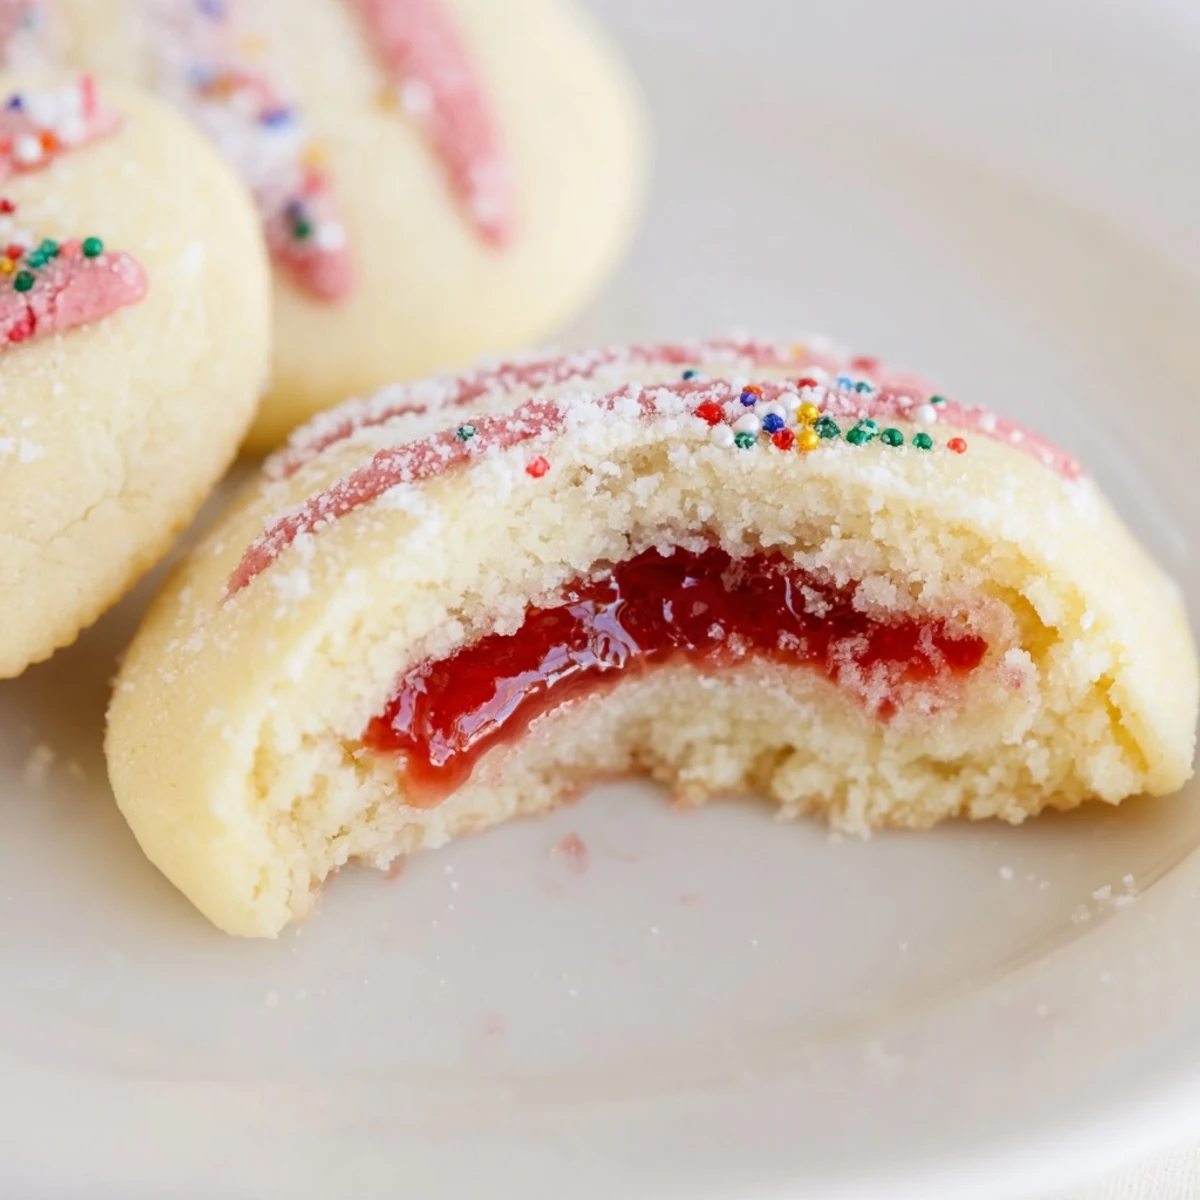
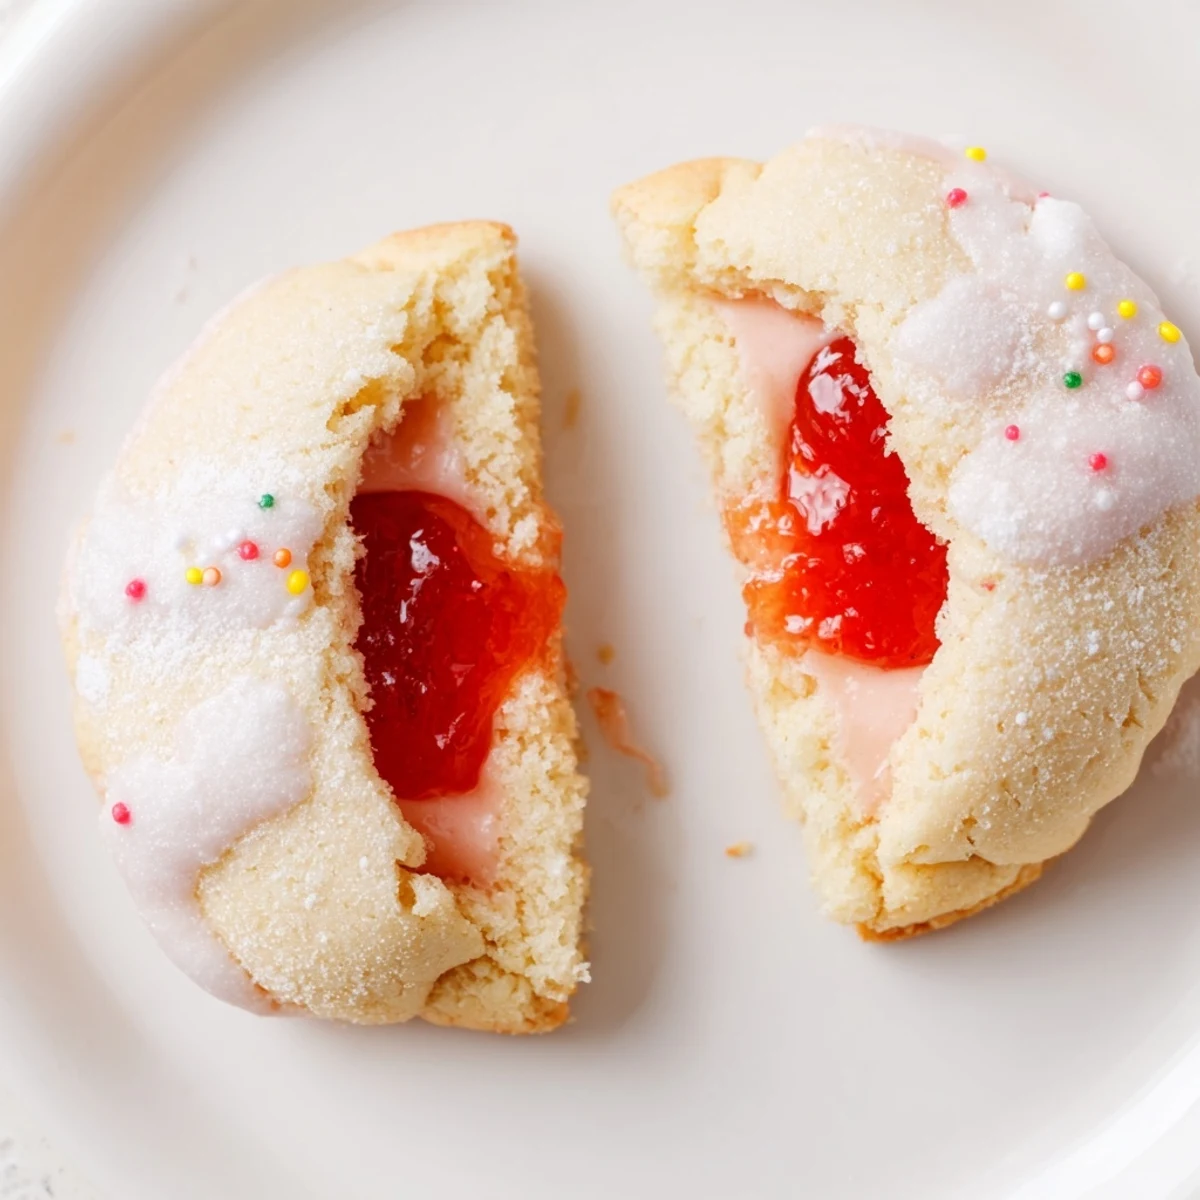
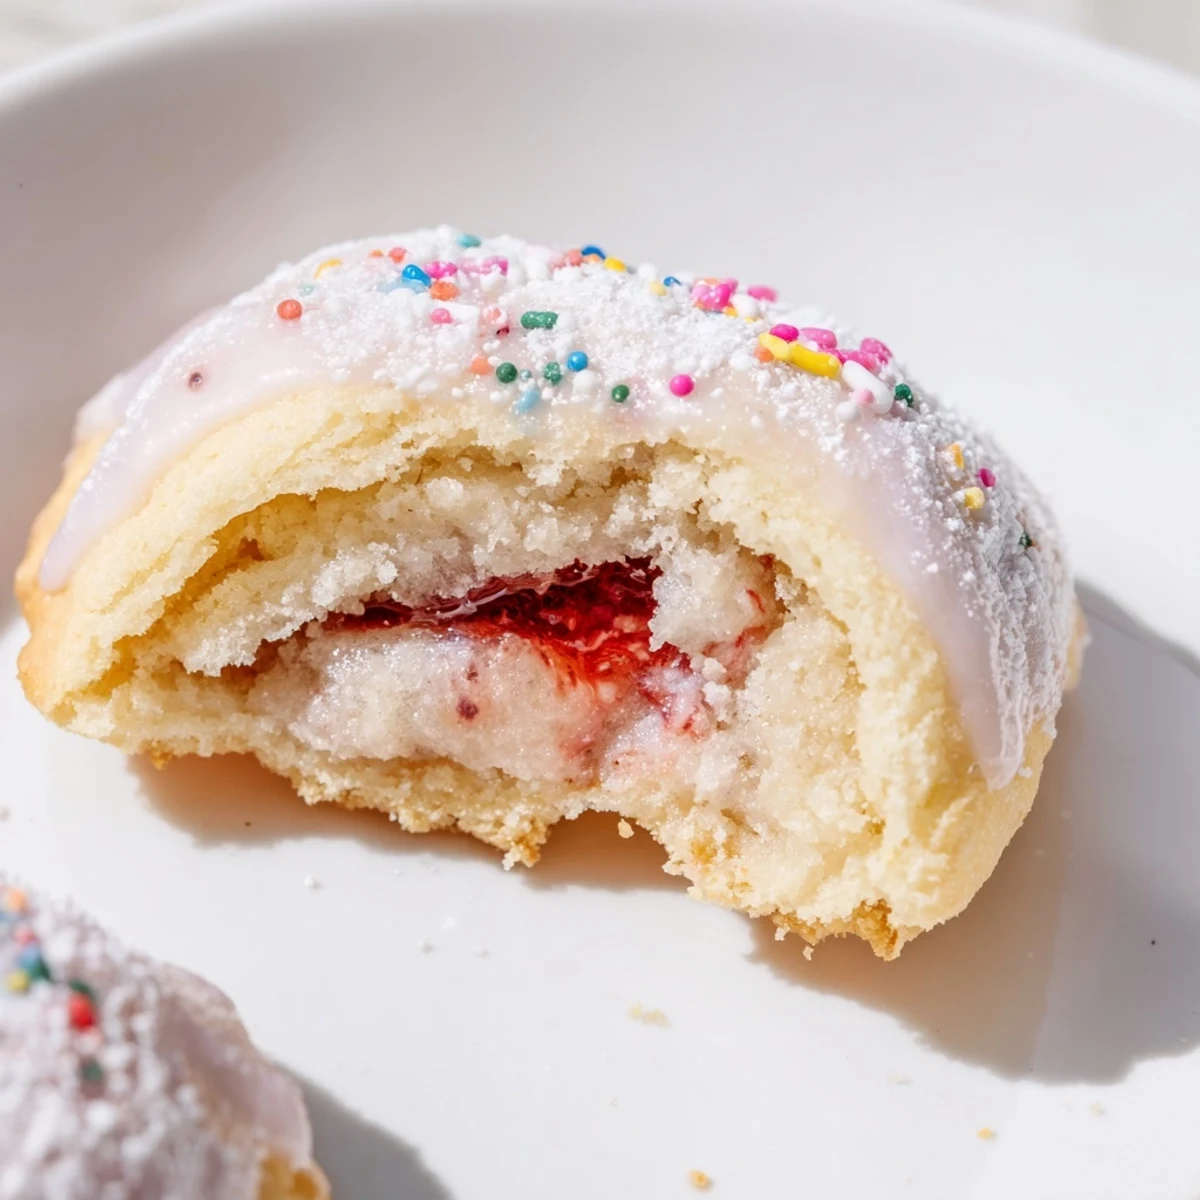
 These buttery sugar cookies are stuffed with strawberry jam, baked until edges are lightly golden, then finished with a smooth vanilla glaze and colorful sprinkles for a Pop Tart–inspired bite. Keep mixing gentle to avoid a tough crumb, portion a tablespoon of dough with about 1/2 tsp jam, seal edges firmly to prevent leaks, bake 12 minutes at 350°F, and cool fully before glazing so the topping sets cleanly.
The grocery store aisle smelled like artificial strawberry everything, and my daughter was tugging my sleeve toward the Pop Tarts display with the determination only a six year old can muster. I said no to the box but yes to the idea, and somehow that bribed promise turned into the most requested weekend baking project in our house. These cookies capture everything nostalgic about that frosted rectangle but wrapped up in a soft, buttery sugar cookie that melts in your mouth.
One Saturday morning my husband walked into the kitchen to find me surrounded by flour dust, three open jars of jam, and a very enthusiastic toddler with a wooden spoon. We ended up making a double batch and delivering plates to neighbors, and now those same neighbors casually hint every spring that they would not mind another round.
Ingredients
- All-purpose flour (2 1/2 cups, 315 g): The backbone of the cookie, and spooning it into the cup rather than scooping directly from the bag keeps the dough from turning dense.
- Baking powder (1/2 teaspoon): Just enough lift to keep these tender without puffing them into little domes.
- Salt (1/2 teaspoon): Do not skip this, because it balances the sweetness of the jam and glaze beautifully.
- Unsalted butter, softened (1 cup, 225 g): Real butter makes all the difference here, and letting it sit out for an hour before baking gives you that perfect creamy texture.
- Granulated sugar (3/4 cup, 150 g): Works with the brown sugar to create edges that turn just golden while the centers stay soft.
- Packed light brown sugar (1/4 cup, 50 g): A small amount that adds warmth and a slight chew to the finished cookie.
- Large egg (1): Binds everything together and adds richness to the dough.
- Vanilla extract (2 teaspoons): I use the full two teaspoons because the aroma while mixing is absolutely heavenly and it carries through the baked cookie.
- Strawberry jam (1/2 cup, 160 g): The star of the filling, and a good quality jam with real fruit pieces makes these taste genuinely fruity rather than overly sweet.
- Powdered sugar (1 cup, 120 g): Creates that classic Pop Tart style glaze that hardens into a sweet little cap on each cookie.
- Milk (2 tablespoons): Thins the glaze to the perfect spreading consistency.
- Vanilla extract for glaze (1/2 teaspoon): A finishing touch that rounds out the flavor of the icing.
- Red or pink food coloring (optional): Purely for fun, and a tiny drop goes a long way toward that nostalgic look.
- Rainbow sprinkles: Non negotiable in my house, because nothing says Pop Tart without those colorful dots on top.
Instructions
- Get your oven ready:
- Preheat to 350 degrees F (175 degrees C) and line two baking sheets with parchment paper so nothing sticks and cleanup is effortless.
- Whisk the dry ingredients:
- In a medium bowl, combine the flour, baking powder, and salt with a whisk until evenly distributed, which takes about thirty seconds and saves you from any bitter baking powder pockets later.
- Cream the butter and sugars:
- Beat the softened butter, granulated sugar, and brown sugar in a large bowl until the mixture turns pale, light, and creamy, then add the egg and vanilla and mix until everything is combined and fragrant.
- Bring the dough together:
- Gradually add the dry ingredients to the wet mixture, stirring gently just until the dough comes together and no dry streaks remain, being careful not to overwork it.
- Stuff and seal each cookie:
- Scoop one tablespoon of dough and flatten it slightly in your palm, place a half teaspoon of strawberry jam right in the center, then top with another tablespoon of dough and pinch the edges shut completely before gently rolling into a smooth ball.
- Arrange on baking sheets:
- Place the filled dough balls on your prepared sheets about two inches apart so they have room to spread without merging into each other.
- Bake until golden:
- Bake for twelve minutes or until the edges are lightly golden, then let them rest on the sheet for five minutes before moving to a wire rack to cool completely.
- Glaze and decorate:
- Whisk together the powdered sugar, milk, vanilla, and a drop of food coloring until smooth and slightly thick, then spread over cooled cookies and finish with a generous shower of rainbow sprinkles before the glaze sets.
 Pin it
 The first time I packed these in a school lunchbox, my daughter came home with an empty container and a note from her teacher asking for the recipe. That folded piece of paper is still stuck to my fridge with a strawberry magnet.
Playing With Flavors
Raspberry jam swaps in beautifully if you want something a little more tart, and blueberry jam gives a deeper, almost jammy fig vibe that surprises people in the best way. I once used apricot preserves during a pantry cleanout and my mother in law declared them her favorite, which is saying something. A pinch of ground cinnamon in the dough adds a warm note that makes these taste even more like a childhood breakfast treat.
Getting The Seal Right
The trick is keeping your hands slightly damp while working with the dough, because a tiny bit of moisture helps the top and bottom layers merge seamlessly. Press firmly around the jam mound and then roll gently between your palms to smooth everything out. If a little jam squirts out the side, just patch it with a tiny bit of extra dough and nobody will ever know.
Storing And Sharing
These keep beautifully in an airtight container at room temperature for up to five days, though they rarely last that long in my kitchen. The glaze firms up enough that you can stack them with a piece of parchment between layers without ruining the decorations.
- Freeze unglazed cookies for up to three months and thaw overnight before adding fresh glaze.
- Transport them in a single layer if possible, because even set glaze can get smudged in transit.
- Always make a few extra, because at least two will disappear while the glaze is still wet.
 Pin it
 Every batch reminds me that the best recipes are the ones that make people grin before they even take a bite. Grab your sprinkles and let the mess happen.
Recipe FAQs
- → Can I swap the strawberry jam for another flavor?
-
Yes — raspberry, blueberry, or apricot preserves all work well. Choose a thicker jam to minimize spreading during baking and adjust filling volume slightly to avoid leaks.
- → How do I prevent the jam from leaking during baking?
-
Seal edges thoroughly by pinching dough together and smoothing seams; refrigerate or briefly chill formed cookies for 10–15 minutes before baking to help maintain shape.
- → What keeps the cookies soft rather than cakey?
-
Avoid overworking the dough once the flour is added. Cream butter and sugars until light, then add flour just until combined to retain tenderness and a buttery texture.
- → How should I adjust baking time for larger or smaller cookies?
-
Smaller cookies may need 1–3 minutes less; larger ones will need a few extra minutes. Look for lightly golden edges and a set surface rather than a long fixed time.
- → Can I prepare the dough or assembled cookies ahead of time?
-
Yes — dough can be chilled up to 48 hours or frozen for longer. Assembled raw cookies can be frozen on a tray, then baked from frozen with an extra minute or two of bake time.
- → How do I get a smooth, glossy glaze?
-
Whisk powdered sugar with just enough milk to reach a thick but pourable consistency, add vanilla, and strain if needed. Apply only to completely cooled cookies so it sets with a smooth finish.
