 Pin it
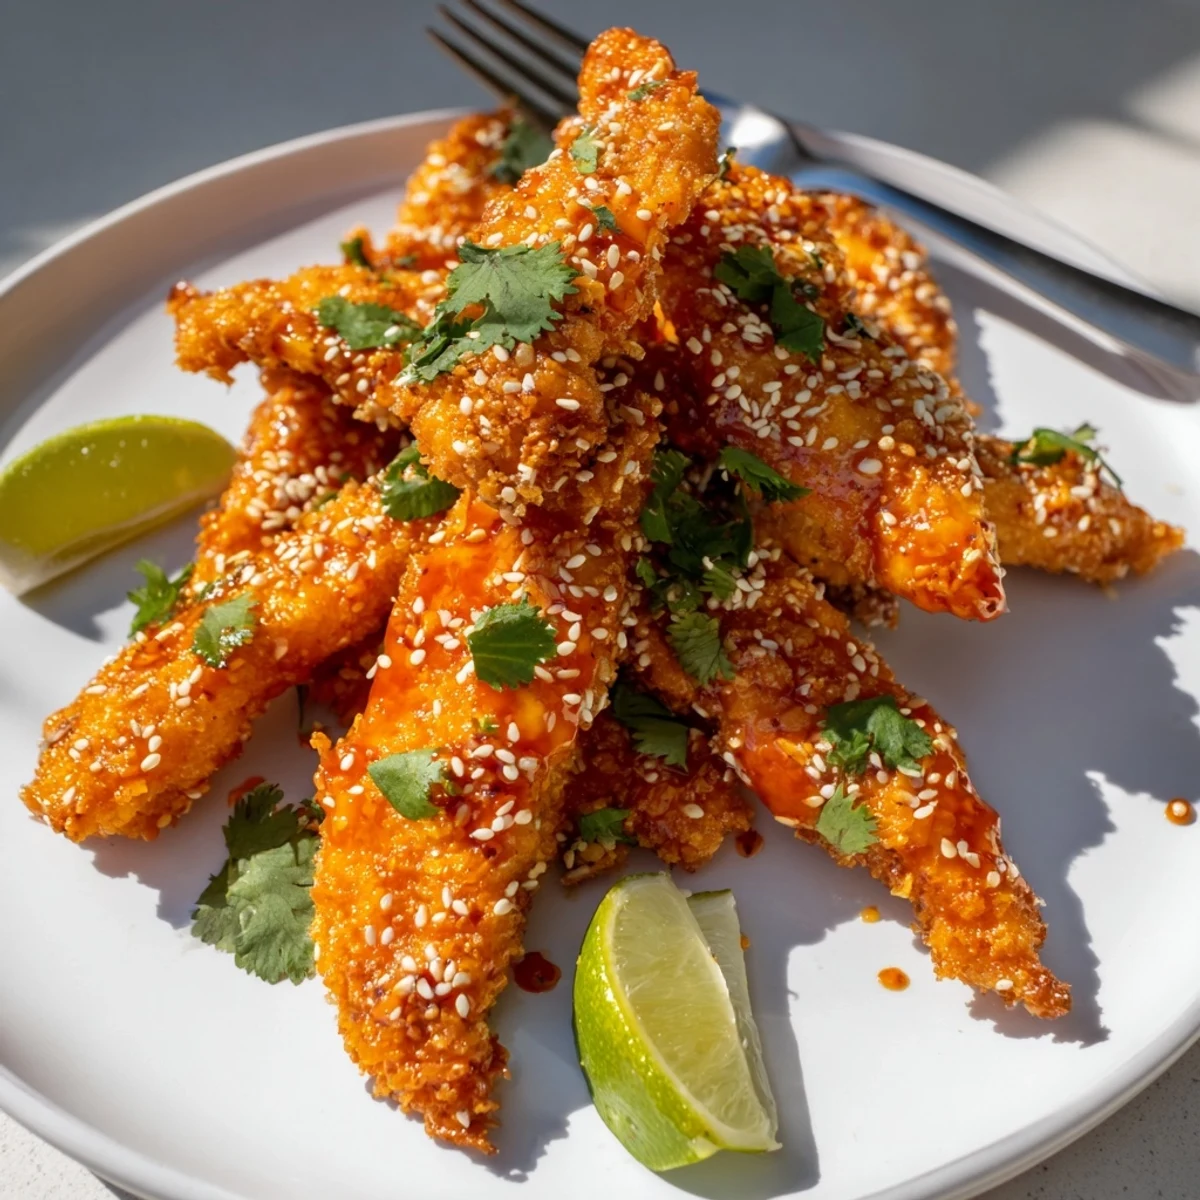
 These Thai sticky chicken fingers feature tender, marinated chicken strips coated in crispy panko breadcrumbs, baked or fried until golden, then tossed in a luscious sweet chili and soy glaze.
The marinade infuses each piece with garlic, ginger, lime, and fish sauce, delivering bold Thai-inspired flavors in every bite.
Ready in just 45 minutes with simple pantry ingredients, they work beautifully as a party appetizer or paired with jasmine rice for a satisfying weeknight dinner.
The first time I made these sticky chicken fingers, my kitchen smelled like ginger and caramelized honey. I was hosting a casual Friday dinner and friends kept wandering in, asking what was creating that incredible aroma. When we finally sat down to eat, the conversation stopped completely because everyone was too busy reaching for seconds.
Last summer, my niece who swears she hates anything with fish sauce tried these and ate five pieces straight from the platter. She finally asked what the secret ingredient was, and when I told her, she just shrugged and went back for more. Thats the kind of recipe that wins people over before they realize whats in it.
Ingredients
- Chicken tenders or breast strips: 600 g of boneless, skinless chicken works beautifully here. Tenders are naturally the perfect shape, but cutting breasts into even strips saves money and cooks just as well
- Soy sauce, lime juice, and fish sauce: This trio creates the umami foundation. The fish sauce might smell strong straight from the bottle, but it melts into something magical during cooking
- Garlic and ginger: Freshly minced garlic and grated ginger make such a difference. Ive tried paste versions in a pinch, and they just dont pop the same way
- Flour, eggs, and panko breadcrumbs: The classic coating trio. Panko gives you that extra crispy shatter that regular breadcrumbs cant match. I keep a bag in my freezer just for recipes like this
- Sweet chili sauce and honey: These create the sticky glaze. The sweet chili sauce brings a gentle heat while honey adds that beautiful caramelized finish
- Sriracha: Optional but recommended if you like things with a little more kick. Start with less than you think you need. You can always add more
- Sesame seeds and fresh cilantro: These arent just garnish. They cut through the sweetness and add fresh contrast to every bite
Instructions
- Marinate the chicken:
- Whisk together the soy sauce, lime juice, fish sauce, garlic, and ginger. Add the chicken strips and toss until every piece is coated. Let it sit for at least 15 minutes, but honestly, an hour in the fridge makes it even better
- Set up your coating station:
- Get three shallow bowls ready. Flour in the first, beaten eggs in the second, and panko mixed with salt and pepper in the third. This assembly line approach keeps things organized and prevents cross-contamination
- Heat your oven or pan:
- Preheat the oven to 200°C (400°F) and line a baking sheet with parchment paper, or heat oil in a pan if you prefer frying. Both methods work, but baking is easier for a crowd
- Coat each piece:
- Pull the chicken from the marinade and let any excess drip off. Dip into flour, shake off the extra, then into egg, and finally press into the panko until thoroughly coated. Place each piece on your prepared baking sheet as you go
- Cook until golden:
- Bake for 18-22 minutes, flipping halfway through, or fry for 3-4 minutes per side. You want them golden and crispy, with an internal temperature of 165°F. The coating should sound hollow when you tap it
- Make the sticky sauce:
- While the chicken cooks, combine the sweet chili sauce, honey, soy sauce, rice vinegar, sriracha, and sesame oil in a saucepan. Heat over medium, stirring constantly, until the sauce bubbles and thickens slightly. This takes about 3-5 minutes
- Glaze and serve:
- Toss the cooked chicken fingers gently in the warm sauce until each piece is glossy. Transfer to a platter, sprinkle with sesame seeds and cilantro, and serve with lime wedges on the side
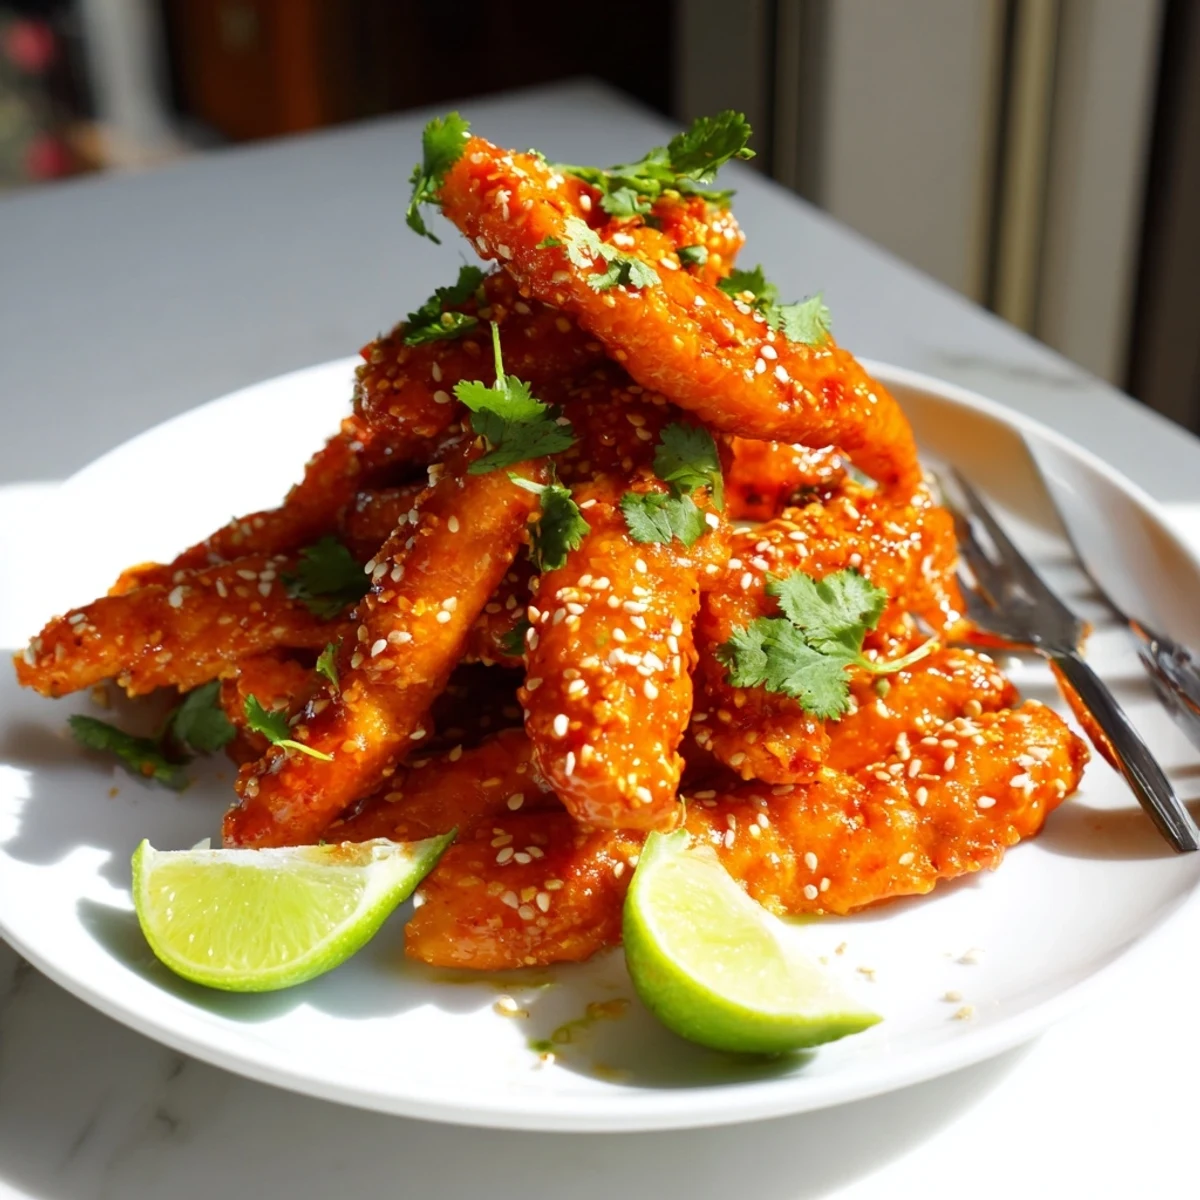 Pin it
 My husband now requests these for every birthday dinner, which says a lot considering hes not typically into finger foods. Theres something satisfying about standing around a platter, grabbing sticky pieces with your hands, and not needing any formality.
Making Them Ahead
You can coat the chicken up to four hours before cooking and keep it refrigerated on a parchment-lined tray. Just dont sauce them until the last minute. Ive learned that soggy panko is nobody friend, and the coating stays crispier when it goes into the oven cold from the fridge.
Oven Versus Frying
Baking gives you consistently good results with way less mess, but frying creates that extra crunch that restaurant versions have. If you do fry, let the drained chicken rest on paper towels for a minute before saucing. This keeps the coating from getting soft too quickly.
Serving Ideas
These work as an appetizer, party food, or main dish. I like to serve them with jasmine rice and sliced cucumbers dressed in rice vinegar. The cool, crisp cucumbers balance the sweet sticky sauce perfectly. For parties, make a double batch because they disappear faster than you expect.
- Set out extra lime wedges so guests can add their own bright squeeze
- A small bowl of extra sauce on the side is always appreciated
- If serving as a main, add a simple green salad to round out the meal
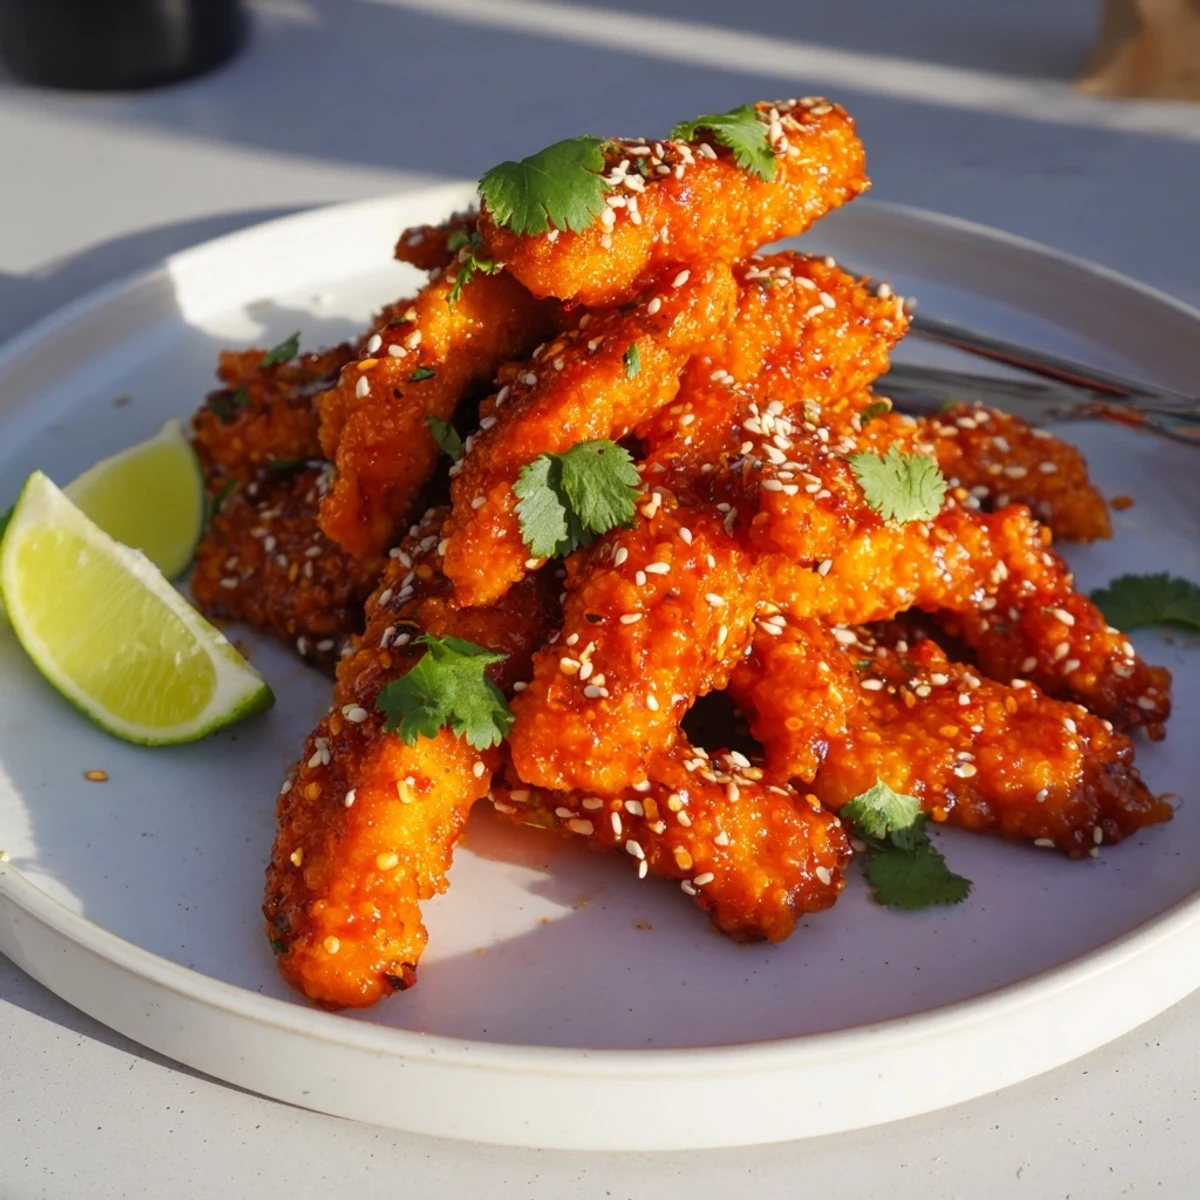 Pin it
 Hope these bring as much joy to your table as they have to mine. Sometimes the simplest recipes become the ones everyone remembers most.
Recipe FAQs
- → Can I bake these chicken fingers instead of frying?
-
Yes, bake them at 200°C (400°F) on a parchment-lined baking sheet for 18-22 minutes, flipping halfway through, until golden and cooked through.
- → How do I get extra crispy chicken fingers?
-
For maximum crunch, double-coat the chicken by repeating the egg and panko steps. Press the breadcrumbs firmly onto each strip for better adhesion.
- → Can I make the Thai sticky sauce ahead of time?
-
Absolutely. Prepare the sauce up to 3 days in advance and store it refrigerated in an airtight container. Gently reheat it in a saucepan before tossing with the cooked chicken.
- → What can I substitute for fish sauce in the marinade?
-
You can replace fish sauce with an equal amount of soy sauce or a splash of oyster sauce for a different but equally savory depth of flavor.
- → How should I store and reheat leftovers?
-
Store leftover chicken fingers in an airtight container in the refrigerator for up to 3 days. Reheat in an oven or air fryer at 190°C (375°F) for 8-10 minutes to restore crispiness.
- → Is there a gluten-free version of this dish?
-
Yes, use gluten-free flour, gluten-free panko breadcrumbs, and tamari instead of regular soy sauce. Double-check all sauce labels for hidden gluten.
