 Pin it
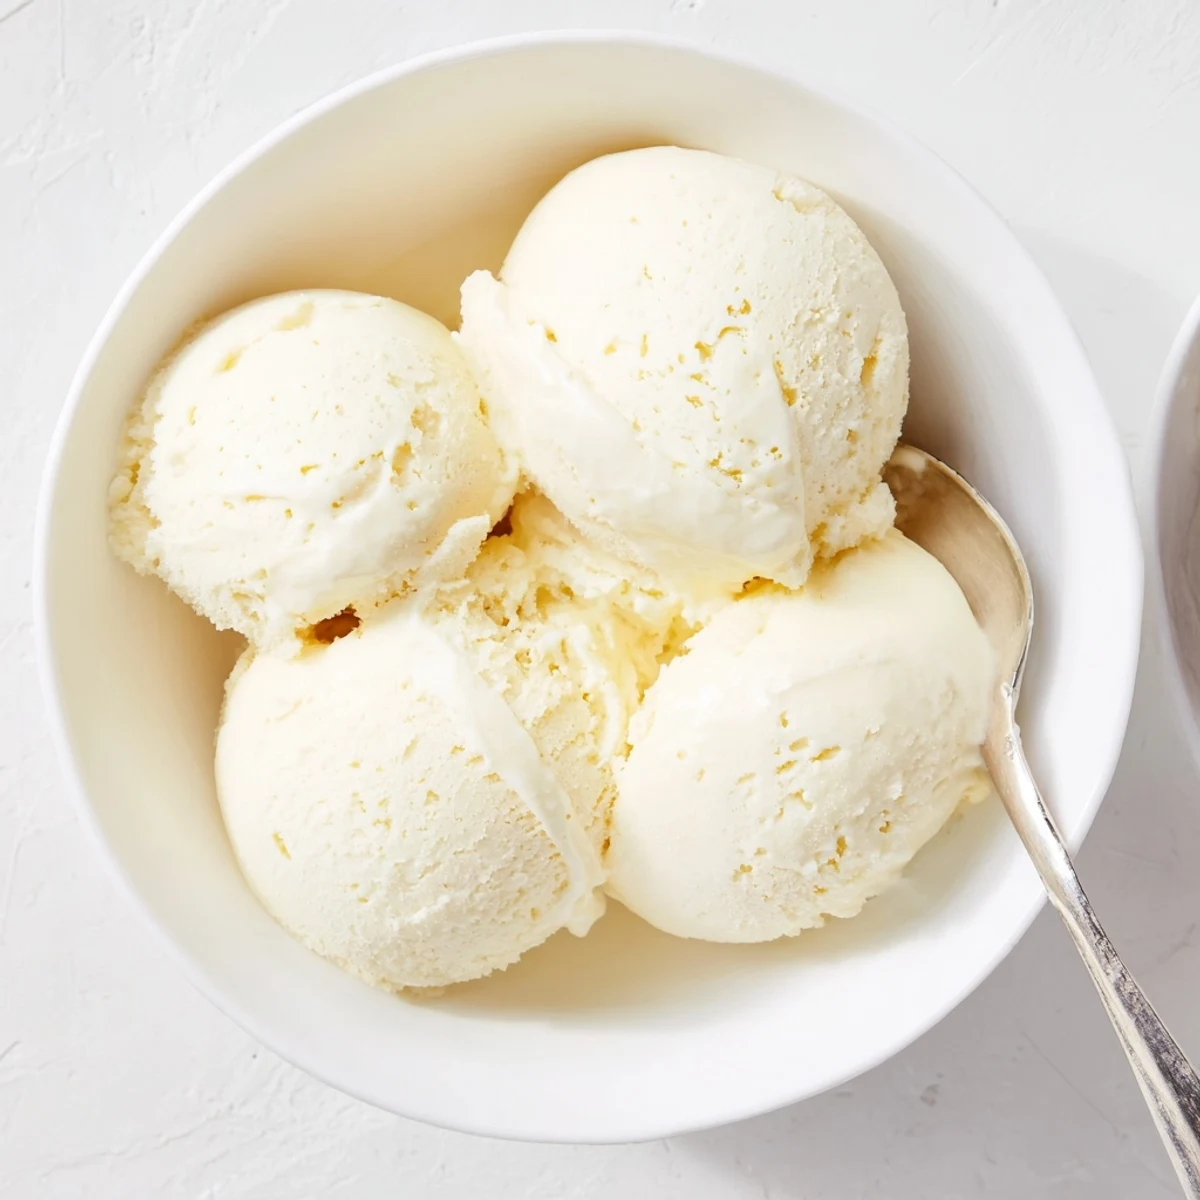
 This classic vanilla ice cream delivers exceptional creaminess through a traditional custard method. The combination of heavy cream, whole milk, and egg yolks creates a luxuriously smooth texture that rivals premium store-bought versions. After heating the dairy and tempering the eggs, the mixture cooks gently until thickened, then chills overnight for optimal flavor development. Churning in an ice cream maker incorporates air for that perfect scoopable consistency. The base is incredibly versatile—add chocolate chips, nuts, fresh fruit, or swirls of fudge after churning. For chocolate lovers, whisking cocoa powder into the milk transforms this into decadent chocolate ice cream. The result is a rich, luscious frozen dessert that's infinitely customizable and far superior to commercial options.
The summer my air conditioning broke was the summer I learned to make ice cream properly, out of sheer desperation and a stubborn refusal to stop eating frozen desserts. Something about standing over a stove tempering egg yolks while sweat rolled down my forehead made the final product taste exponentially better than anything from a store. That first batch of vanilla custard, churned in a borrowed machine sitting on my fire escape, converted me permanently to the homemade way.
My neighbor Jorge knocked on my door that sweltering July evening to ask what smelled so good, and we ended up eating half the batch straight from the machine with two spoons, leaning against the kitchen counter, not even bothering with bowls.
Ingredients
- Heavy cream (2 cups, 480 ml): The fat content here is everything, so do not substitute with anything lighter or the texture turns icy and sad.
- Whole milk (1 cup, 240 ml): Balances the cream so the final result is rich without feeling heavy like eating frozen butter.
- Granulated sugar (3/4 cup, 150 g): Sugar lowers the freezing point, which keeps the ice cream scoopable straight from the freezer.
- Egg yolks (5 large): These are your emulsifiers and thickening agents, and they give the custard that unmistakable golden color.
- Pure vanilla extract (1 tablespoon, 15 ml): Please use real extract, not imitation, because the flavor difference after freezing is dramatic.
- Salt (1/4 teaspoon): A small pinch lifts every other flavor and prevents the sweetness from feeling flat.
Instructions
- Warm the cream mixture:
- Pour the cream, milk, and half the sugar into a medium saucepan and heat over medium until you see steam rising and tiny bubbles forming at the edges, but never let it boil.
- Prepare the yolk mixture:
- Whisk the egg yolks with the remaining sugar and salt in a bowl until the color pales and the mixture feels slightly thicker when you lift the whisk.
- Temper the yolks:
- Pour the hot cream in a slow, thin stream into the yolk bowl while whisking constantly so the eggs warm gradually without scrambling.
- Cook the custard:
- Return everything to the saucepan and stir over low heat with a wooden spoon, never stopping, until the mixture coats the back of the spoon and a finger drawn through it leaves a clean line.
- Add vanilla and strain:
- Take the pan off the heat, stir in the vanilla extract, then push the custard through a fine mesh sieve into a clean bowl to catch any accidentally cooked egg bits.
- Chill thoroughly:
- Let the custard reach room temperature on the counter, then cover the surface directly with plastic wrap and refrigerate for at least four hours or, better yet, overnight.
- Churn the ice cream:
- Pour the cold custard into your ice cream maker and churn according to its directions, usually twenty to twenty five minutes, until it looks like soft serve.
- Freeze to finish:
- Transfer the churned ice cream to a lidded freezer safe container and freeze for at least two hours so it firms up to a proper scooping consistency.
 Pin it
 The following weekend I brought a container to a rooftop potluck, and three people independently asked if I could teach them, which felt like the highest compliment a home cook can receive.
Timing and Patience
The custard needs a minimum of four hours in the refrigerator, but every hour beyond that improves the final texture because the proteins and fats have more time to fully hydrate and stabilize. I usually make my base right after breakfast on a Saturday morning so it is perfectly chilled by late afternoon when I am ready to churn. Rushing this step is the single most common reason homemade ice cream turns out grainy or separates during freezing.
Mix In Ideas
Fold in chopped chocolate, toasted nuts, or fresh fruit after churning but before the final freeze so the pieces distribute evenly without sinking to the bottom. For a chocolate version, whisk half a cup of cocoa powder into the milk before heating and add a little extra sugar to balance the bitterness.
Storing and Serving
Homemade ice cream lacks the stabilizers and gums that keep commercial brands soft, so it freezes harder and needs about ten minutes at room temperature before scooping. Press a piece of parchment paper directly against the surface before lidding to prevent ice crystals from forming on top.
- A warm scoop run under hot water glides through firm ice cream much more easily.
- Serve within a week for the best texture, because homemade versions deteriorate faster than store bought.
- Always return leftovers to the freezer immediately to minimize temperature fluctuations.
 Pin it
 There is a particular kind of quiet pride that comes from serving something frozen and perfect that you built from scratch with your own hands and a little patience. Every scoop is a reminder that the best things in the kitchen are worth waiting for.
Recipe FAQs
- → Why does this ice cream use a custard base?
-
The custard base, made with egg yolks, creates an exceptionally rich and smooth texture. The yolks act as an emulsifier, preventing ice crystals from forming and ensuring a creamy, luxurious mouthfeel that's superior to Philadelphia-style eggless ice cream.
- → How long should I chill the custard before churning?
-
Chill the custard for at least 4 hours, preferably overnight. This resting period allows the flavors to meld and deepen while ensuring the mixture is thoroughly cold. Proper chilling leads to better texture and faster freezing in your ice cream maker.
- → Can I make this without an ice cream maker?
-
Yes, though the texture will be slightly different. Pour the chilled custard into a shallow container and freeze, stirring vigorously every 30 minutes for the first 3 hours to break up ice crystals. The result will still be delicious, though perhaps less airy than machine-churned version.
- → Why do I need to temper the eggs?
-
Tempering gradually raises the egg yolk temperature to prevent scrambling when they hit the hot cream. This technique ensures the yolks cook gently and thicken the custard properly without creating cooked egg pieces in your final frozen dessert.
- → How long will this keep in the freezer?
-
Properly stored in an airtight container, this ice cream maintains best quality for 1-2 weeks. Over time, ice crystals may form, but a quick thaw on the counter for 5-10 minutes before scooping helps restore creaminess.
- → What's the best way to add mix-ins?
-
Add chunky mix-ins like chocolate chips, nuts, or cookie pieces during the final minute of churning. For swirls like fudge or fruit puree, layer them into your storage container as you transfer the churned ice cream, then gently marble with a spoon.
