 Pin it
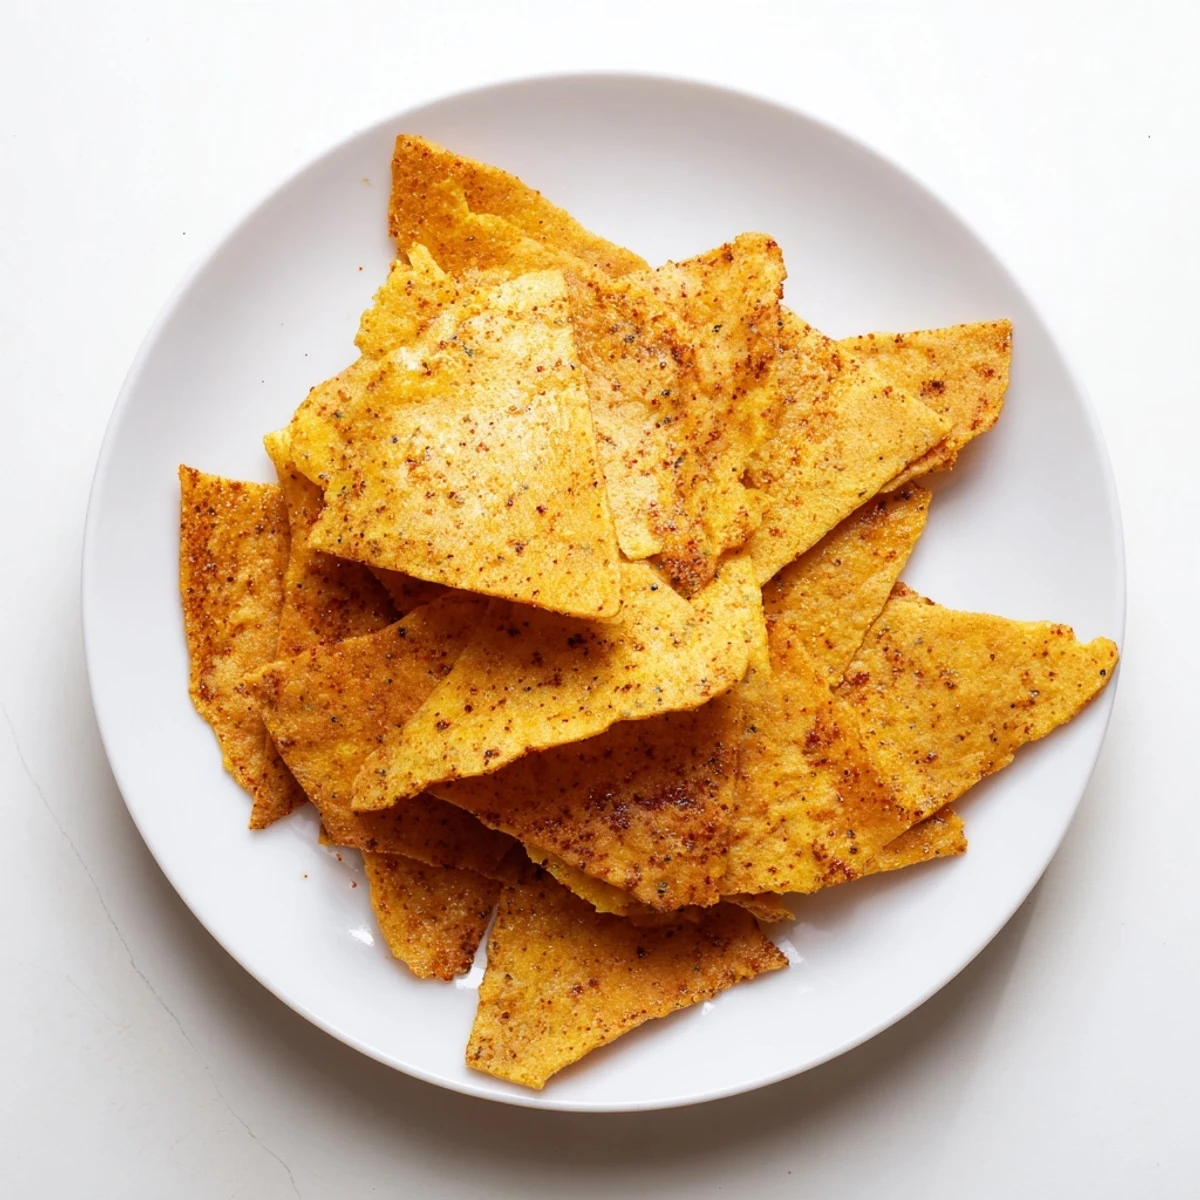
 These crispy chickpea flour chips deliver satisfying crunch with Mediterranean flavors. Simply mix chickpea flour with olive oil, smoked paprika, garlic powder, and cumin. Roll thin, bake until golden, and cool for maximum crispiness. The result is a healthy, protein-packed snack perfect with hummus, salsa, or enjoyed alone. Naturally vegan and gluten-free, they store well for a week.
The smell of chickpea flour toasting in the oven is something you never forget once you experience it, earthy and warm, almost like a quiet Sunday morning folded into a scent. My neighbor Clara brought over a bag of besan flour one afternoon with no explanation, just a note that said trust me. I stared at it for three days before I finally did.
I burned my first batch badly because I got distracted by a phone call and forgot to set a timer, but even the charred edges had a strange addictive quality that kept me reaching for more.
Ingredients
- 1 cup chickpea flour (besan or gram flour): This is the backbone of everything, so grab a fresh bag if yours has been sitting open for months because stale flour tastes flat and sad.
- 1/2 teaspoon salt: Don skimp here, salt wakes up every spice and makes the whole batch sing.
- 1/2 teaspoon smoked paprika: This is what gives the chips their subtle campfire warmth without any actual smoke involved.
- 1/2 teaspoon garlic powder: It melds into the dough beautifully and adds a savory depth you will notice immediately.
- 1/4 teaspoon ground cumin: Just a whisper of cumin makes these taste like they came from a Mediterranean kitchen.
- 1/4 teaspoon black pepper: Freshly ground is always better, but the pre ground stuff works fine here too.
- 2 tablespoons olive oil: This binds the dough and helps the edges crisp up into golden perfection.
- 1/3 cup water: Add it slowly because the dough comes together faster than you expect.
Instructions
- Preheat and Prep:
- Crank your oven to 180C (350F) and line a baking sheet with parchment paper so nothing sticks later when you are trying to pry off delicate chips.
- Mix the Dry Spices:
- Toss the chickpea flour, salt, smoked paprika, garlic powder, cumin, and pepper into a large bowl and whisk them together until the color is even throughout.
- Bring the Dough Together:
- Pour in the olive oil and water, then stir with a fork at first before switching to your hands, working it until you have a smooth soft dough that holds its shape without cracking.
- Roll It Thin:
- Sandwich the dough between two sheets of parchment paper and roll it out to about 2 to 3 millimeters thick, which is thinner than you think, so keep going until you can almost see through it.
- Cut Into Chips:
- Peel off the top parchment layer and use a knife or pizza cutter to score the dough into squares or diamonds, whatever shape makes you happy.
- Transfer to the Sheet:
- Carefully slide the bottom parchment with all your cut chips directly onto the baking sheet without moving the pieces around too much.
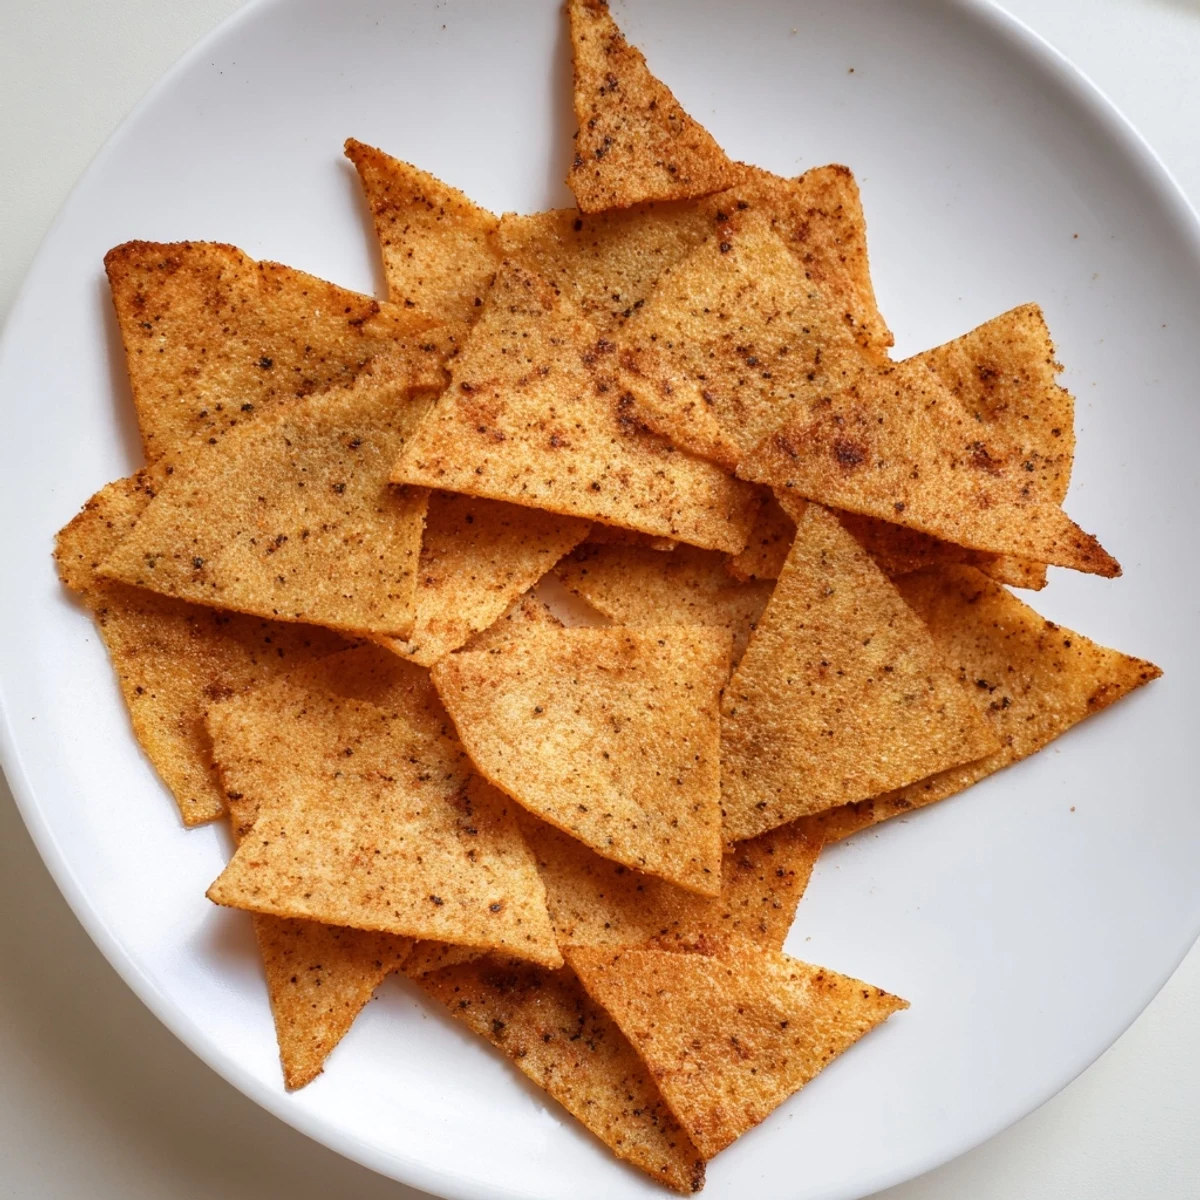
- Bake Until Golden:
- Slide them into the oven for 18 to 25 minutes, rotating the tray halfway through, and watch for that deep golden color around the edges that tells you they are done.
- Cool and Crisp:
- Let them sit on a wire rack until completely cool because patience here rewards you with chips that snap cleanly between your fingers.
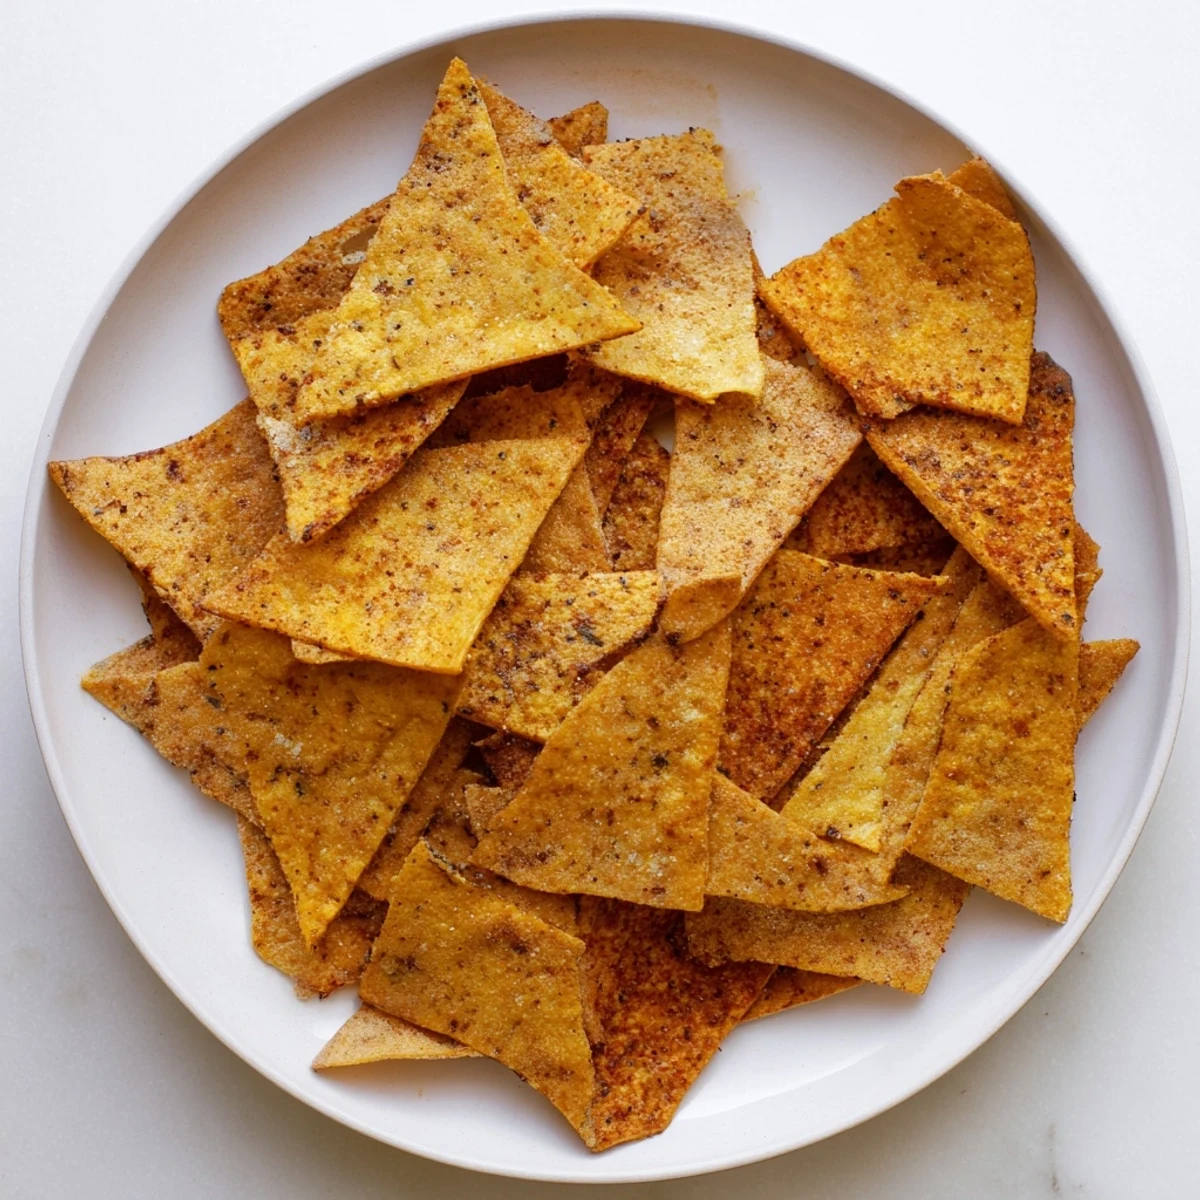
 Pin it
 I packed a small jar of these chips in my bag for a picnic last spring and ended up sharing them with strangers on a blanket nearby who could not stop asking what was in them.
Flavor Twists Worth Trying
Dried rosemary crumbled into the dough makes the chips taste like they belong on a restaurant appetizer board, and a pinch of cayenne turns them into something you will crave late at night with cold drinks.
Storage That Actually Works
Keep leftover chips in an airtight container at room temperature and they stay crisp for up to a week, though in my kitchen they rarely survive past day two.
What to Serve Them With
Hummus is the obvious choice and honestly hard to beat, but these chips also hold up beautifully to thick salsa or a simple yogurt based dip with herbs stirred through.
- Try them alongside soup as a crunchy alternative to bread.
- Crumble them over salads for a texture boost that surprises everyone.
- Always make a double batch because one disappears faster than you think.
 Pin it
 There is something deeply satisfying about turning a handful of simple ingredients into something that crunches and surprises and makes people lean in for another. Keep a bag of chickpea flour in your pantry and this snack is never more than thirty minutes away.
Recipe FAQs
- → What does chickpea flour taste like?
-
Chickpea flour has a mild, nutty flavor with subtle earthy notes. It absorbs spices beautifully, making it perfect for seasoned chips. The taste is reminiscent of classic socca or farinata.
- → How do I get the crispiest chips?
-
Roll the dough as thin as possible—about 2–3 mm thickness. Bake until golden brown, not just pale. Most importantly, let them cool completely on a wire rack. They continue crisping as they cool.
- → Can I fry these instead of baking?
-
Yes, you can fry these chips. Cut the rolled dough into pieces and fry in hot oil (350°F/175°C) for 1–2 minutes per side until golden and crispy. Drain on paper towels before serving.
- → What spices work well in chickpea chips?
-
Beyond the suggested smoked paprika and cumin, try curry powder, nutritional yeast for cheesy flavor, Italian herbs, or everything bagel seasoning. Adjust spice level with cayenne or chili powder.
- → How should I store leftover chips?
-
Store completely cooled chips in an airtight container or zip-top bag at room temperature for up to one week. Place a paper towel inside to absorb any moisture and maintain crunch.
- → Are these chips gluten-free?
-
Yes, chickpea flour is naturally gluten-free, making these chips safe for those avoiding gluten. Always verify your chickpea flour is certified gluten-free if cross-contamination is a concern.
