 Pin it
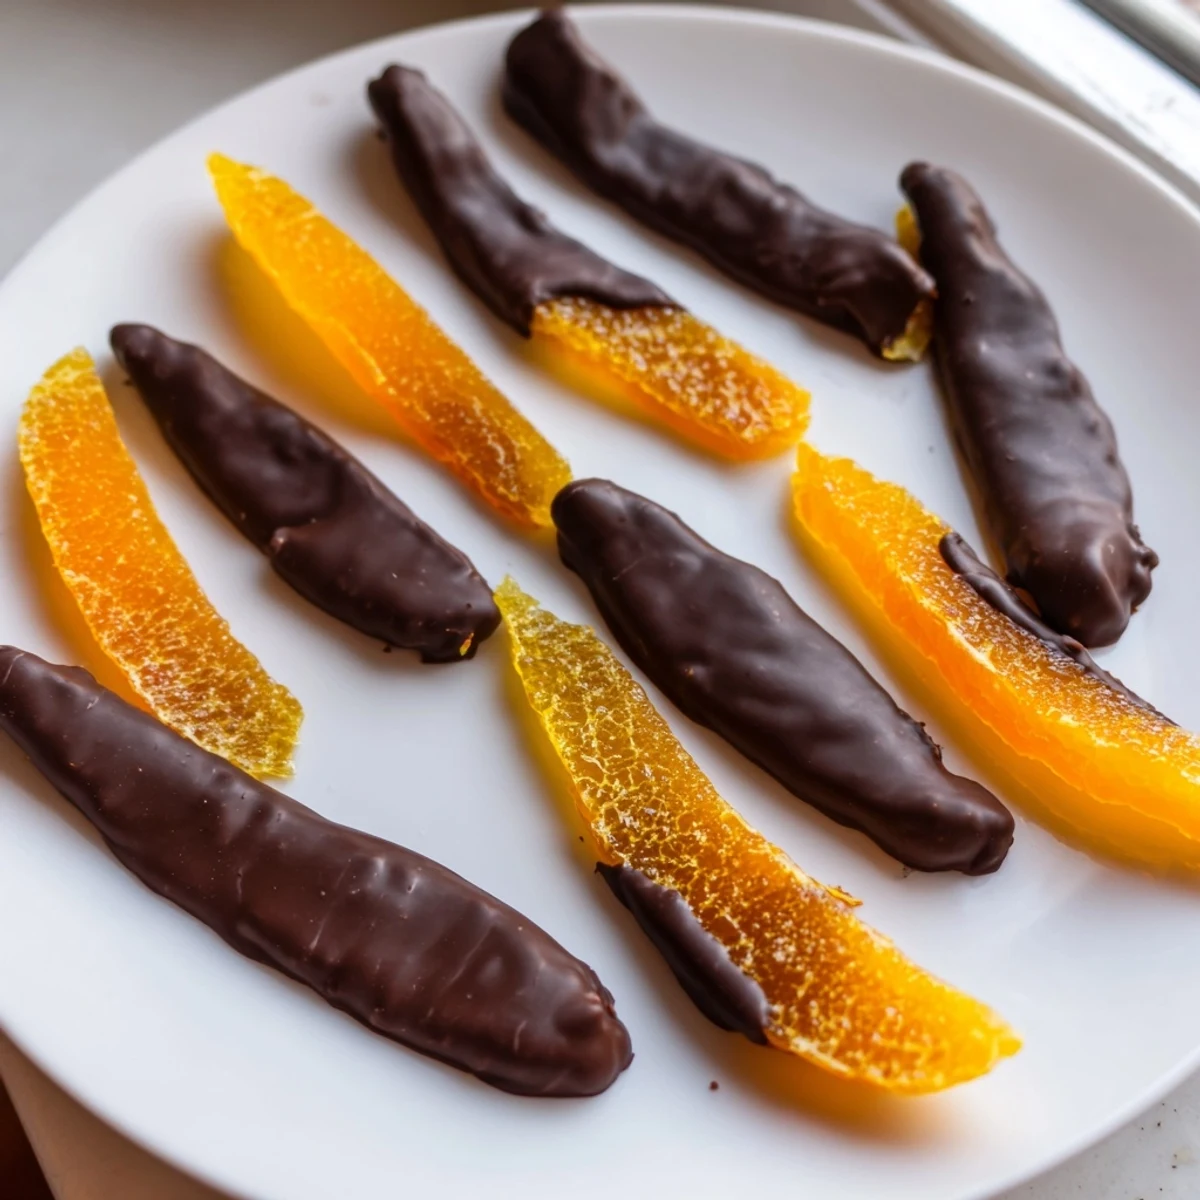
 These chocolate covered orange peels transform simple citrus into an elegant confection. Fresh orange peels are blanched multiple times to remove bitterness, then slowly simmered in sugar syrup until translucent and tender.
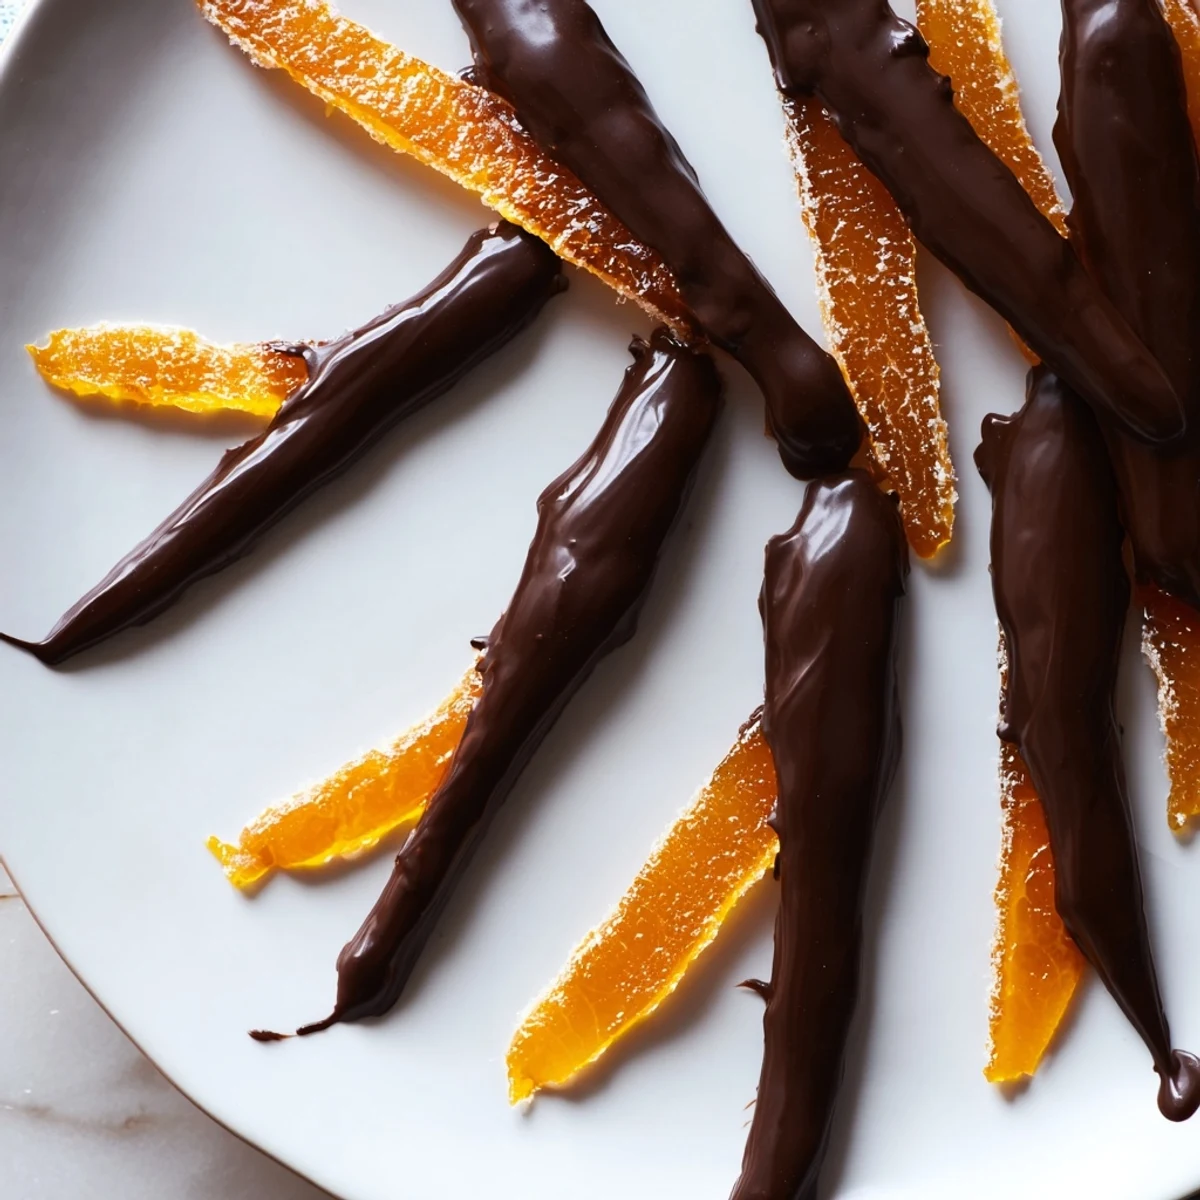
Once dried, each candied strip is dipped halfway into melted dark chocolate and left to set. The result is a beautiful balance of tangy, sweet citrus and rich, slightly bitter chocolate.
A classic European treat perfect for holidays, gifting, or enjoying alongside espresso. They store well in an airtight container for up to two weeks.
My kitchen smelled like a European patisserie the afternoon I decided to tackle chocolate covered orange peels on a rainy Sunday. Citrus oil clung to my fingers as I scored the first orange, and the sharp bright scent cut right through the grey light coming through the window. Something about transforming what most people throw away into something beautiful felt like a small act of kitchen alchemy. I was hooked before the first piece even touched the chocolate.
I made a batch for my neighbors holiday party last December and watched people abandon the store bought truffles to hover over my little tray of peels. Someone asked which bakery I ordered them from, and I had to laugh because my kitchen was an absolute disaster of sugar syrup and cocoa dust at that very moment.
Ingredients
- 3 large oranges (organic preferred): Organic skins are smoother and lack the wax coating that conventional oranges carry, which makes a real difference in the final texture.
- 2 cups (400 g) granulated sugar: This forms the candy syrup that transforms bitter peel into something jewel like and translucent.
- 1 cup (240 ml) water: Combined with sugar to create the simmering syrup that slowly permeates each strip.
- 200 g dark chocolate (60 to 70% cocoa), chopped: The slight bitterness of darker chocolate balances the candy sweetness perfectly, and chopping your own melts more evenly than chips.
Instructions
- Prep the oranges:
- Wash each orange thoroughly under warm water, scrubbing gently. Slice off the top and bottom so the fruit sits flat, then score the skin into four vertical sections and peel them away with your thumb, keeping a thin layer of white pith attached since it adds that chewy bite.
- Cut into strips:
- Lay each peel flat on your cutting board and slice into uniform strips about half a centimeter wide. Consistent sizing helps them cook evenly later.
- Blanch out the bitterness:
- Pile the strips into a saucepan, cover with cold water, and bring it to a rolling boil. Drain completely, then repeat this process two more times, watching the water turn less cloudy each round as the harsh bitterness leaches away.
- Build the syrup:
- In a clean saucepan, combine the sugar and water, stirring over medium heat until every crystal dissolves and the liquid runs clear before you add the blanched peels.
- Simmer until translucent:
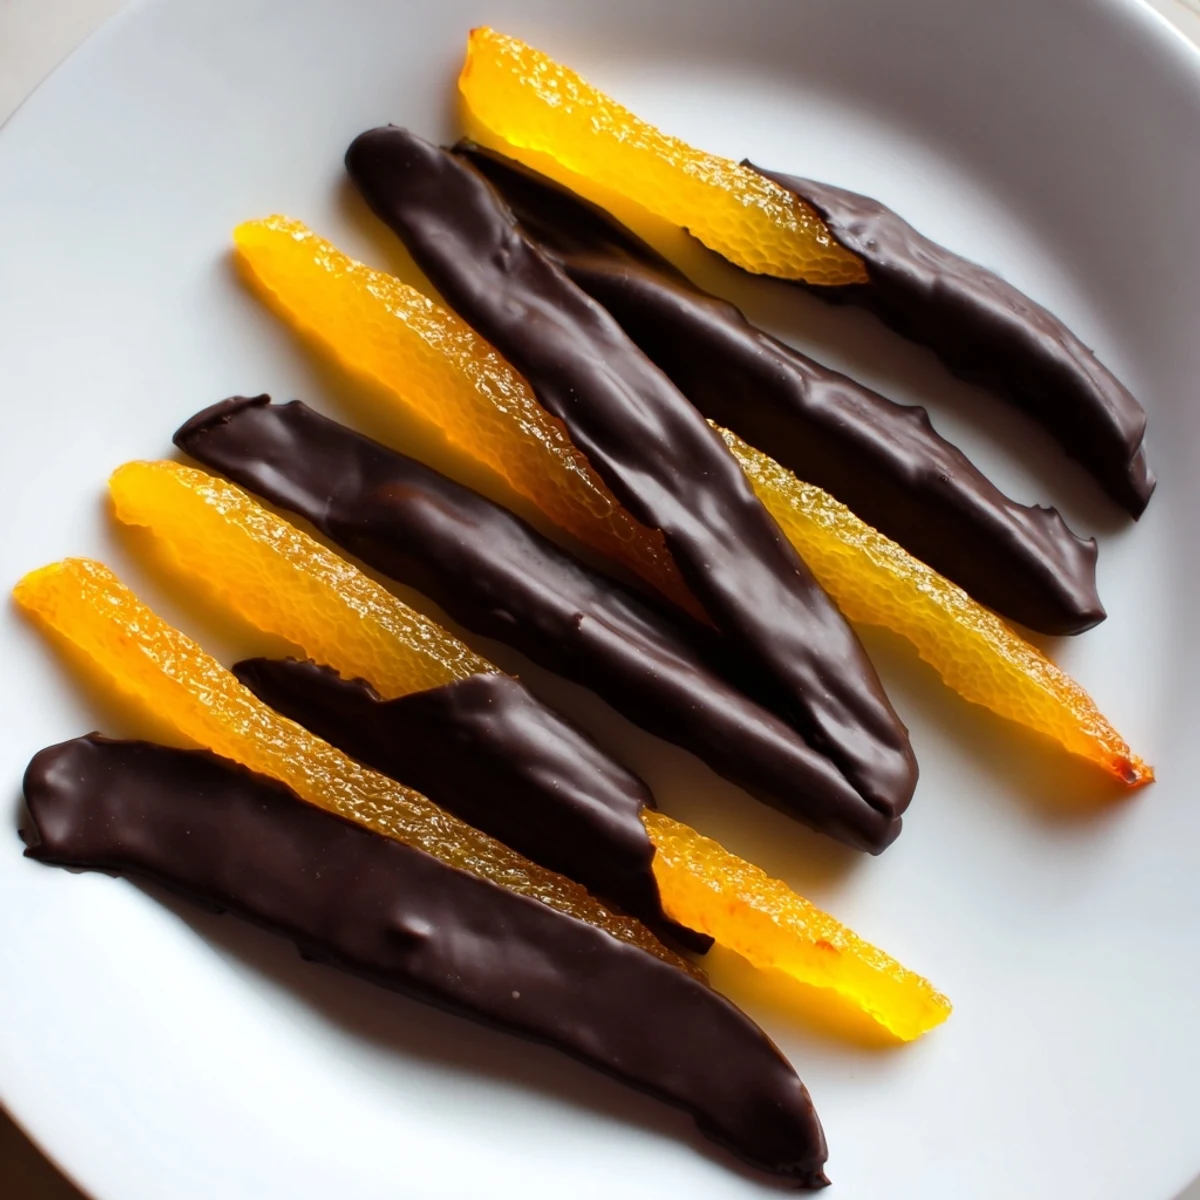
- Let the peels cook uncovered in the gently bubbling syrup for 45 to 60 minutes, stirring occasionally, until they look glassy and glow like amber when you hold one up to the light.
- Dry the peels:
- Lift each strip out with tongs and arrange them on a wire rack so air can circulate underneath. Leave them at room temperature for at least two hours, though overnight drying gives you the best non sticky surface for dipping.
- Melt the chocolate:
- Set your chopped chocolate in a heatproof bowl over a pot of barely simmering water, making sure the bowl never touches the water below, and stir gently until the mixture is glossy and completely smooth.
- Dip and finish:
- Plunge each candied strip halfway into the warm chocolate, letting the excess drip back into the bowl with a gentle shake before placing it carefully on a parchment lined tray to set.
- Let them set:
- Leave the tray at room temperature until the chocolate hardens completely, or slide it into the fridge for about twenty minutes if you are impatient like me.
 Pin it
 The best batch I ever made was the one I nearly ruined, when I got distracted by a phone call and over simmered the syrup into something close to caramel, and those slightly darker peels turned out to be the most complex and delicious ones yet.
Choosing the Right Oranges
Thick skinned varieties like Navel or Valencia hold their shape beautifully through the candying process and give you more of that satisfying chew. Thin skinned juicing oranges break down too much and end up ragged. Give the orange a gentle squeeze at the store, because a firm heavy fruit with a loose feeling skin usually means the pith is thick and perfect for this project.
Working With Chocolate
I learned the hard way that even a single drop of water or a wisp of steam can turn a beautiful bowl of melting chocolate into a grainy, clumpy mess. Keep the simmering water low and wipe the bottom of your bowl before you start dipping. Using a thermometer helps, but honestly I just watch for that silky, lava like consistency and trust my eyes.
Storing and Gifting
These keep beautifully in an airtight container in a cool cupboard for up to two weeks, though they rarely last that long in my house. Layer them between sheets of parchment so the chocolate does not smudge. For gifting, pile them into small glassine bags or a tin lined with wax paper.
- A tiny slip of paper with the flavor pairing suggestion of espresso or dessert wine makes a gift feel thoughtful.
- Keep them out of direct sunlight or the chocolate will bloom and look dusty.
- Always label them for anyone with soy or dairy sensitivities since chocolate often carries traces.
 Pin it
 There is something quietly wonderful about turning kitchen scraps into candy that rivals anything you could buy. Share them generously and keep a few hidden in the back of the fridge for yourself.
Recipe FAQs
- → Do I need to remove all the white pith from the orange peels?
-
No, you actually want to leave a thin layer of white pith intact. It adds a pleasant chewiness and helps the peels hold their shape during candying. Just avoid leaving thick, spongy portions, as these can taste overly bitter.
- → Why do I need to blanch the peels three times?
-
Repeated blanching draws out the bitter compounds from the orange peels. Each boil-and-drain cycle softens the bitterness significantly. Skipping this step will leave you with unpleasantly bitter candied peels.
- → Can I use milk or white chocolate instead of dark chocolate?
-
Yes, milk or white chocolate works well if you prefer a sweeter, milder flavor. Keep in mind that white chocolate is more sensitive to heat, so melt it gently and avoid any contact with water to prevent seizing.
- → How do I know when the candied peels are fully dried and ready to dip?
-
The peels should feel tacky but not sticky to the touch. If you press one between your fingers, it should not leave a wet sugar residue. Drying overnight at room temperature usually gives the best results. Humid environments may require longer drying time.
- → What type of oranges work best for this treat?
-
Large, thick-skinned oranges are ideal because they yield wider, more substantial strips. Organic oranges are strongly recommended since you are using the peel, which is often treated with pesticides and wax on conventional fruit. Navel oranges and blood oranges both work beautifully.
- → How should I store the finished chocolate covered orange peels?
-
Store them in an airtight container in a cool, dry place away from direct sunlight. They will keep well for up to two weeks. You can refrigerate them to extend shelf life, but allow them to come to room temperature before serving for the best texture and flavor.
