 Pin it
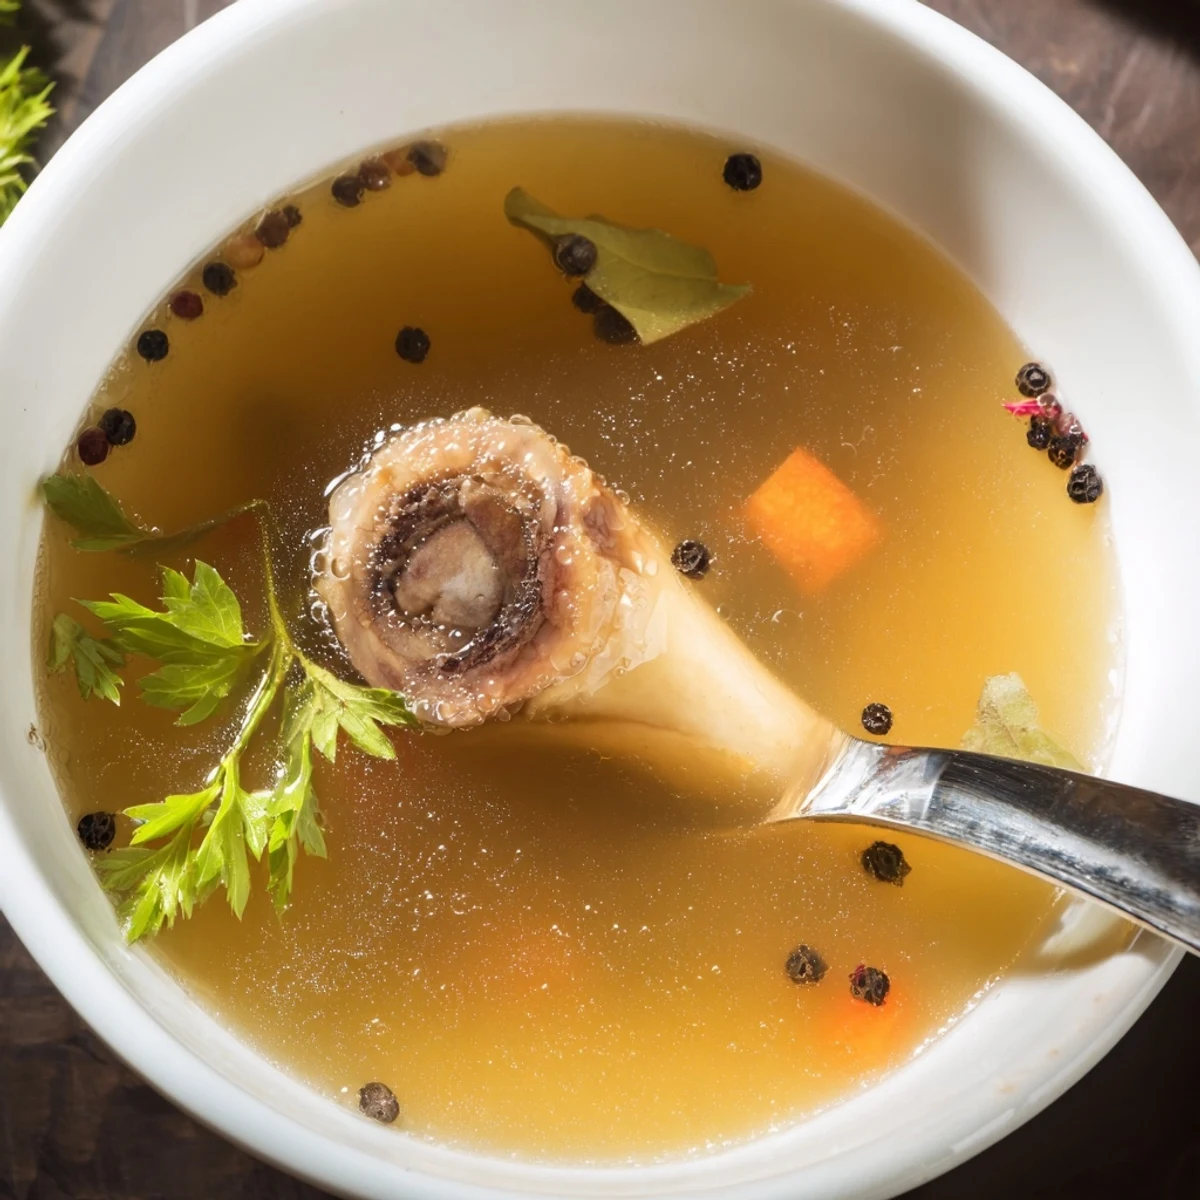
 Simmer beef bones with carrots, celery, onion, garlic, parsley, bay and peppercorns in cold water with apple cider vinegar for at least 12 hours to extract marrow and gelatin. Roast bones first for deeper color and flavor. Skim impurities, strain through cheesecloth, cool and refrigerate to solidify fat for easy skimming. Use hot for sipping or as a rich base for soups, stews and sauces; freezes well.
The smell of beef bones roasting in the oven on a grey Saturday morning is something that anchors me to a particular kind of slow living I rarely manage anymore. It takes patience, this broth, and maybe that is the whole point. My neighbor once knocked on my door asking what I was cooking because the aroma had drifted through the shared wall of our townhouse. I handed her a jar of the finished broth the next day and she has not stopped asking for the recipe since.
I started making bone broth regularly after a winter where everyone in my house seemed to catch one cold after another. Filling a mug with hot broth and a squeeze of lemon became our evening ritual, something warm to hold onto while the wind rattled the windows.
Ingredients
- Beef bones (2.5 lbs): A mix of marrow, knuckle, and oxtail gives the best balance of flavor and gelatin, and roasting them first deepens everything.
- Carrots (2): Rough chopped is fine since they are there for flavor, not presentation, so do not bother peeling them.
- Celery stalks (2): These add a subtle savory backbone that you would miss if you left them out.
- Large onion (1): Quartered with the skin on adds golden color to the broth.
- Garlic cloves (4): Smashed, not minced, so they release their sweetness slowly over the long simmer.
- Bay leaves (2): Fresh or dried both work, but remove them before storing since they can make the broth bitter over time.
- Fresh parsley (1 small bunch): Tossed in during the last hour of simmering keeps its bright note intact.
- Whole black peppercorns (1 tsp): Whole peppercorns give gentle warmth without clouding the broth the way cracked pepper would.
- Apple cider vinegar (2 tbsp): This is the secret that helps draw minerals out of the bones, do not skip it.
- Cold water (12 cups): Always start with cold water for the clearest, cleanest extraction.
- Salt: Added at the end so you can control the seasoning precisely.
Instructions
- Roast the bones:
- Spread the bones on a baking sheet and roast at 400°F for 30 minutes until deeply browned, filling your kitchen with an incredible savory smell that will make you hungry immediately.
- Build the pot:
- Transfer the roasted bones to a large stockpot and add the carrots, celery, onion, garlic, bay leaves, parsley, and peppercorns, tumbling everything together loosely.
- Add liquid and vinegar:
- Pour the apple cider vinegar and cold water over the bones, making sure everything is well covered, then let it sit for about 20 minutes before heating so the vinegar can start its work.
- Simmer and skim:
- Bring the pot to a gentle bubble over medium heat and use a ladle or skimmer to remove the grey foam that rises during the first hour, since this keeps the broth clean and clear.
- The long cook:
- Lower the heat as far as it will go and let the broth barely simmer uncovered or partially covered for at least 12 hours, checking occasionally and adding water if the bones peek above the surface.
- Strain and season:
- Pour the broth through a fine mesh sieve or cheesecloth into a large container, discarding the spent bones and vegetables, then stir in salt gradually until it tastes right to you.
- Cool and store:
- Let the broth cool completely before refrigerating, where a solid layer of fat will form on top that you can keep for cooking or skim off depending on your preference.
 Pin it
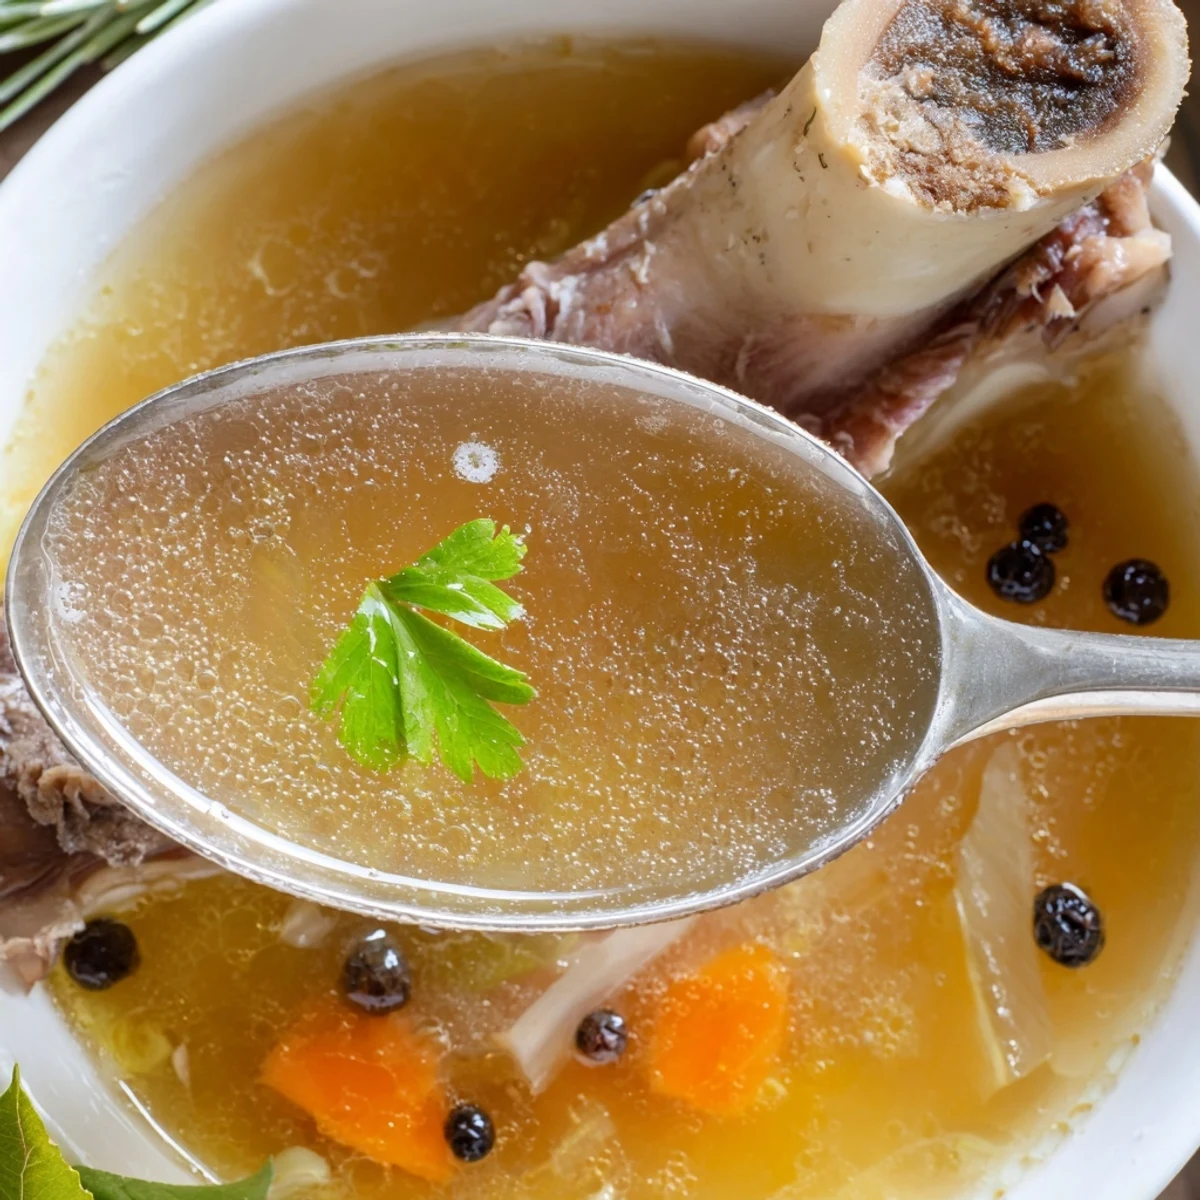
 There is something quietly satisfying about ladling broth you made yourself into jars, knowing each one holds hours of gentle attention. It feels like a small act of care that pays forward into every meal that follows.
What to Do With All That Broth
Beyond sipping it from a mug on cold mornings, this broth transforms ordinary cooking into something special. I use it as the liquid for cooking grains, as a starter for French onion soup, and even to deglaze pans after searing meat. A friend swears by reducing it down into a concentrated glaze for roasted vegetables, which is a trick worth trying at least once.
Choosing the Right Bones
Your butcher is your best ally here, and building a friendly rapport can mean getting bones saved just for you. Marrow bones give richness, knuckle bones contribute gelatin, and oxtail adds a sweetness that is hard to replicate. If you can only find one type, knuckle bones will give you the most satisfying set when chilled.
Storing and Freezing Like a Pro
Once you invest twelve hours into a batch, proper storage matters. I learned the hard way that glass jars can crack in the freezer if you fill them too full. Leave at least an inch of headspace, or better yet, freeze in silicone bags that lie flat and thaw quickly. Label everything with the date because three months from now you will not remember.
- Portion into two cup containers so you only thaw what you need for a single recipe.
- An ice cube tray of concentrated broth frozen then bagged gives you instant flavor bombs for pan sauces.
- Always bring frozen broth to a full boil before consuming for food safety.
 Pin it
 Once you have homemade bone broth in your fridge, you will find yourself reaching for it constantly. It is one of those foundational recipes that quietly makes everything else you cook a little bit better.
Recipe FAQs
- → Why add apple cider vinegar?
-
Acid helps draw minerals and collagen from bones during the long simmer, improving body and gelatin content without altering the finished flavor.
- → Should I roast the bones first?
-
Roasting at 400°F (200°C) for about 30 minutes deepens color and adds caramelized, savory notes, but you can skip it if short on time.
- → How do I get a gelatinous texture?
-
Use a mix of marrow, knuckle or oxtail bones and simmer low and slow for 12+ hours. Cooling the liquid will reveal the gelatin as it sets.
- → What’s the best way to remove impurities?
-
Skim foam and scum during the first hour of simmering, then strain through a fine-mesh sieve or cheesecloth for a clear, clean-tasting liquid.
- → How long does it keep?
-
Refrigerate up to 5 days; freeze in portions for up to 3 months. Cool fully before refrigerating and skim the solidified fat to extend freshness.
- → Can I use a slow cooker instead of a stockpot?
-
Yes — a slow cooker maintains a gentle simmer and is ideal for unattended long cooks; just ensure bones stay submerged and top up with water if needed.
